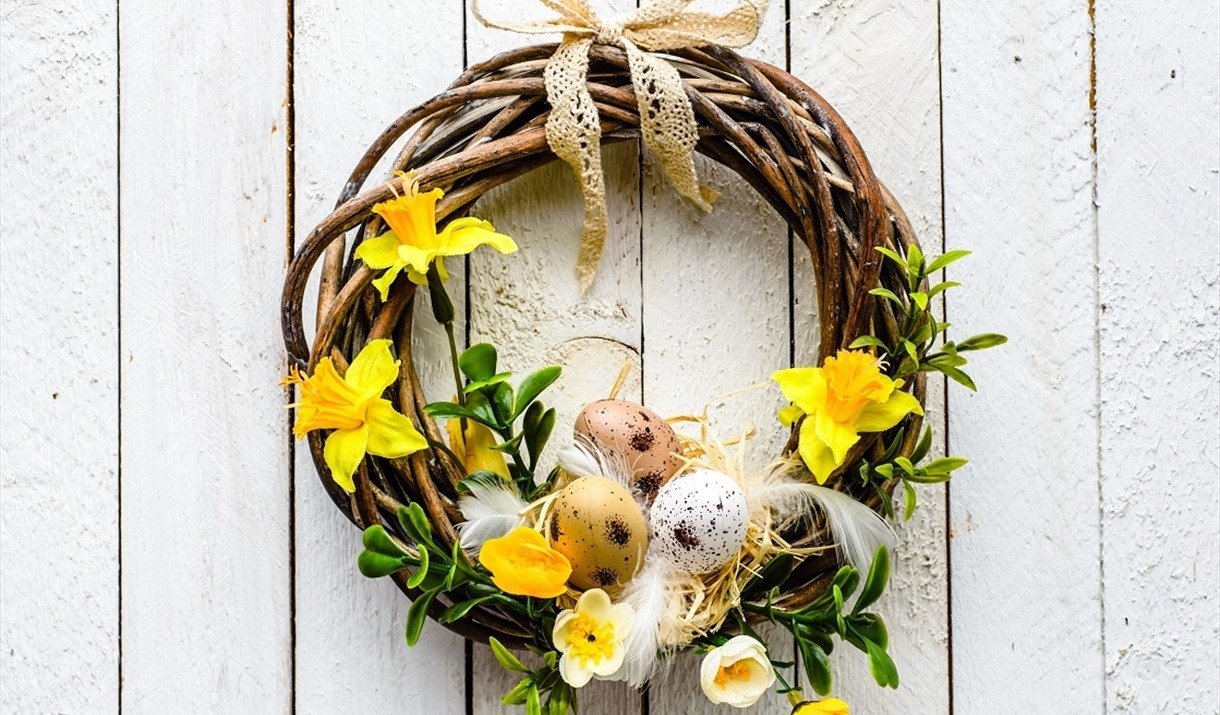
Creating an Affordable Easter Wreath: A Step-By-Step DIY Guide
As Easter approaches, my excitement for the holiday and the joy of springtime couldn’t be contained. Easter, with its vibrant colors, blooming flowers, and the promise of new beginnings, is a season that I always look forward to. One of my favorite traditions is crafting a beautiful Easter wreath to adorn my home. In this article, I’m thrilled to take you through a detailed step-by-step guide on how to make an affordable Easter wreath. With a touch of creativity and a sprinkle of DIY magic, you can craft a stunning Easter wreath without breaking the bank.

Materials You’ll Need
Make This Elegant Easter Egg Wreath! How to make a high end Easter Wreath
Learn how to make this elegant high end Easter egg wreath for spring and Easter! The pink and white flowers and eggs make this ...
DOLLAR TREE EASTER WREATH DIY EASY & INEXPENSIVE EASTER CRAFTS BEGINNER FRIENDLY HIGH END
It's time to start thinking about Easter decorations. In this video, I have a cute and fun Easter wreath tutorial. Materials Needed 1 14 ...
The great thing about creating an affordable Easter wreath is that you don’t need an extensive list of materials. Many of the items can be found at dollar stores or your local craft shop. Here’s what you’ll need:
- Wreath Base: Choose a foam or wire wreath form as your base. These are budget-friendly and readily available.
- Artificial Flowers: Opt for faux flowers in various colors and styles that match your Easter theme. These can be found at affordable prices in craft stores.
- Ribbon: Select a variety of ribbons in different widths and patterns. These add a lovely decorative touch to your wreath.
- Decorative Eggs: Plastic or foam decorative eggs are a staple for Easter wreaths. You can find these at reasonable prices in craft and discount stores.
- Hot Glue Gun: A hot glue gun and glue sticks will be your primary tools for assembly. These are inexpensive and readily available.
- Wire and Floral Wire: Use regular wire to secure items to the wreath form and floral wire to bundle and attach flowers. These are affordable and can be found in most craft stores.
- Scissors: A pair of sharp scissors will be handy for cutting ribbons, trimming excess material, and making precise cuts.
- Embellishments: Depending on your chosen style, you might want to add additional embellishments like bunny figurines, crosses, or any other Easter-themed items.

Now, let’s dive into the process of creating your affordable Easter wreath:


Step 1: Choose Your Wreath Base
- Start by selecting a wreath base. A foam or wire form is ideal and can be found inexpensively at craft stores. You can also consider recycling an old wreath base.
Step 2: Prepare Your Materials
- Lay out all your materials and decorations for easy access. This includes the artificial flowers, ribbon, decorative eggs, and any other embellishments.
Step 3: Begin with Ribbon
- Cut several pieces of ribbon in varying lengths. You can use a single color or a combination of colors, depending on your Easter theme. Use your hot glue gun to attach the ribbon pieces to the wreath base. Ensure they are evenly spaced and secure.
Step 4: Add Decorative Eggs
- Attach the decorative eggs using hot glue. You can place them around the wreath evenly or cluster them in specific areas for a focal point. Be sure to secure them well.
Step 5: Incorporate Artificial Flowers
- Trim the stems of your artificial flowers to the desired length. Bundle a few flowers together, using floral wire to secure them. Then, attach the bundled flowers to the wreath base using the wire or hot glue. You can distribute the flower bundles around the wreath as you prefer.
Step 6: Embellishments
- If you’ve selected additional embellishments, like bunny figurines, crosses, or any other Easter-themed items, attach them using hot glue or wire. These embellishments add a unique touch to your wreath.
Step 7: Final Touches
- After everything is in place, go over your wreath and make any necessary adjustments. Ensure that all items are securely attached, and the wreath looks balanced and aesthetically pleasing.
Step 8: Hang Your Wreath
- Use a piece of ribbon or twine to create a hanger for your wreath. Ensure it’s securely attached so that you can hang your wreath with confidence.

In Conclusion
Creating your own affordable Easter wreath is a delightful way to welcome the beauty of spring and celebrate the hope and renewal that Easter represents. Whether you opt for a traditional, rustic, or whimsical design, your DIY Easter wreath will be a symbol of new beginnings, creativity, and the spirit of Easter. The process is not only cost-effective but also allows you to unleash your creativity and make a beautiful decoration for your home.


My Personal Connection to DIY Easter Wreaths
For me, crafting a DIY Easter wreath has become a cherished tradition that I eagerly look forward to every year. It’s not just about creating a beautiful decoration; it’s about infusing the essence of the holiday into my home. Each wreath I craft represents my unique style, celebrates the beauty of Easter, and adds a personal touch to my décor. It’s a joyful and budget-friendly way to mark the season.