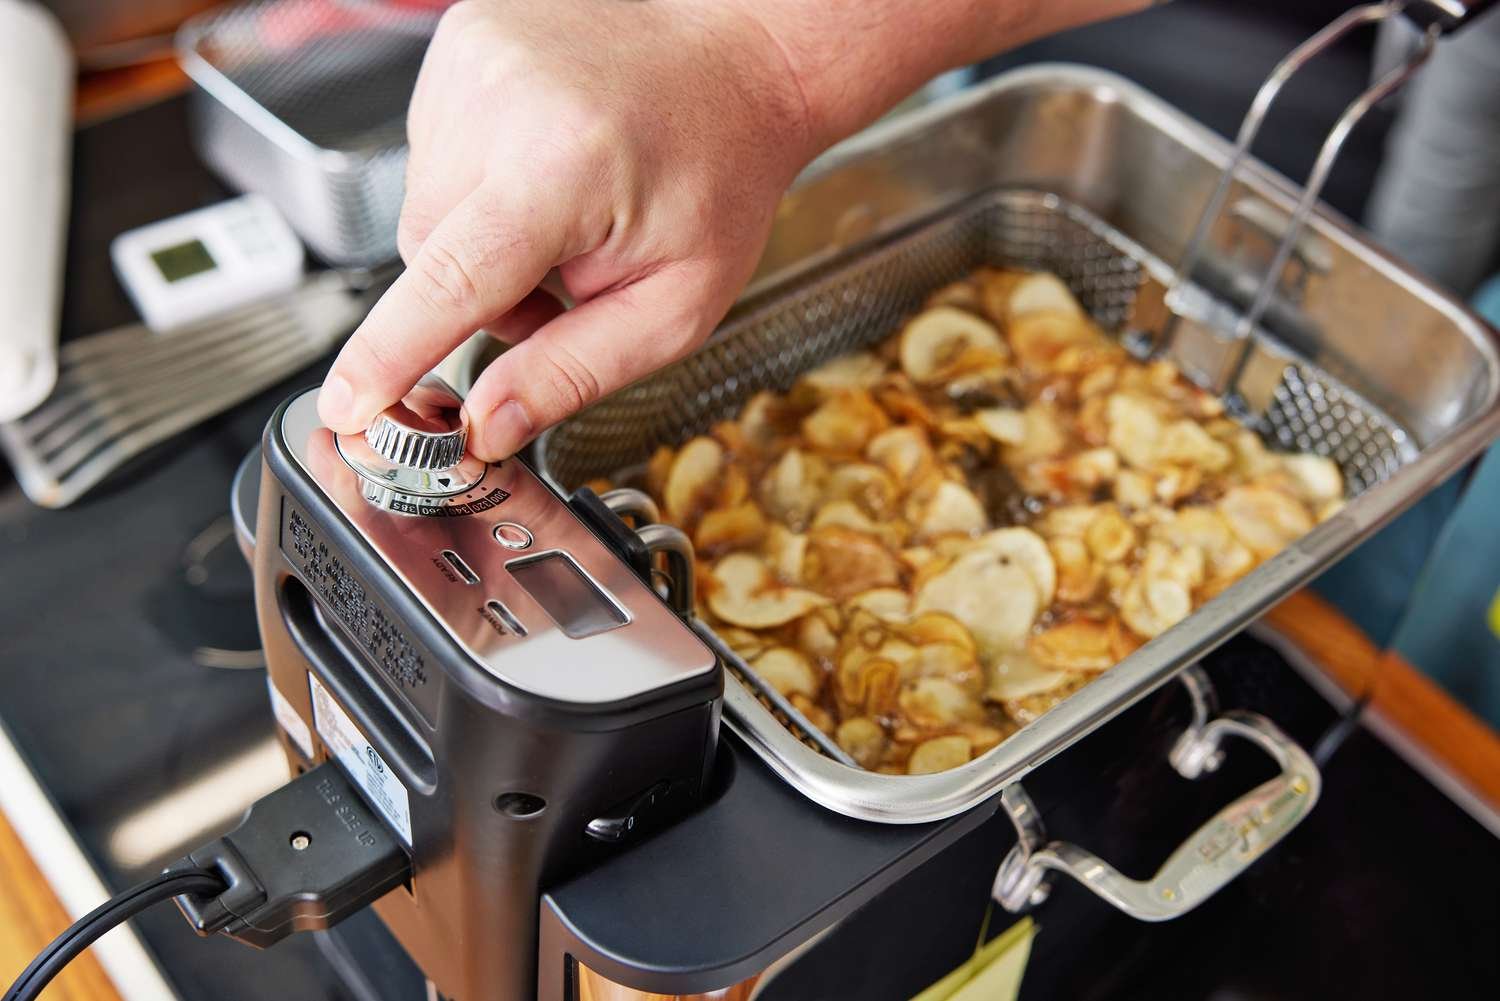
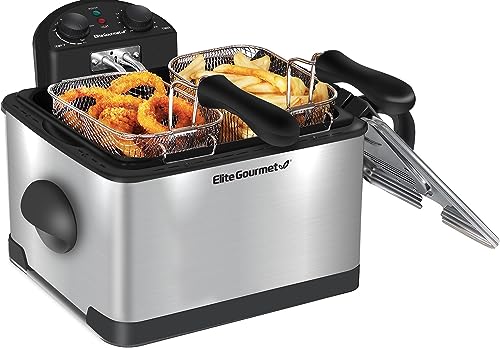
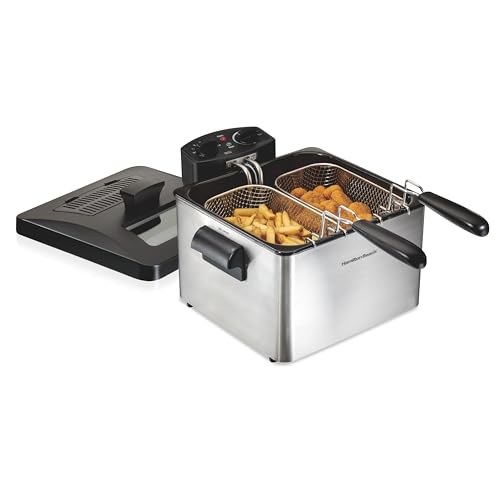
As a fellow lover of crispy, golden fried foods, I understand the satisfaction that comes from indulging in a perfectly cooked batch of fries or a crunchy piece of fried chicken. But what happens when our trusty deep fryers start to lose their magic? It’s a situation that no frying enthusiast wants to find themselves in. That’s why I’m here to shed light on the essential topic of deep fryer maintenance. In this blog post, I will not only emphasize the importance of proper care for your deep fryer but also provide you with valuable tips to ensure its longevity and optimal performance. So, let’s dive in and learn the ins and outs of deep fryer maintenance together!
How to clean your deep fryer
How to clean your deep fryer, to make it like new again. Remember to always read the instructions on chemical bottles and wear ...
Why is deep fryer maintenance important?
Maintaining your deep fryer is often overlooked, but it is crucial for the quality of your fried foods as well as ensuring safety in your kitchen. In this blog post, we will highlight the importance of regular deep fryer maintenance, discussing both the impact on the taste and quality of your fried foods, as well as the prevention of safety hazards such as fire and oil spills.
Maintaining Taste and Quality
One of the key reasons to prioritize regular maintenance of your deep fryer is to ensure that the taste and quality of your fried foods are consistently excellent. Neglecting proper maintenance can lead to a variety of issues that can affect the overall taste and texture of your favorite fried delicacies. Here are some specific points to consider:
1. Eliminating Grease Buildup
- Over time, grease and debris can accumulate in the deep fryer, which can negatively impact the taste and overall quality of your fried foods.
- Regular maintenance, such as cleaning and filtering the oil, helps to remove these unwanted particles and ensure cleaner frying conditions.
- Clean oil enhances the flavors of your fried foods and prevents any undesirable aftertastes.
2. Minimizing Foul Odors
- Failure to maintain your deep fryer can result in the buildup of rancid oil and burnt food particles, leading to unpleasant odors in your kitchen.
- Regularly cleaning and replacing the oil, as well as thoroughly cleaning the fryer itself, can help to prevent and minimize these odors.
3. Consistency in Texture and Color
- Proper maintenance guarantees consistent frying temperatures, which is crucial for achieving the ideal texture and color of your fried foods.
- Neglected fryers may experience temperature fluctuations, resulting in overcooked or undercooked food items with uneven coloring.
Ensuring Safety in the Kitchen
In addition to maintaining the taste and quality of your fried foods, regular deep fryer maintenance is crucial for ensuring the safety of your kitchen. Here are some important safety considerations:
1. Fire Prevention
- Grease buildup inside the fryer increases the risk of a potential fire hazard.
- Regular maintenance, including cleaning the fryer and changing the oil, helps eliminate the accumulation of grease, reducing the chances of a fire.
- Proper maintenance also involves checking the fryer’s heating element and ensuring it is in good condition, further reducing fire risks.
2. Preventing Oil Spills
- Neglected deep fryers may develop leaks or cracks, leading to oil spills in the kitchen.
- Regular maintenance involves inspecting the fryer for any signs of damage or wear and tear and promptly addressing them to prevent oil spills.
- By properly maintaining your deep fryer, you minimize the risk of accidents, slips, and falls caused by oil spills.
Cleaning and sanitizing the deep fryer
Introduction:Deep fryers are a common appliance in many households and commercial kitchens, offering a quick and convenient way to cook delicious fried foods. However, regular cleaning and sanitizing of your deep fryer is essential to ensure its optimal performance and to maintain food safety standards. In this blog post, we will provide you with step-by-step instructions and useful tips for cleaning and sanitizing your deep fryer.
Step 1: Preparation
Before you begin the cleaning process, there are a few essential steps you need to take to ensure your safety and efficiency:
- Safety First: Ensure the deep fryer is unplugged and completely cooled down before you start cleaning.
- Gather Your Materials: Prepare the following items before starting the cleaning process:
- Gloves
- Protective eyewear
- A scrub brush or sponge
- Dish soap
- Vinegar or commercial deep fryer cleaning solution
- Paper towels or clean cloth
Step 2: Removing Oil Residue
The first step in cleaning your deep fryer is to remove any remaining oil residue:
- Drain the Oil: Carefully pour the used oil from the fryer into a disposable container, following the manufacturer’s instructions.
- Filter the Oil: If you plan to reuse the oil, strain it through a fine-mesh strainer or cheesecloth to remove any debris.
- Wipe Out Excess Oil: Use a paper towel or clean cloth to wipe away any excess oil from the fryer’s interior.
Step 3: Cleaning the Deep Fryer
Now that the oil residue has been removed, it’s time to tackle the cleaning process:
- Prepare Cleaning Solution: Fill the sink or a basin with warm water and add a few drops of dish soap. Alternatively, you can use a commercial deep fryer cleaning solution following the manufacturer’s instructions.
- Remove Fry Basket and Heating Element: Depending on your deep fryer model, detach the fry basket and remove the heating element, if possible. Clean these separately using the cleaning solution and a scrub brush or sponge.
- Clean the Interior: Dip the scrub brush or sponge into the cleaning solution and scrub the interior surfaces of the deep fryer, paying particular attention to any areas with stubborn residue.
- Rinse Thoroughly: Rinse the deep fryer and all detachable parts with clean water to remove any traces of the cleaning solution or soap residue.
- Dry Completely: Use a clean cloth or paper towel to wipe the deep fryer and its parts dry thoroughly.
Step 4: Sanitizing the Deep Fryer
To ensure that your deep fryer is properly sanitized, follow these steps:
- Prepare Sanitizing Solution: Mix a quarter cup of vinegar with a gallon of water in a sink or basin.
- Add Fry Basket and Heating Element: Place the fry basket and heating element back into the deep fryer, ensuring they are clean and dry.
- Sanitize Interior Surfaces: Submerge a sponge or cloth into the sanitizing solution, then gently wipe the interior surfaces of the deep fryer.
- Rinse Thoroughly: Rinse the deep fryer and its parts with clean water to remove any traces of the sanitizing solution.
- Final Dry: Once again, use a clean cloth or paper towel to ensure that all parts are completely dry before reassembling the deep fryer.
Step 5: Regular Maintenance and Cleaning Frequency
To keep your deep fryer in optimal condition, establish a regular cleaning routine:
- Daily Maintenance: After each use, wipe the interior and exterior surfaces of the deep fryer, removing any excess oil or debris.
- Weekly Cleaning: Perform a thorough cleaning using the steps mentioned above to remove oil buildup and ensure the deep fryer remains sanitary.
- Deep Cleaning: Conduct a deep cleaning at least once a month or as recommended by the manufacturer to remove stubborn residue and maintain optimal performance.
The Importance of Regularly Changing the Oil in Your Deep Fryer
Deep fryers are a popular kitchen appliance used in both residential and commercial settings. They provide a quick and convenient way to fry food, delivering crispy and delicious results. However, to maintain the quality of the fried food and ensure the longevity of the deep fryer itself, regular oil changes are essential.
Enhancing Food Quality
Changing the oil in your deep fryer regularly is crucial for maintaining the quality of the fried food. Over time, oil in the fryer inevitably degrades due to exposure to high temperatures, food particles, and contaminants. By following the recommended oil change frequency, you can avoid the negative impact of degraded oil on your culinary creations.
Benefits of regular oil changes for food quality include:
- Improved taste and flavor
- Ensuring crispiness and texture
- Avoiding a greasy aftertaste in the food
Prolonging the Lifespan of Your Deep Fryer
Regularly changing the oil in your deep fryer not only benefits the food but also helps to extend the lifespan of the appliance itself. Dirty and old oil can lead to various issues that may result in costly repairs or even a complete breakdown of the deep fryer.
Advantages of regular oil changes for the fryer:
- Preventing the buildup of harmful deposits
- Avoiding clogging of heating elements
- Reducing the risk of malfunctioning
- Improving overall efficiency
How Often Should You Change the Oil?
Determining the frequency of oil changes in your deep fryer depends on several factors such as usage, type of food cooked, and the quality of oil used. However, here is a general guideline to help you follow a regular oil change schedule:
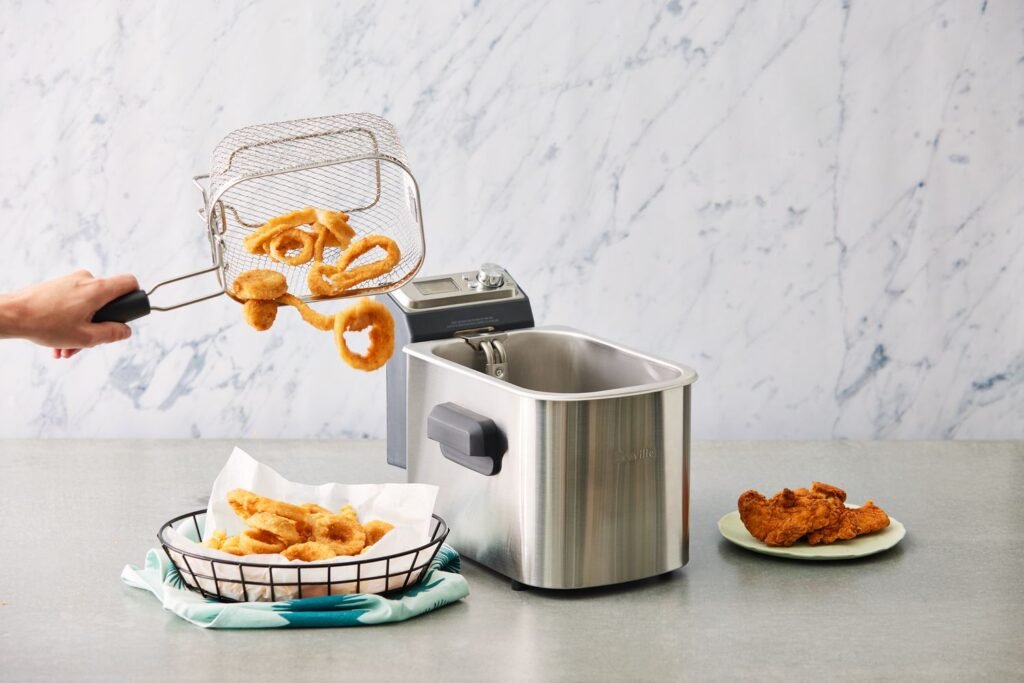
Home Use:
For home deep fryers, it is recommended to change the oil every 8-10 uses or after 5-6 weeks, whichever comes first. If you notice any signs of degradation, such as a change in color or off-putting odor, it’s advisable to replace the oil even if you haven’t reached the recommended mark yet.
Commercial Use:
In commercial settings where deep fryers are frequently used, the oil should be changed approximately every 3-5 days. However, it’s important to refer to the manufacturer’s guidelines for specific recommendations based on your fryer model and usage intensity.
Proper Oil Disposal Methods for Environmental Sustainability
When changing the oil in your deep fryer, it is crucial to dispose of it properly to prevent environmental harm. Pouring oil down the drain or throwing it in the trash can have detrimental effects on the ecosystem. Here are the recommended methods for oil disposal:
- Allow the oil to cool completely.
- Transfer the cooled oil into a sealable container such as a plastic bottle or jar.
- Contact your local recycling center or waste management facility to inquire about oil recycling programs in your area.
- If recycling options are not available, check if your community accepts used cooking oil for composting.
- In the absence of recycling or composting options, you can seal the container tightly and dispose of it with regular waste. However, this should be your last resort.
By following these oil disposal methods, you contribute to environmental sustainability while practicing responsible cooking habits.
Remember, regular oil changes not only ensure better-tasting fried food but also play a vital role in maintaining the longevity of your deep fryer. By incorporating this simple routine into your kitchen maintenance, you can enjoy delicious fried dishes while keeping your appliance in top shape.
Routine maintenance checks
Routine maintenance checks are crucial in ensuring the optimal functioning and longevity of your deep fryer. By regularly inspecting key components and addressing any potential issues, you can prevent costly breakdowns and maintain the quality of your fried foods. In this blog section, we will outline the essential routine maintenance checks you should perform on your deep fryer and provide troubleshooting tips for common issues.
1. Inspect the Heating Element
The heating element is the heart of your deep fryer, responsible for heating the oil to the desired temperature. Regular inspection of the heating element helps identify any signs of wear or damage. Here are the key steps to follow:
- Turn off and unplug the fryer: Safety is paramount, so make sure the fryer is disconnected from the power source before beginning any inspection.
- Locate the heating element: Depending on the fryer model, the heating element might be accessible from the inside or outside of the appliance.
- Check for corrosion or buildup: Slight corrosion or build-up on the heating element can be normal, but excessive deposits or damage can impair its heating efficiency.
- Clean or replace as necessary: Use a soft brush or cloth to gently remove any debris or build-up from the heating element. If significant damage is detected, it may need replacement.
2. Examine the Thermostat
The thermostat plays a critical role in maintaining a consistent frying temperature, allowing your foods to cook evenly and avoid under or overcooking. Regular inspection of the thermostat ensures accurate temperature readings. Follow these steps:
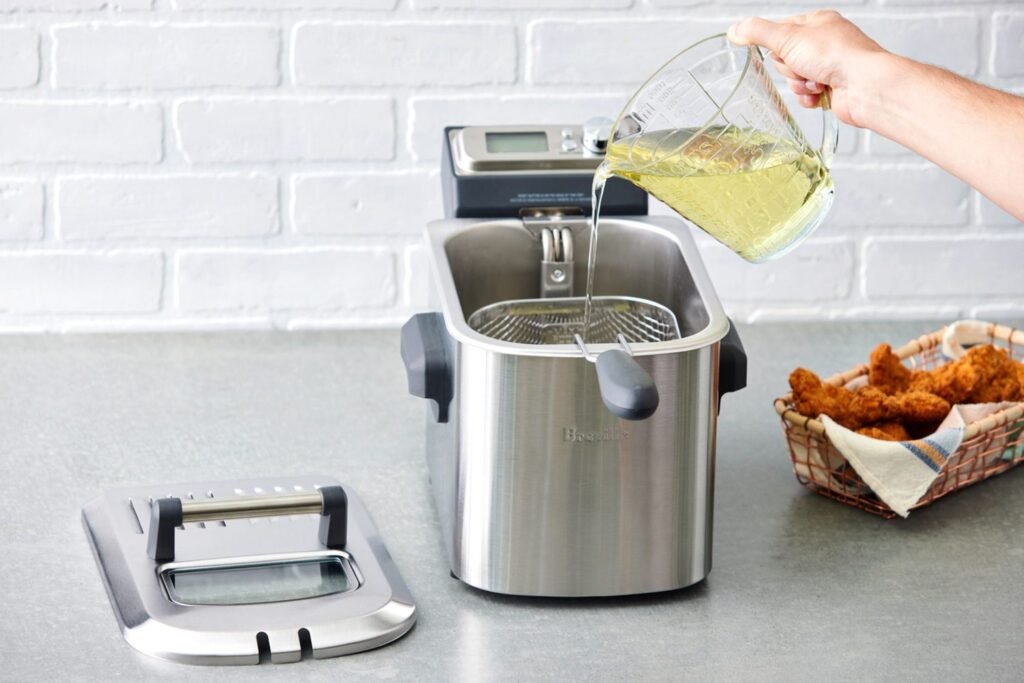
- Disconnect the power: Always unplug the fryer before conducting any maintenance task to avoid electrical accidents.
- Access the thermostat: Depending on the fryer model, the thermostat may be located on the front control panel, behind a removable cover, or integrated into the heating element.
- Check for accuracy: Use an external thermometer to verify if the thermostat is displaying the correct temperature. A deviation of more than a few degrees may indicate calibration issues.
- Calibrate if necessary: Refer to your fryer’s instruction manual or contact the manufacturer for guidance on calibrating the thermostat. Instructions may vary based on the model or brand.
3. Evaluate Electrical Connections
Properly functioning electrical connections are essential to maintaining the overall safety and performance of your deep fryer. Regular inspections of these connections help identify potential risks and ensure seamless operation. Follow these guidelines:
- Unplug the fryer: Before examining any electrical connections, ensure the fryer is disconnected from the power source to eliminate the risk of electrocution.
- Inspect power cord and plug: Look for any fraying, exposed wires, or damage to the power cord or plug. If you notice any signs of wear, it’s essential to replace them immediately to avoid hazards.
- Check connections to heating element and thermostat: Ensure all electrical connections to the heating element, thermostat, and control panel are secure and free from corrosion or looseness. Tighten or replace any loose, damaged, or corroded connectors.
Troubleshooting Tips for Common Issues
Even with regular maintenance, issues may arise from time to time. Here are some troubleshooting tips for common deep fryer problems:
- Uneven cooking: If you notice uneven cooking, make sure your food is properly prepped and not overcrowded in the fryer. Adjust the oil temperature or try a different cooking technique.
- Excessive smoke: Excessive smoke can be caused by too much oil residue or food particles left in the fryer. Clean the fryer thoroughly, including the heating element and oil reservoir.
- Oil temperature fluctuations: Fluctuations in oil temperature can occur if the thermostat is not operating correctly. Recalibrate or replace the thermostat if needed.
- Oil leakage: Leaking oil can be hazardous and damage the fryer’s components. Inspect the fryer for any visible leaks, and if found, contact a professional or the manufacturer.
Regular routine maintenance checks, coupled with proper troubleshooting techniques, will help keep your deep fryer in optimal condition and ensure you enjoy perfectly fried foods every time. Remember, always refer to your fryer’s instruction manual or consult the manufacturer for model-specific maintenance guidance.
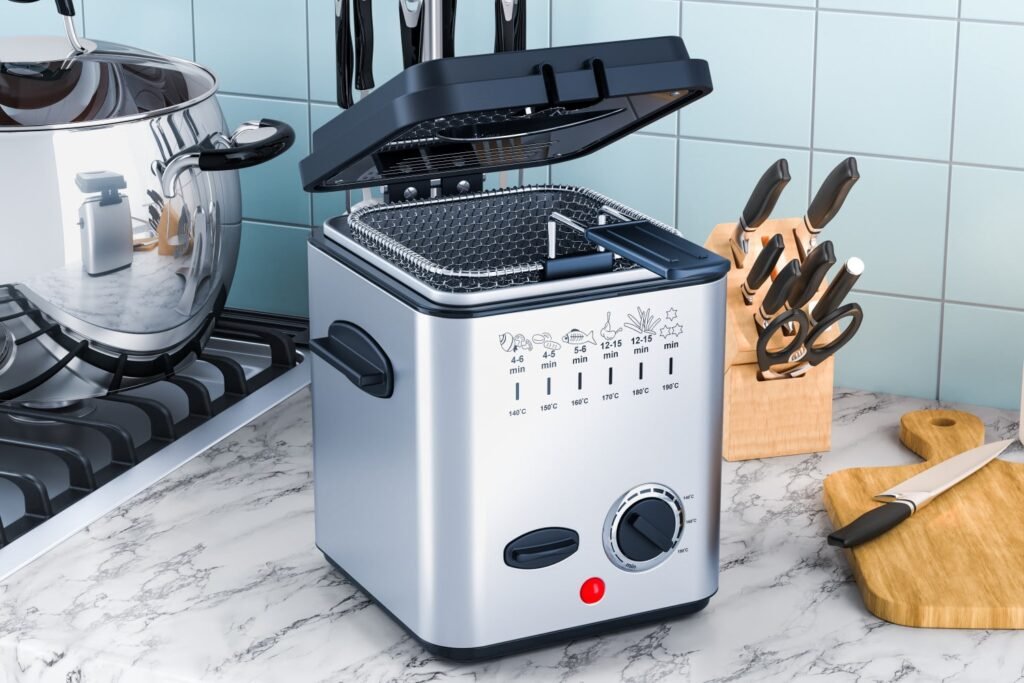
Key Maintenance Tips to Keep Your Deep Fryer in Proper Working Condition
In conclusion, implementing the deep fryer maintenance tips provided in this blog post will yield numerous benefits. Not only will it extend the longevity of your deep fryer, but it will also uphold the taste and quality of your fried foods. Furthermore, adhering to these guidelines is crucial for promoting a safe and secure cooking environment. Remember to consult the manufacturer’s instructions for any additional maintenance guidelines that may pertain to your specific deep fryer model. With proper care and attention, your deep fryer will continue to serve you well for years to come.
Read More :
