
Best Creepy Party Halloween Jackolantern Review Halloween Pumpkin – Oemiu
Best Creepy Party Halloween Jackolantern Review: Finding the Perfect Pumpkin
October air hangs crisp and cool, the leaves are turning vibrant shades of red and gold, and the scent of pumpkin spice fills every café. Yes, Halloween is just around the corner, and for many, that means one thing: carving the perfect jack-o’-lantern. But with countless options available, from real pumpkins to elaborate artificial ones, how do you choose the best creepy party Halloween jackolantern to set the perfect spooky ambiance? This comprehensive review will delve into the world of Halloween pumpkins, exploring real vs. artificial options, evaluating carving kits, analyzing lighting choices, and ultimately helping you create a jack-o’-lantern that will be the envy of the neighborhood.
Real Pumpkins: The Timeless Tradition
There’s nothing quite like the experience of selecting a real pumpkin. The trip to the pumpkin patch, the feel of the rough skin beneath your hands, and the earthy aroma all contribute to the magic of Halloween. Real pumpkins offer an authentic and organic feel that artificial pumpkins simply can’t replicate. However, they also come with their own set of challenges. Choosing the right pumpkin is crucial. Look for a firm, unblemished pumpkin with a sturdy stem. Avoid pumpkins with soft spots or cracks, as these will rot quickly. The size and shape are also important considerations. A larger pumpkin provides more surface area for intricate designs, while a rounder pumpkin is generally easier to carve. Once you’ve selected your perfect pumpkin, proper preparation is key. Washing the exterior removes dirt and debris, making it easier to carve. Carefully cut a hole in the top or bottom of the pumpkin, making sure it’s large enough to easily scoop out the pulp and seeds. The messy part is unavoidable, but it’s also part of the fun! Ensure you remove all the stringy pulp, leaving the inner walls smooth for easier carving. Many choose to save the seeds for roasting – a delicious and healthy Halloween treat. Finally, consider the tools you’ll use for carving. While a simple kitchen knife will do in a pinch, a dedicated carving kit offers a wider range of tools for creating more intricate designs. Stencils can also be helpful, especially for beginners or those looking to create complex patterns. Remember that carving a real pumpkin is a race against time. The clock starts ticking the moment you carve it. To prolong its life, consider applying a thin layer of petroleum jelly or vegetable oil to the cut surfaces. This helps prevent dehydration and slows down the rotting process. Also, keeping the pumpkin out of direct sunlight and extreme temperatures will extend its lifespan.
Artificial Pumpkins: Durability and Design Versatility
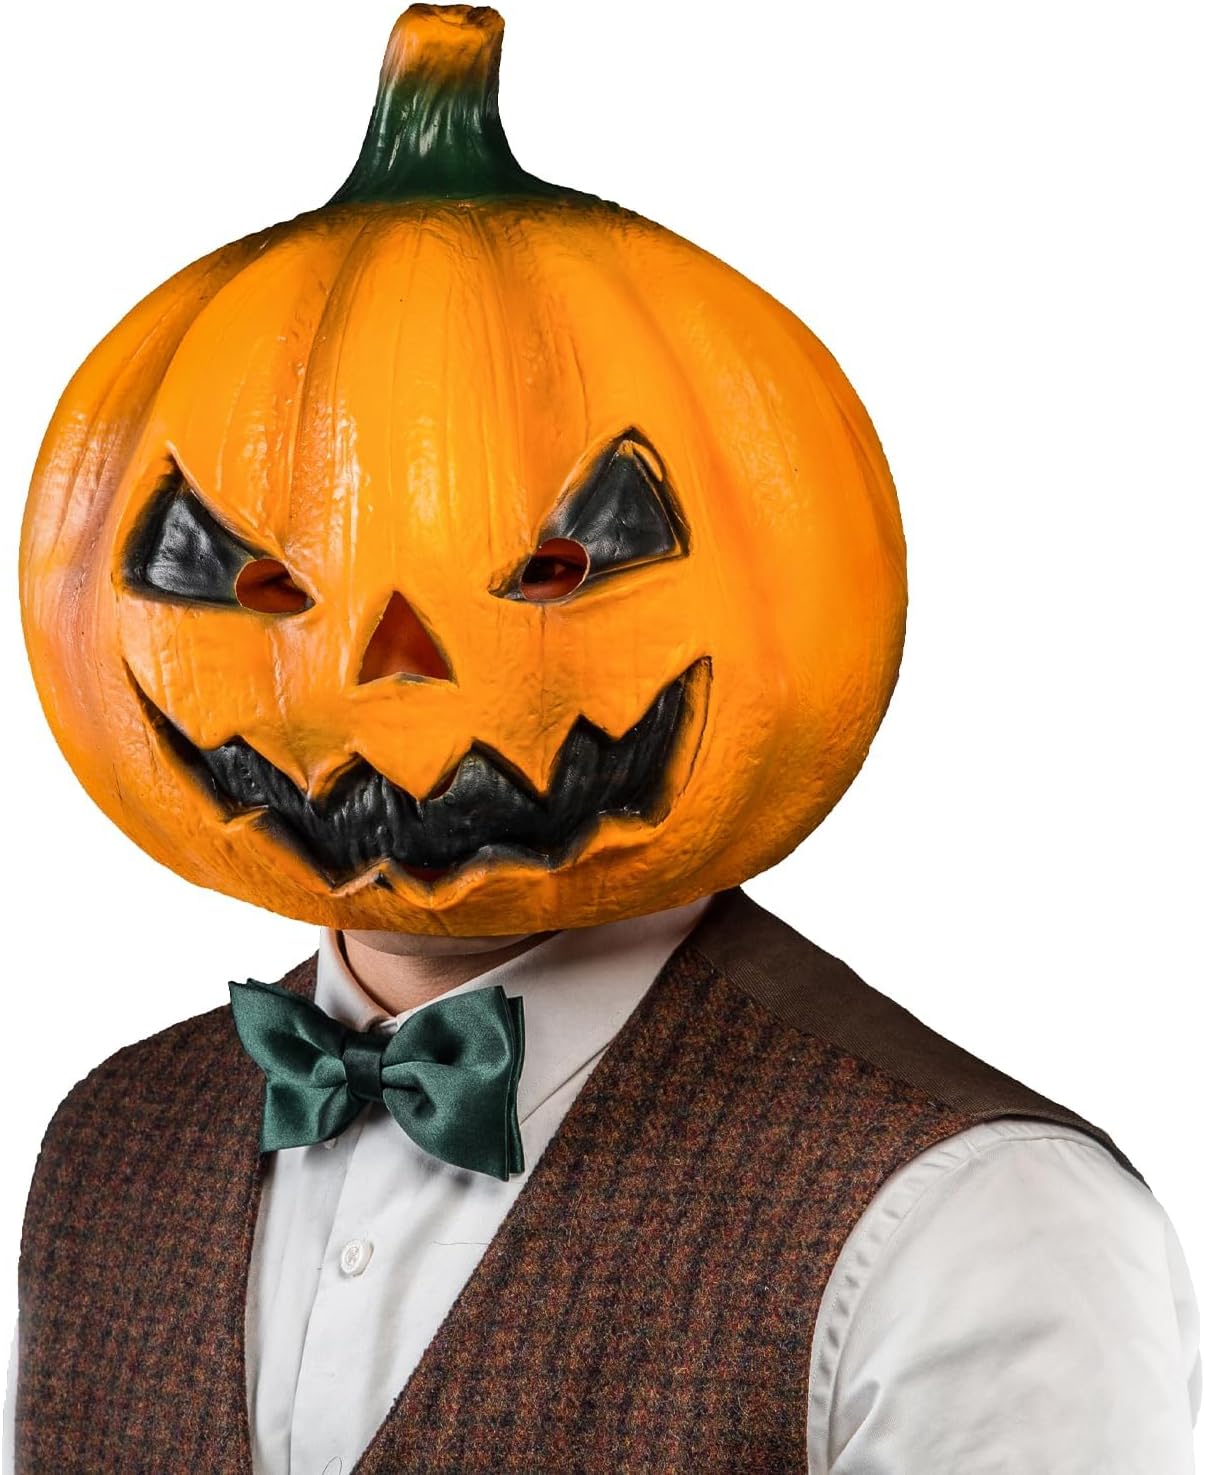
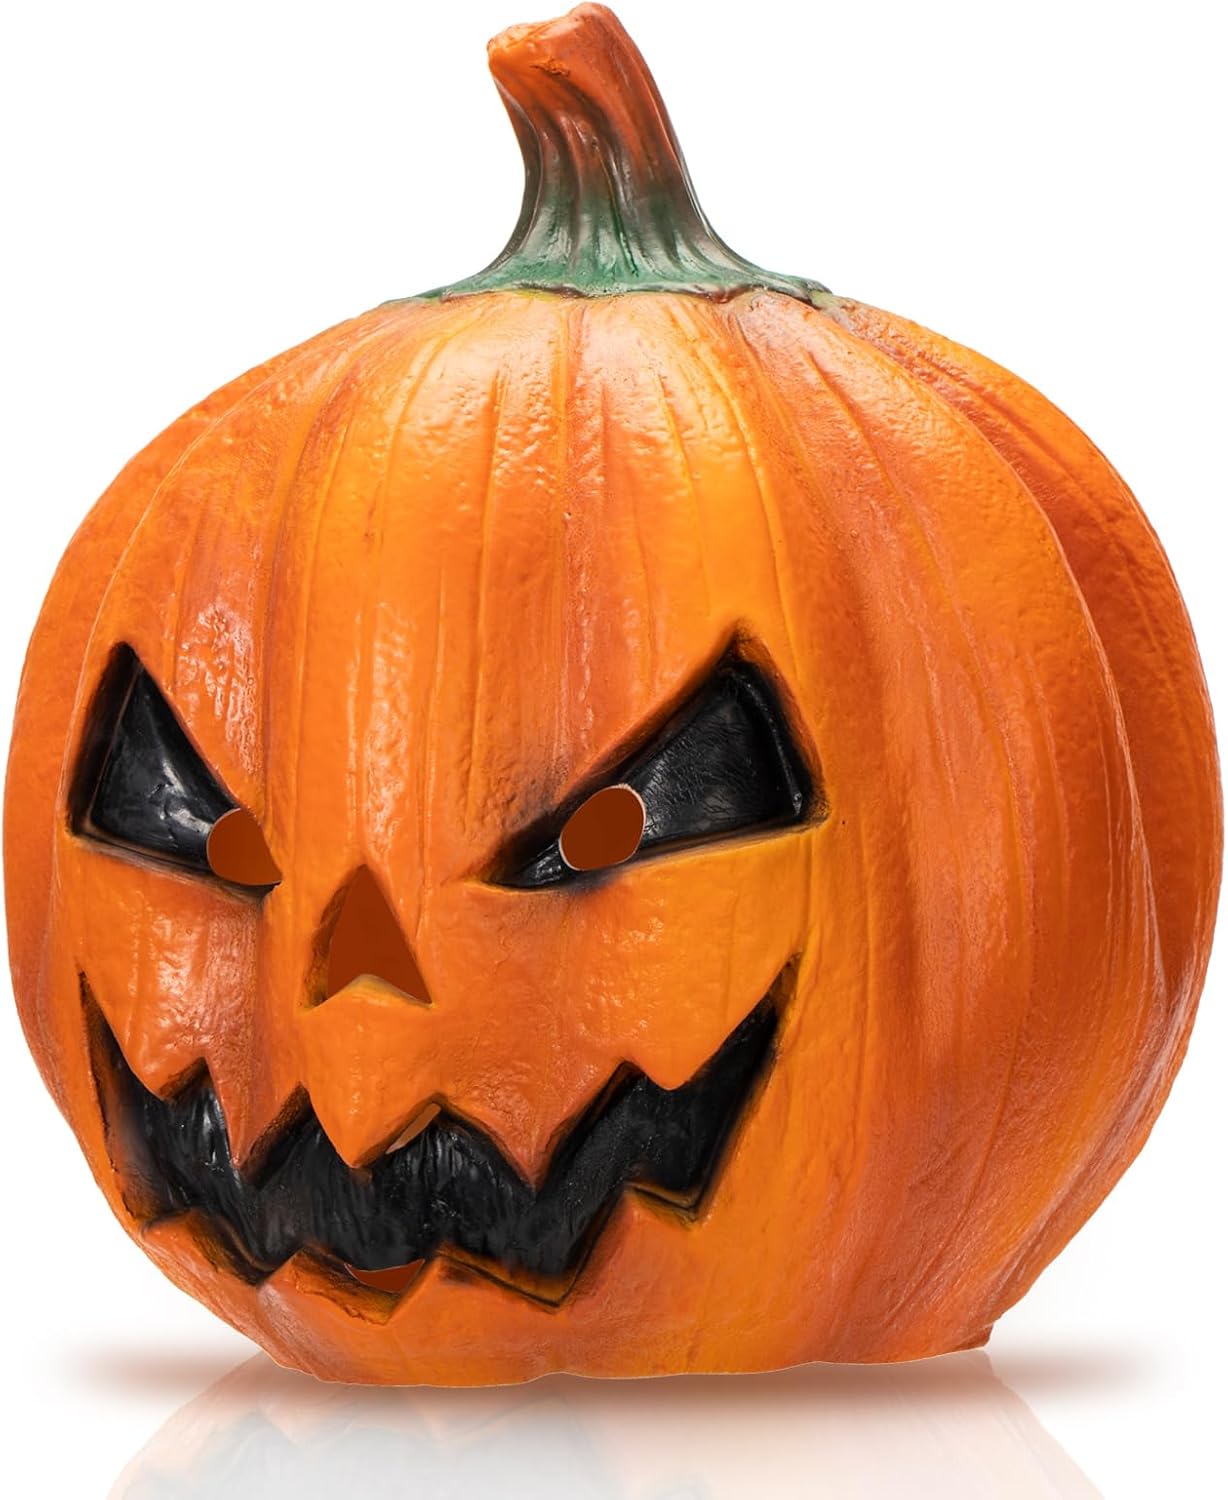
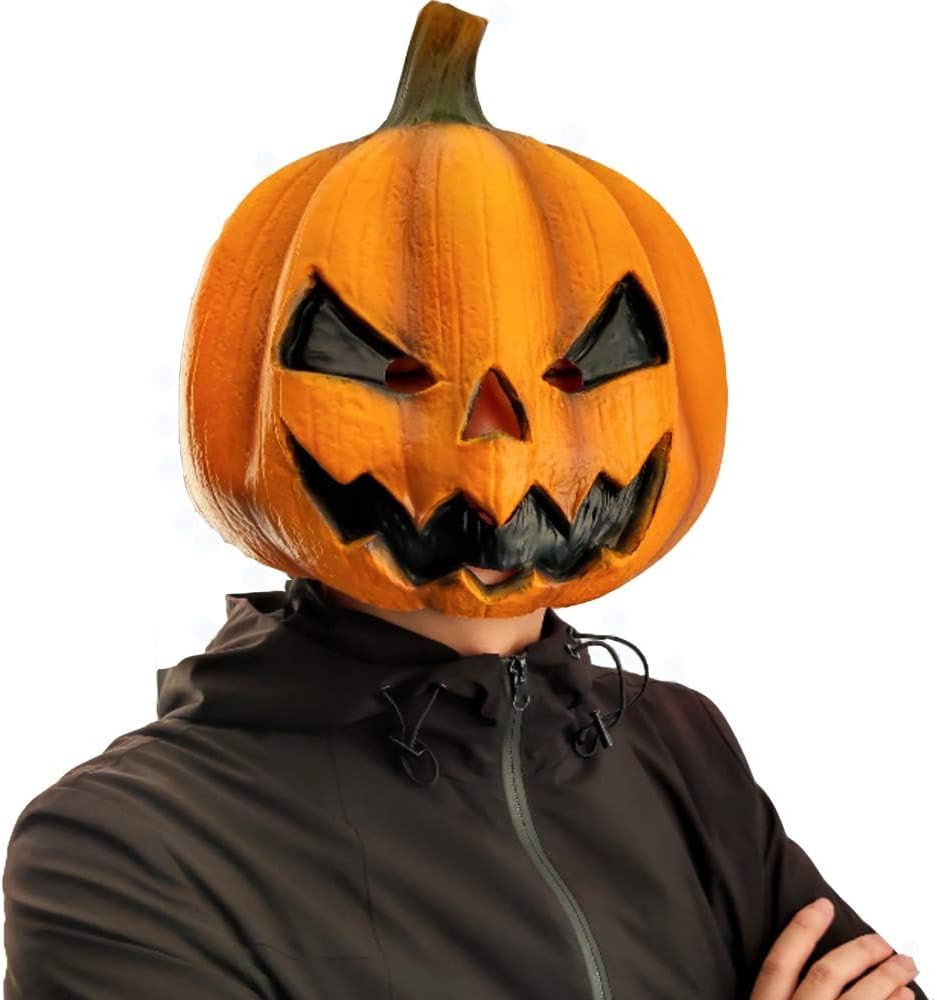
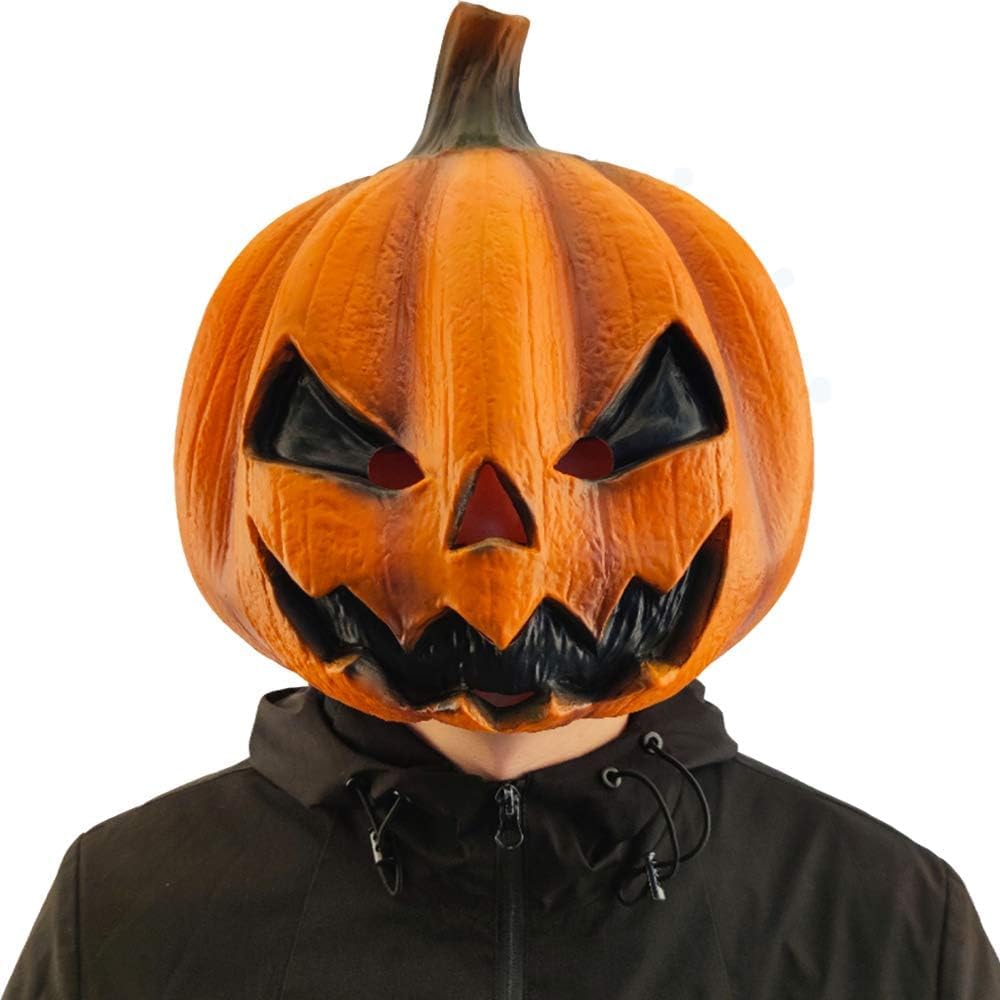
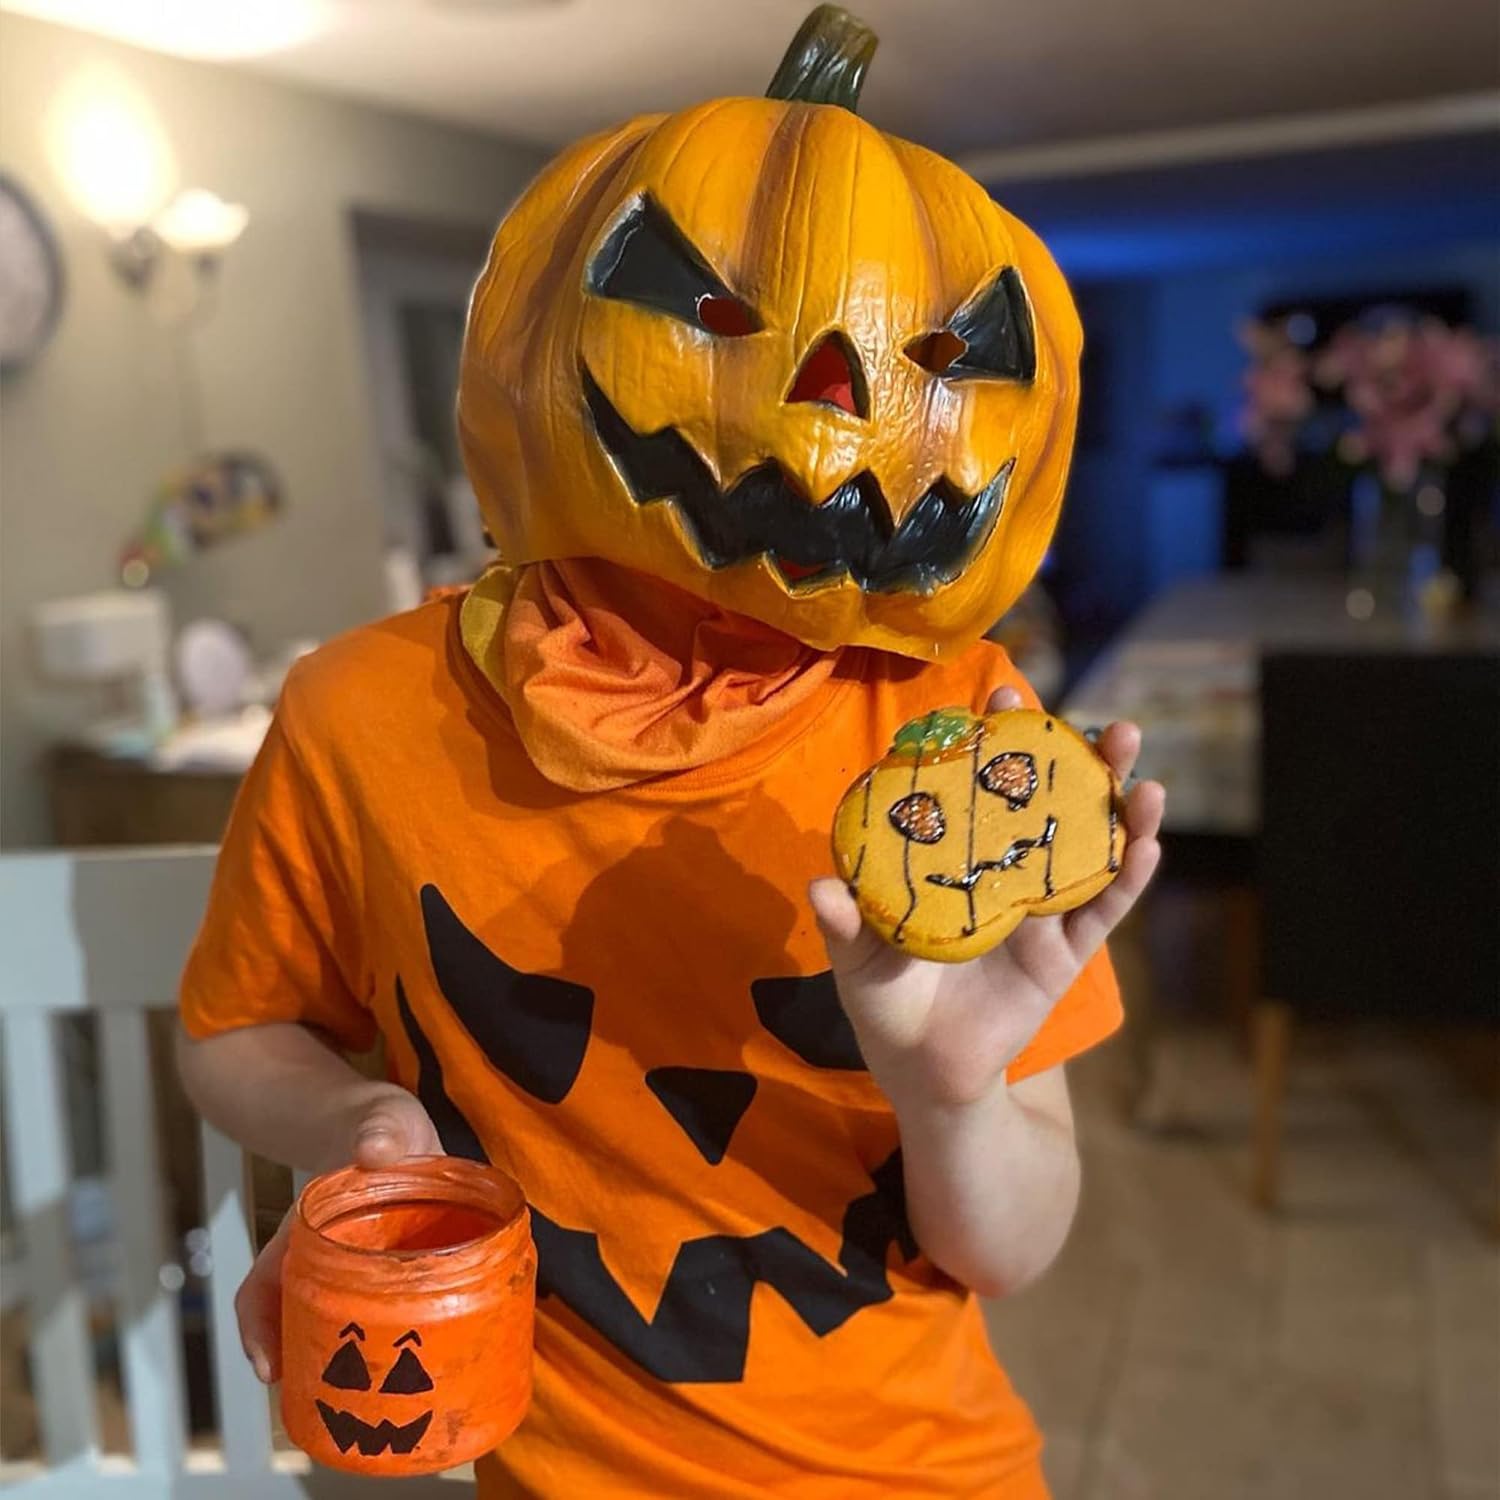
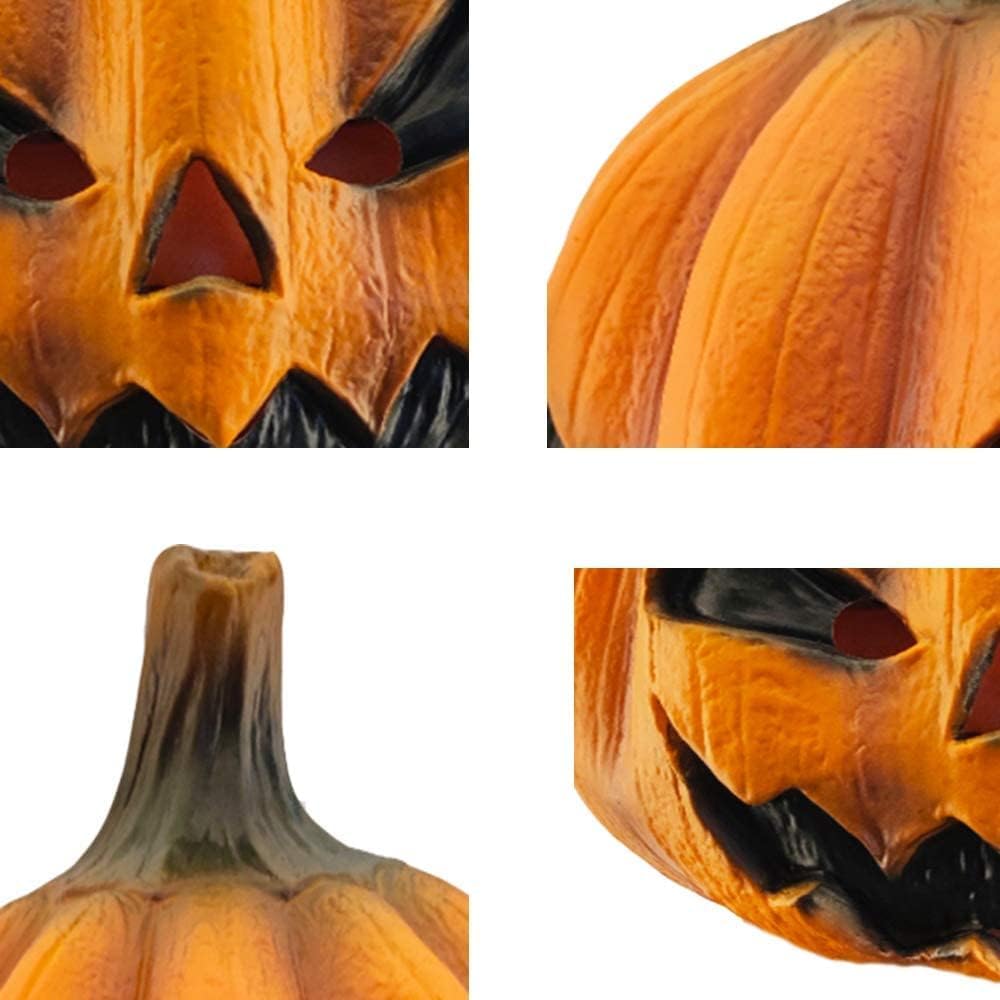
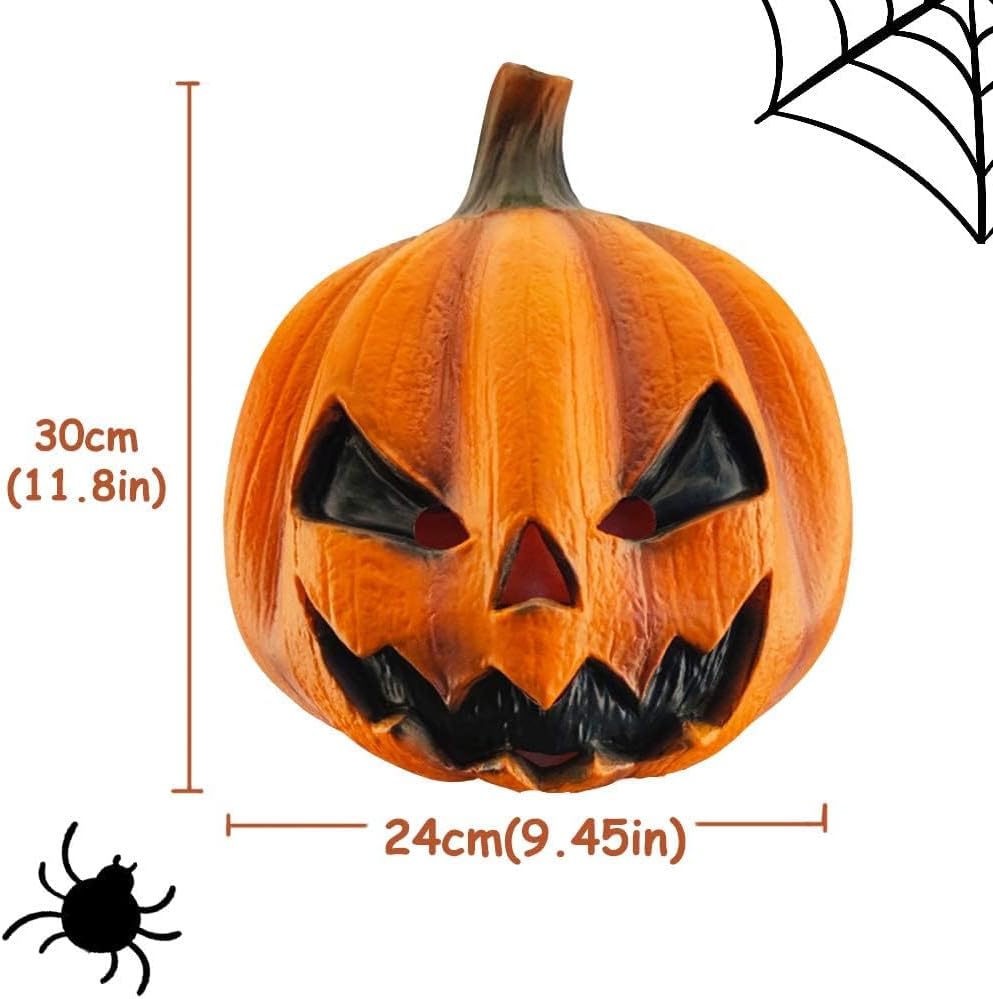
In contrast to the fleeting nature of real pumpkins, artificial pumpkins offer unparalleled durability and versatility. Made from materials like foam, plastic, or resin, these pumpkins can be reused year after year, making them a sustainable and cost-effective option for Halloween decorations. Artificial pumpkins come in a wide array of sizes, shapes, and colors, allowing you to create a diverse and visually appealing display. Some even feature realistic textures and details that mimic the appearance of real pumpkins. One of the biggest advantages of artificial pumpkins is their ease of use. No messy pulp to scoop out, no concerns about rotting, and no need to rush the carving process. You can take your time and perfect your design without worrying about the pumpkin going bad. Many artificial pumpkins are designed specifically for carving, featuring pre-cut faces or easily customizable surfaces. Others are purely decorative, with intricate designs already carved or painted on. These pre-decorated pumpkins are a great option for those who don’t have the time or skills to carve their own. When choosing an artificial pumpkin, consider the material it’s made from. Foam pumpkins are lightweight and easy to carve, but they may not be as durable as plastic or resin pumpkins. Plastic pumpkins are more resistant to damage and can withstand outdoor conditions, while resin pumpkins offer the most realistic look and feel. Another important factor to consider is the lighting. Many artificial pumpkins come with built-in LED lights, which can be easily switched on and off. These lights are often battery-operated, allowing you to place the pumpkins anywhere without worrying about cords. Alternatively, you can use traditional candles or tea lights to illuminate your artificial pumpkin. Just be sure to choose a flame-resistant option and keep it away from flammable materials. The best creepy party Halloween jackolantern can be made of plastic if you choose something like this. The longevity of artificial pumpkins makes them a solid investment for repeated use in Halloween decorating.
Carving Kits: Tools for Precision and Creativity
Whether you’re carving a real or artificial pumpkin, having the right tools can make all the difference. A dedicated carving kit provides a range of specialized tools designed to make the process easier, safer, and more precise. Carving kits typically include small saws for cutting out large sections, detail knives for creating intricate designs, scoops for removing pulp, and stencils for guiding your carving. The quality of the tools can vary significantly between kits, so it’s important to choose one that’s durable and well-made. Look for kits with stainless steel blades and comfortable handles. Some kits also include safety features like finger guards or gloves. One of the most useful tools in a carving kit is the small saw. These saws are specifically designed for cutting through pumpkin skin, allowing you to create clean, precise lines. Detail knives are essential for creating intricate designs, such as faces, patterns, or logos. These knives are typically very sharp, so it’s important to use them with caution. Stencils can be a great help, especially for beginners or those looking to create complex designs. Simply tape the stencil to the pumpkin and use a detail knife to trace the outline. Once you’ve traced the outline, you can remove the stencil and start carving. A good carving kit will also include a scoop for removing pulp. These scoops are designed to scrape away the stringy pulp without damaging the pumpkin walls. In addition to the basic tools, some carving kits also include extras like clay sculpting tools or decorative accents. These additions can help you add even more detail and personality to your jack-o’-lantern. When using a carving kit, it’s important to prioritize safety. Always use the tools with caution and keep your fingers away from the blades. Supervise children closely when they’re using carving tools. And remember, a dull knife is more dangerous than a sharp one, as it requires more force to use, increasing the risk of slipping. Consider a pumpkin carving kit with safety features for a worry-free Halloween experience. The tools you use to create your Halloween pumpkin design greatly impact the result.
Lighting Options: Illuminating Your Masterpiece
Once you’ve carved your jack-o’-lantern, the next step is to illuminate it. The right lighting can bring your creation to life, casting spooky shadows and creating a captivating ambiance. There are several lighting options to choose from, each with its own advantages and disadvantages. Traditional candles are the classic choice for lighting jack-o’-lanterns. They provide a warm, flickering glow that’s perfect for creating a spooky atmosphere. However, candles also pose a fire hazard, so it’s important to use them with caution. Never leave a lit candle unattended, and be sure to place the jack-o’-lantern on a stable surface away from flammable materials. Battery-operated tea lights are a safer alternative to candles. They provide a similar flickering effect without the risk of fire. Tea lights are also reusable, making them a more sustainable option. LED lights are another popular choice for lighting jack-o’-lanterns. They’re energy-efficient, long-lasting, and come in a variety of colors. LED lights can be battery-operated or plugged into an outlet. Some LED lights even come with remote controls, allowing you to adjust the brightness and color from a distance. For a more dramatic effect, consider using a colored light. Red, green, or blue lights can create a truly spooky ambiance. You can also use strobe lights to create a flickering effect. When choosing a light source, consider the size of your jack-o’-lantern. A small pumpkin may only need a single tea light, while a larger pumpkin may require several lights. Experiment with different lighting options to find the one that works best for your jack-o’-lantern. Another option is to use electric lanterns inside your carved pumpkin. These are particularly useful for larger pumpkins and are generally safe if you keep the wiring in good condition. No matter which lighting option you choose, always prioritize safety. Ensure that the light source is securely placed inside the jack-o’-lantern and that it doesn’t come into contact with any flammable materials. Proper lighting enhances the spooky charm of your perfect Halloween pumpkin design. Ultimately, the goal is to find a lighting solution that complements your carving and creates the desired atmosphere.
Creating a Creepy Party Atmosphere
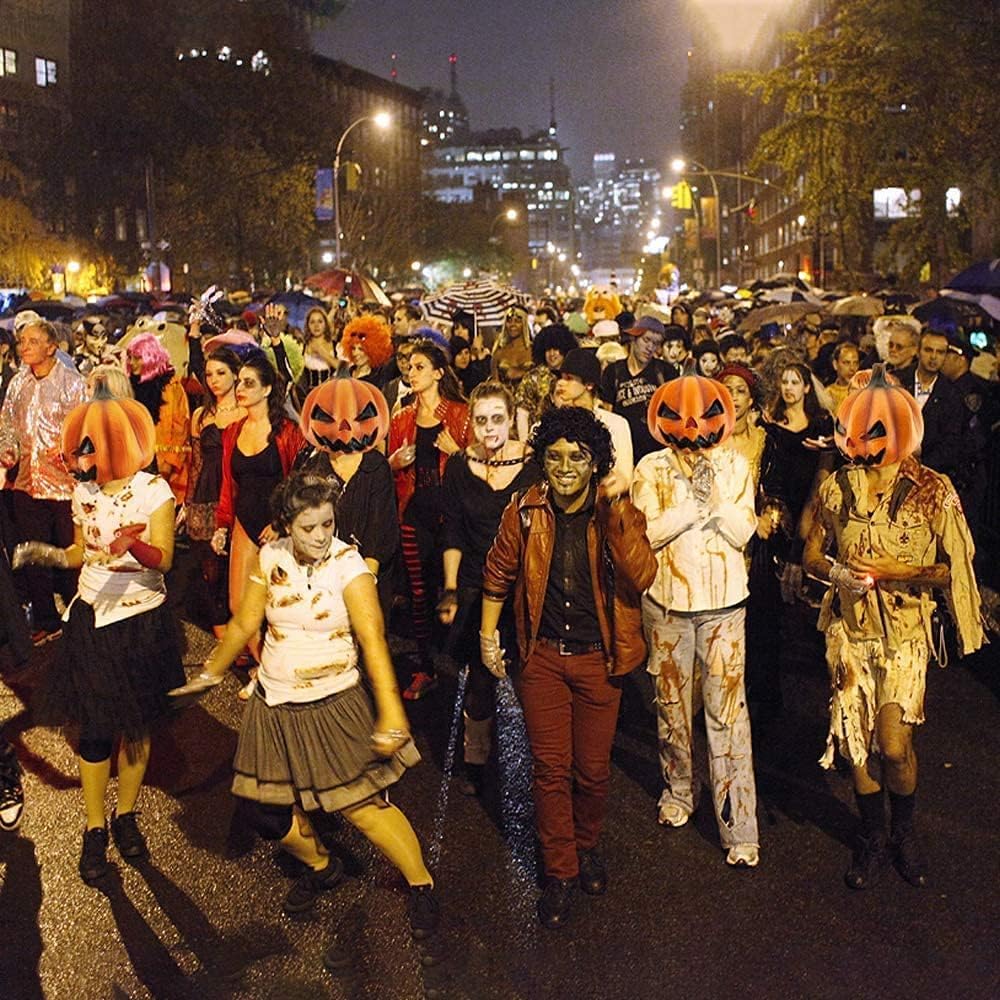
A jack-o’-lantern is more than just a carved pumpkin; it’s a symbol of Halloween and a key element in creating a creepy party atmosphere. The ambiance you create with your jack-o’-lantern can set the tone for your entire Halloween celebration. Consider the overall theme of your party when designing your jack-o’-lantern. Are you going for a classic spooky vibe, a more humorous approach, or something truly terrifying? Your design should reflect the theme you’re aiming for. Placement is also important. A jack-o’-lantern placed on a porch, in a window, or along a walkway can create a welcoming and spooky entrance. Grouping multiple jack-o’-lanterns together can amplify the effect, creating a more dramatic display. Incorporate other Halloween decorations around your jack-o’-lantern to enhance the atmosphere. Cobwebs, skeletons, ghosts, and bats can all contribute to the spooky ambiance. Consider using different lighting techniques to create depth and shadows. Spotlights, string lights, and colored lights can all be used to highlight your jack-o’-lantern and create a more immersive experience. Sound effects can also add to the atmosphere. Spooky music, eerie soundscapes, or even the sound of howling wolves can enhance the sense of unease. Consider incorporating interactive elements into your jack-o’-lantern display. A motion sensor that triggers a spooky sound or a hidden strobe light can surprise and delight your guests. Don’t forget about the details. Small touches like flickering candles, creepy crawlies, or a bowl of candy can all contribute to the overall atmosphere. By carefully considering all these elements, you can create a creepy party atmosphere that will impress your guests and make your Halloween celebration truly memorable. The goal is to craft an environment that is both fun and frightful, engaging all the senses and creating a lasting impression. Planning is key to creating a memorable Halloween pumpkin experience, so be sure to start early. The best Halloween decoration will set your party apart. The perfect creepy party Halloween jackolantern is a focal point of your Halloween decorations.
| Feature | Real Pumpkin | Artificial Pumpkin |
|---|---|---|
| Authenticity | High | Low to Medium |
| Durability | Low (typically lasts 1-2 weeks) | High (can last for years) |
| Ease of Carving | Medium (requires more effort to scoop out pulp) | High (often pre-cut or easy to carve) |
| Cost | Low to Medium (depending on size and location) | Medium to High (initial cost, but reusable) |
| Environmental Impact | Potentially higher due to disposal | Potentially lower due to reusability |
| Lighting Options | Versatile (candles, tea lights, LED lights) | Versatile (often includes built-in LED lights) |
Frequently Asked Questions
What are the best tips for prolonging the life of a real carved pumpkin?
Extending the lifespan of your real carved pumpkin requires a multi-pronged approach. First, after carving, thoroughly clean the inside of the pumpkin to remove any remaining pulp. This helps prevent mold growth. Next, consider applying a thin layer of petroleum jelly or vegetable oil to all cut surfaces. This creates a barrier that slows down dehydration. You can also try a bleach solution – mix one tablespoon of bleach with one quart of water and spray the inside of the pumpkin. This helps kill bacteria and fungi that cause rot. Avoid placing your carved pumpkin in direct sunlight or extreme temperatures, as this will accelerate the decomposition process. Consider bringing it indoors at night or during inclement weather. You can also submerge the pumpkin in a bucket of cold water for a few hours each day to rehydrate it. Repeat these steps every few days to keep your jack-o’-lantern looking fresh for as long as possible. Proper care can significantly extend the life of your carved creation.
How do I choose the right size and shape of pumpkin for carving?
Selecting the appropriate pumpkin size and shape depends largely on the complexity of your desired design and the intended display location. For intricate designs with many details, opt for a larger pumpkin with a smooth, even surface. This provides ample space for carving and minimizes the risk of imperfections. A round or slightly oval shape is generally easier to carve than a tall or oblong shape. These shapes offer a more balanced surface area and allow for more symmetrical designs. If you’re planning to display your jack-o’-lantern on a porch or in a window, consider the size of the available space. A smaller pumpkin may be more appropriate for a confined area, while a larger pumpkin can make a statement in a more open setting. Also, factor in the weight of the pumpkin, especially if you plan to move it frequently. A very large pumpkin can be quite heavy and difficult to handle. Ultimately, the best size and shape is a matter of personal preference and practical considerations.
Are battery-operated LED lights a safe alternative to candles for lighting jack-o’-lanterns?
Yes, battery-operated LED lights are generally considered a much safer alternative to traditional candles for illuminating jack-o’-lanterns. Candles pose a significant fire hazard, especially if the jack-o’-lantern is placed near flammable materials or left unattended. LED lights, on the other hand, produce very little heat and eliminate the risk of accidental fires. They are also more energy-efficient and longer-lasting than candles, meaning you won’t have to replace them as frequently. Battery-operated LED lights are also available in a variety of colors and styles, allowing you to create a wide range of spooky effects. Some even come with flickering modes that mimic the appearance of a real candle. While it’s always important to exercise caution when using any type of light source, battery-operated LED lights are generally considered a safe and reliable option for lighting jack-o’-lanterns, especially when children or pets are present.
What are some creative jack-o’-lantern design ideas beyond the traditional scary face?
The possibilities for jack-o’-lantern designs extend far beyond the classic spooky face. Consider carving silhouettes of bats, cats, or other Halloween-themed creatures. You can also create intricate patterns using stencils or freehand designs. Another option is to carve words or phrases into your pumpkin, such as “Boo!” or “Happy Halloween.” For a more modern twist, try carving geometric shapes or abstract designs. You can even create a layered effect by carving different depths into the pumpkin. Another creative idea is to carve a scene from your favorite movie or book. Use online resources for inspiration and step-by-step tutorials. Consider carving a pumpkin that reflects your hobbies or interests, such as a musical instrument, a sports logo, or a video game character. Don’t be afraid to experiment with different carving techniques and materials. Use cookie cutters to create simple shapes, or add decorative accents like paint, glitter, or googly eyes. The key is to let your imagination run wild and create a jack-o’-lantern that reflects your unique personality and style.
How can I involve children in pumpkin carving safely?
Involving children in pumpkin carving can be a fun and memorable Halloween activity, but it’s essential to prioritize safety. First, supervise children closely at all times and never leave them unattended with carving tools. Choose age-appropriate tools for children to use. Blunt, plastic knives or scoops are safer for younger children, while older children can use small, serrated saws under close supervision. Consider using stencils or pre-cut templates to make it easier for children to create their designs. Let children focus on scooping out the pulp and seeds, a task that is typically less risky than carving. Before you start carving, have children draw their designs on the pumpkin with a marker. This gives them a clear guide to follow and helps prevent mistakes. Teach children how to use the carving tools safely, emphasizing the importance of keeping their fingers away from the blades. Encourage children to wear gloves to protect their hands. Provide a well-lit and spacious workspace to prevent accidents. Most importantly, make sure the adults handle the sharp carving tools to create the basic shapes.
What are the most common mistakes people make when carving jack-o’-lanterns?
Several common mistakes can derail the jack-o’-lantern carving process. One of the biggest is choosing a pumpkin that is already damaged or starting to rot. Always inspect the pumpkin carefully before you buy it, looking for soft spots, cracks, or bruises. Another mistake is using dull carving tools. Dull tools require more force, increasing the risk of slipping and cutting yourself. Always use sharp, well-maintained tools. Another mistake is rushing the carving process. Take your time and plan your design carefully. Use stencils or templates if needed. Carving too deep is another common mistake. If you carve too deeply, the pumpkin will weaken and may collapse. Carve just deep enough to cut through the skin. Failing to remove all the pulp and seeds can also lead to problems. The remaining pulp will rot quickly, shortening the lifespan of your jack-o’-lantern. Leaving a poorly sized opening for cleaning the pumpkin can also be an issue; make sure the opening is wide enough to access all interior areas for scraping and bleaching. Finally, neglecting safety precautions is a serious mistake. Always use carving tools with caution and keep your fingers away from the blades.
How can I dispose of a real pumpkin responsibly after Halloween?
Disposing of your real pumpkin responsibly after Halloween can minimize its environmental impact. Instead of simply throwing it in the trash, consider composting it. Pumpkin is a great source of nutrients for compost piles. You can either compost the entire pumpkin or cut it into smaller pieces to speed up the decomposition process. If you don’t have a compost pile, check with your local municipality to see if they offer pumpkin composting programs. Many cities and towns have designated drop-off locations where you can dispose of your pumpkin for composting. Another option is to donate your pumpkin to a local farm or animal sanctuary. Many farms use pumpkins as feed for livestock. You can also leave your pumpkin in your garden or wooded area to decompose naturally. The pumpkin will provide nutrients to the soil and attract beneficial insects. However, be sure to remove any seeds to prevent unwanted pumpkin plants from growing. Avoid throwing your pumpkin into landfills, as this contributes to methane gas emissions. By taking a few simple steps, you can dispose of your pumpkin responsibly and help protect the environment. If composting isn’t an option, consider burying the pumpkin in your backyard as natural fertilizer.
Price: $34.99 - $14.99
(as of Sep 06, 2025 04:42:27 UTC – Details)


