Best 2 Pcs Halloween Skull Baking Pan 6 Review Halloween Pizza – Oemiu
Best 2 Pcs Halloween Skull Baking Pan 6 Review: Spooktacular Halloween Pizza Creations
Halloween is a time for ghoulish delights, spooky decorations, and, of course, delicious treats. What better way to celebrate than by creating a Halloween Pizza masterpiece using a skull baking pan? In this comprehensive review, we’ll delve into the world of the “Best 2 Pcs Halloween Skull Baking Pan 6,” exploring its features, benefits, and potential drawbacks. We’ll also discuss how to make the most of these pans to create memorable and terrifyingly tasty Halloween Pizza creations. Forget the typical round pizza – this year, impress your guests with edible skulls!
Unboxing the Best 2 Pcs Halloween Skull Baking Pan 6: First Impressions
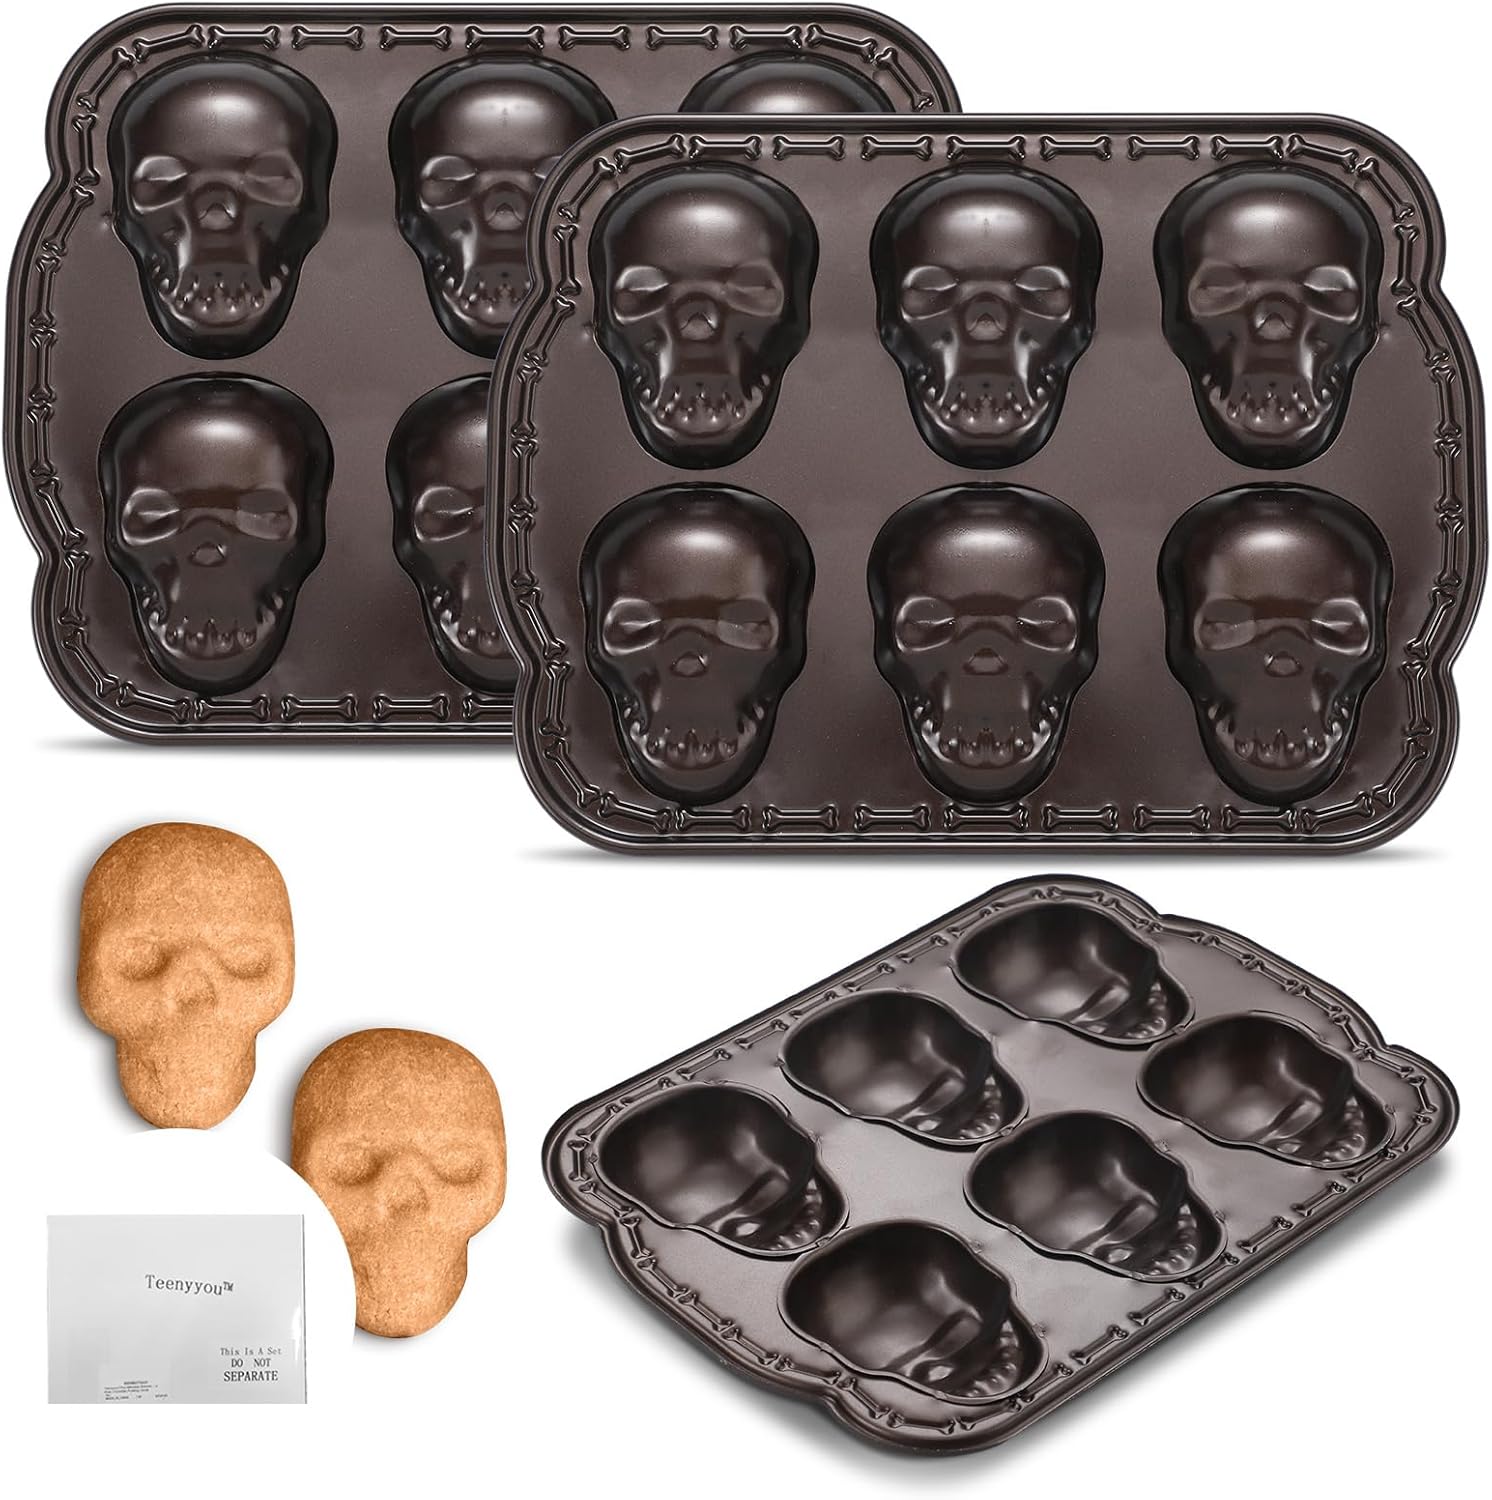
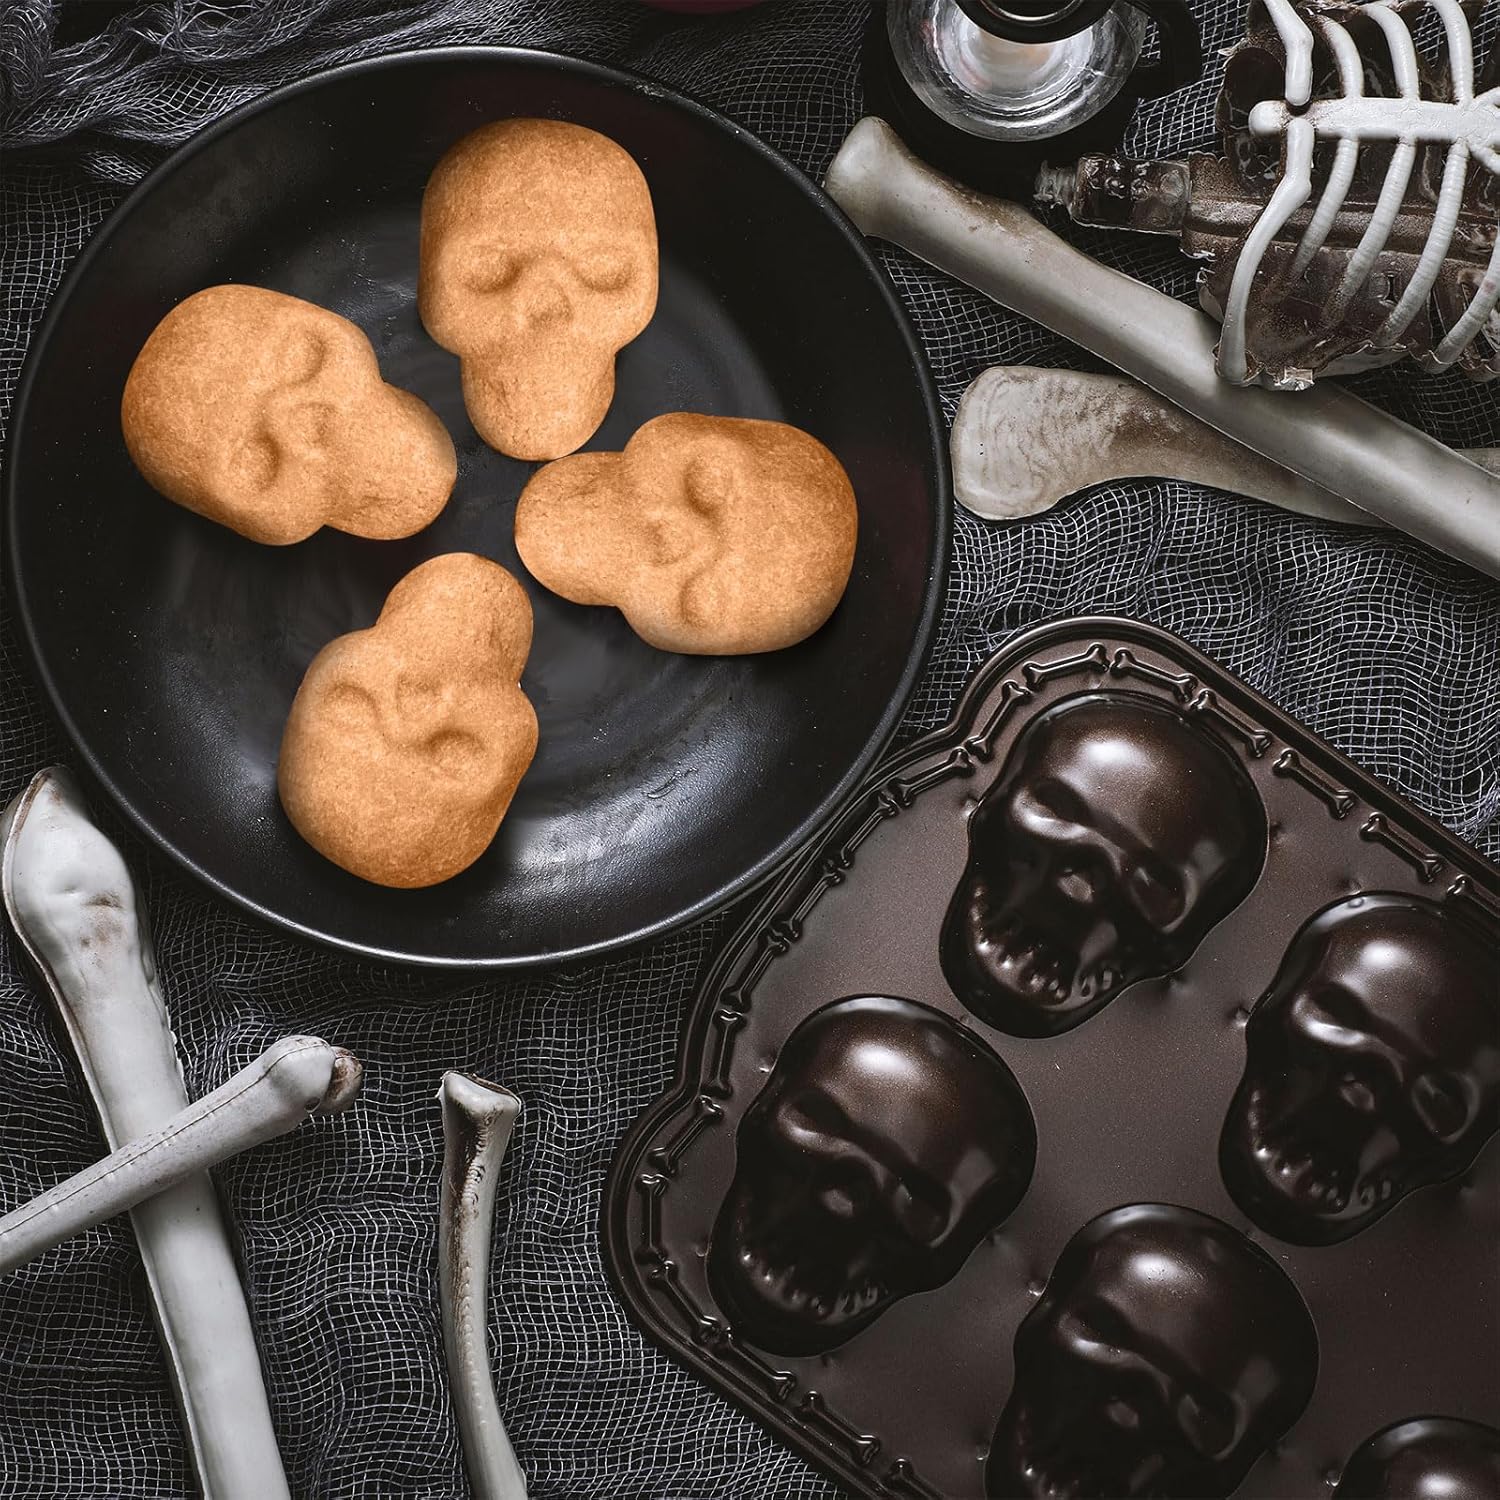
The excitement of Halloween begins long before the 31st, and the anticipation of creating spooky treats is a big part of that. Upon receiving the “Best 2 Pcs Halloween Skull Baking Pan 6,” the first thing that strikes you is its sturdy construction. The pans are typically made of food-grade silicone or a non-stick coated metal. Silicone offers flexibility and easy release, while metal provides even heat distribution.
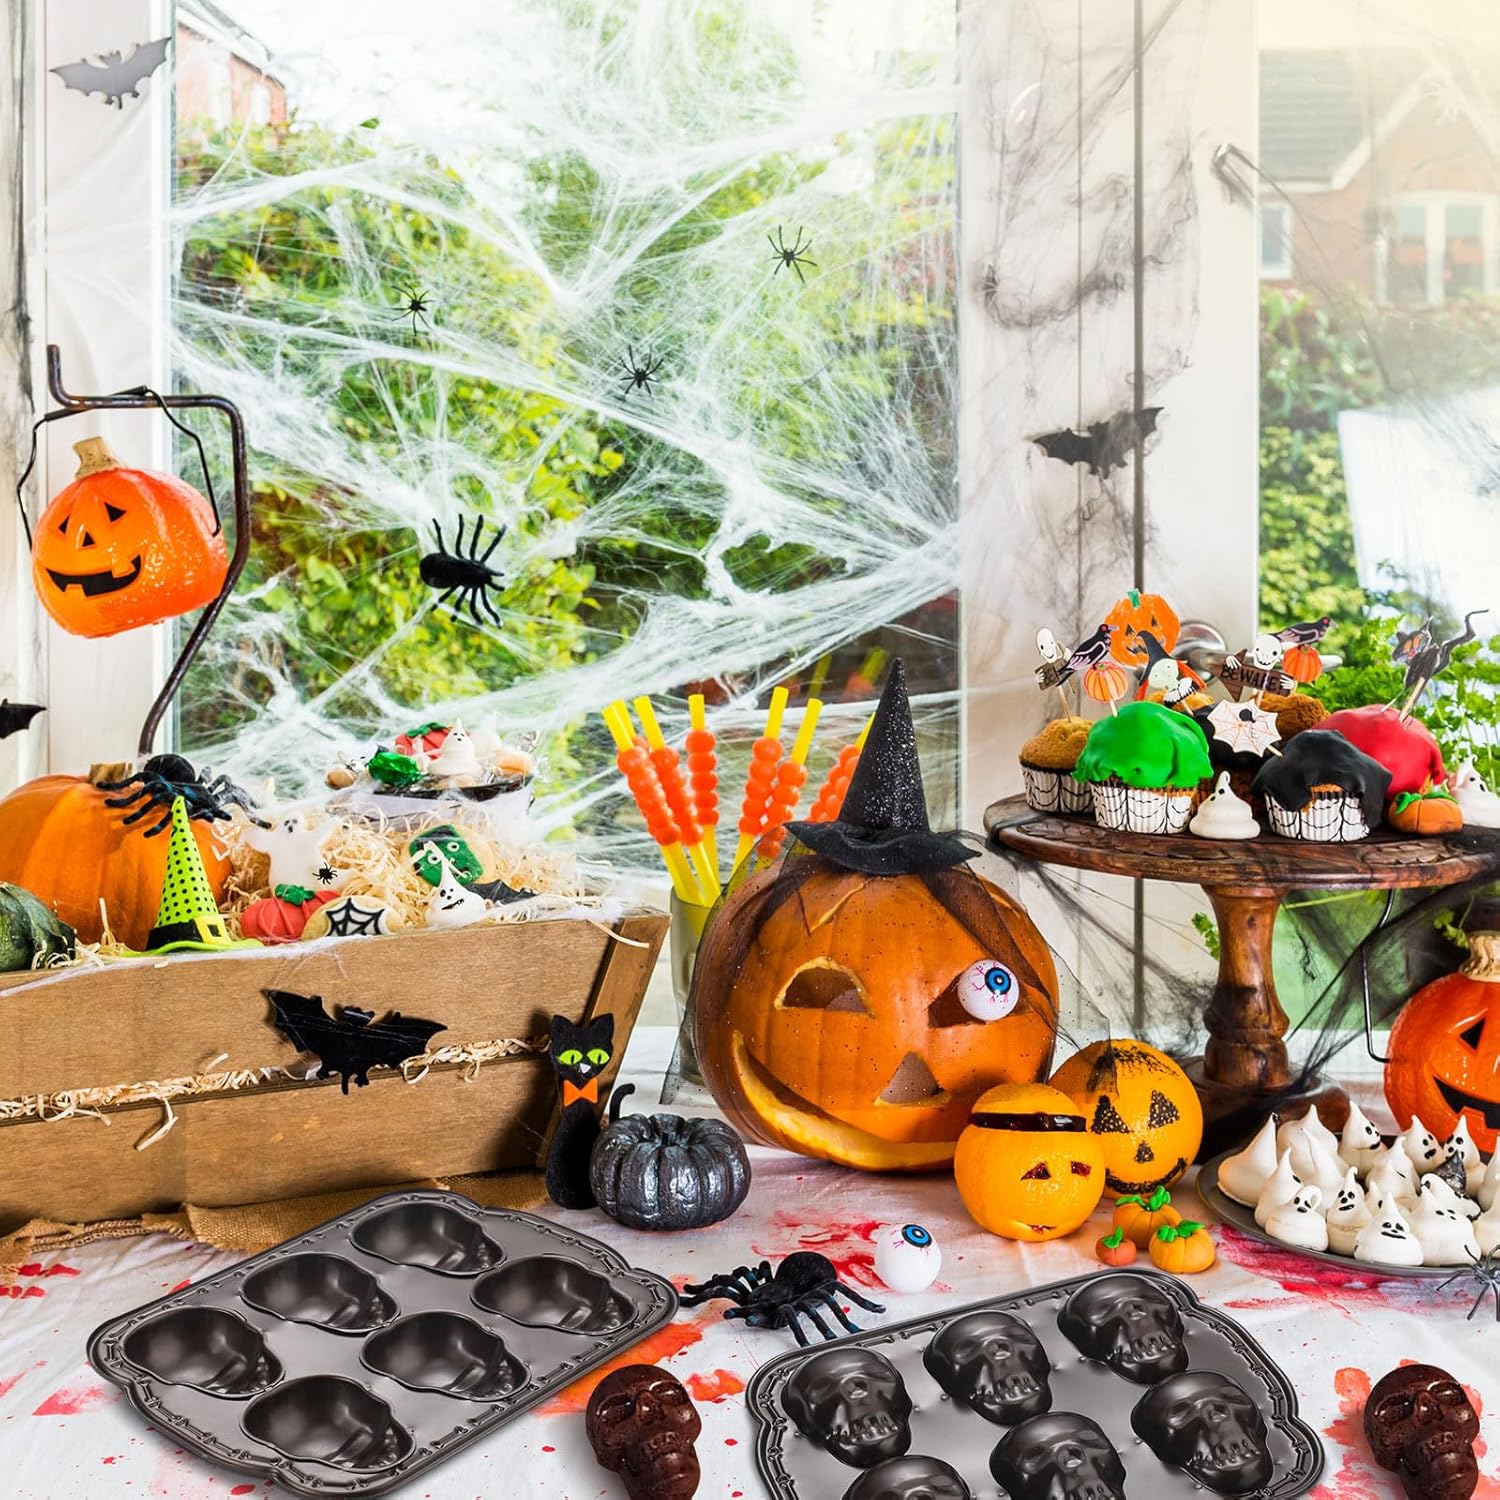
Holding the pan, you’ll notice the detailed skull design. The depth and definition of the skull shape are crucial for a visually appealing final product. A well-designed pan will have intricate details like eye sockets, teeth, and cheekbones that translate clearly onto your baked goods. The size of the skulls is also a factor. A 6-inch size is often ideal, as it’s large enough to make a statement but small enough to bake quickly and efficiently. The “Best 2 Pcs” set allows you to bake two skulls simultaneously, saving time and effort when preparing for a party or family gathering. Consider the overall weight and feel of the pan; a heavier pan usually indicates higher quality materials and better heat retention. Visually, the darker colors typical of these pans (black, gray, or even a deep orange) enhance the spooky aesthetic. Preparing for a spooky party or family gathering with a Halloween theme? These pans are a great addition to your kitchen accessories. The possibilities for making a terrifying Halloween Pizza are endless.
Diving Deep: Features and Specifications of the Skull Baking Pan Set
Let’s examine the specifics of what makes the “Best 2 Pcs Halloween Skull Baking Pan 6” a potentially valuable addition to your kitchen. These features directly impact how well you can create your Halloween Pizza and other spooky treats.
* **Material:** As previously mentioned, the material is a key factor. Silicone pans are generally more flexible and easier to clean, while metal pans offer superior heat distribution. Look for BPA-free silicone or non-stick coated carbon steel for safety and performance.
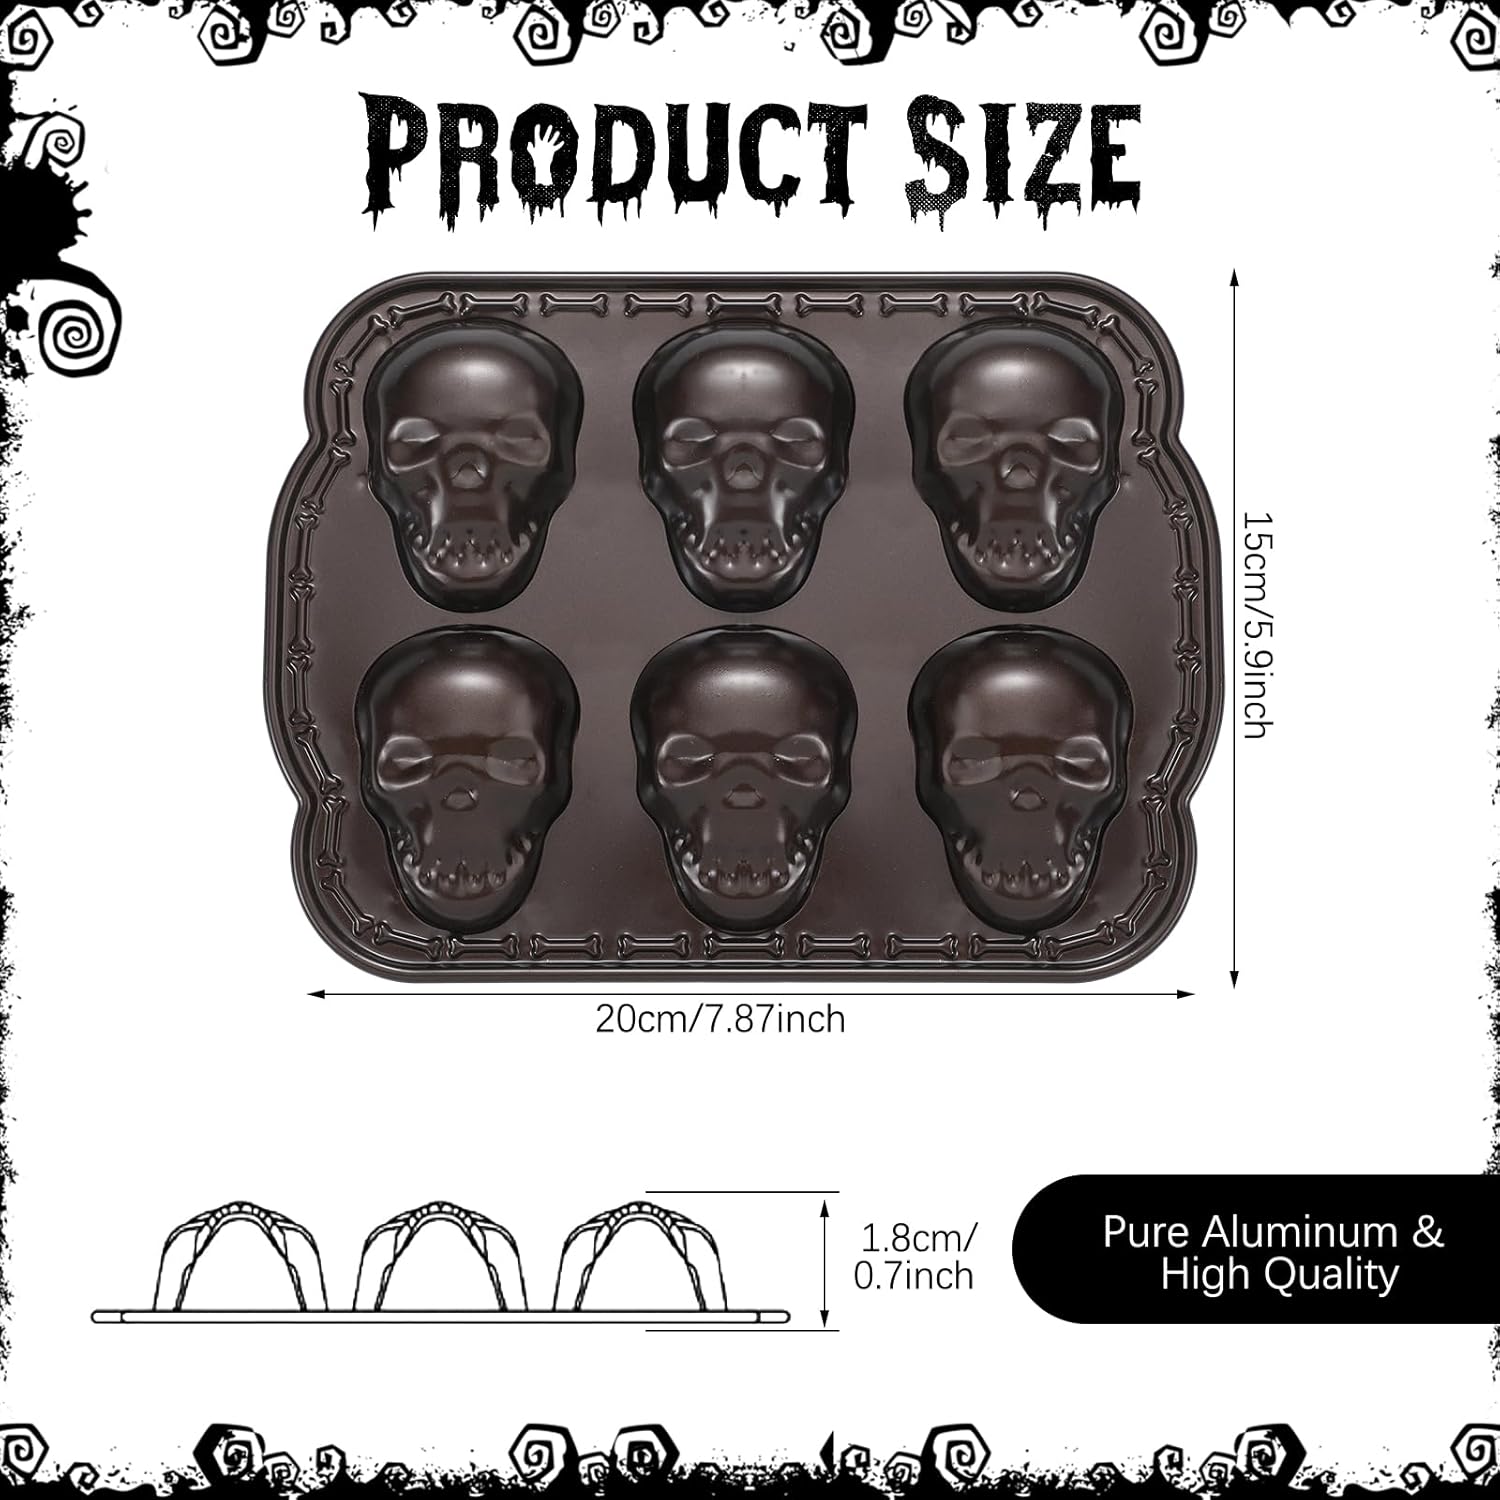
* **Size:** A 6-inch skull is a good balance between visual impact and practical baking size. Larger skulls might be difficult to handle or cook evenly, while smaller skulls might lack the desired impact.
* **Design Detail:** The depth and intricacy of the skull mold are crucial. A well-defined skull will create a more realistic and visually appealing final product. Look for pans with distinct facial features and bone structure.
* **Heat Resistance:** If you choose a silicone pan, ensure it’s heat resistant up to a safe temperature (usually 450-500°F). Metal pans generally have higher heat resistance.
* **Non-Stick Properties:** Whether silicone or metal, a good non-stick surface is essential for easy release and cleanup. This is especially important with intricate skull designs.
* **Durability:** The pans should be durable enough to withstand repeated use and cleaning. Look for reinforced edges or thicker silicone for added longevity.
* **Ease of Cleaning:** Nobody wants to spend hours scrubbing after baking. Choose pans that are dishwasher safe or easy to clean by hand.
| Feature | Silicone Skull Pan | Metal Skull Pan |
|---|---|---|
| Material | Food-grade Silicone (BPA-free) | Non-stick Coated Carbon Steel |
| Heat Resistance | Up to 450°F – 500°F | Up to 500°F+ |
| Non-Stick | Naturally Non-Stick | Requires Coating |
| Flexibility | Highly Flexible | Rigid |
| Cleaning | Easy, Dishwasher Safe | Easy, Dishwasher Safe (check manufacturer’s instructions) |
| Heat Distribution | Moderate | Excellent, Even |
Crafting Your Spooky Masterpiece: The Ultimate Halloween Pizza Guide
Now for the fun part: turning your skull baking pan into a terrifyingly delicious Halloween Pizza. The key is to think creatively and use your ingredients to enhance the spooky theme. Using the “Best 2 Pcs Halloween Skull Baking Pan 6”, we can dive into what this means.
* **The Dough:** You can use store-bought pizza dough for convenience, or make your own from scratch. For a Halloween theme, consider adding a touch of black food coloring to the dough for a ghoulish look. Another option is to use a whole wheat dough for a slightly darker, earthier flavor. Roll out the dough and carefully press it into the skull-shaped pans, ensuring it reaches all the corners and crevices.
* **The Sauce:** Classic tomato sauce works well, but you can also experiment with pesto or a butternut squash puree for a seasonal twist. For a truly spooky effect, try swirling in a small amount of black food coloring into the tomato sauce to create a “blood splatter” effect.
* **The Cheese:** Mozzarella is the traditional choice, but you can also use a blend of cheeses for a more complex flavor. Consider adding provolone, Gruyere, or even a touch of smoked Gouda for a smoky, Halloween-appropriate flavor.
* **The Toppings:** This is where you can really get creative. Use black olives to create spiderwebs or spiders themselves. Bell peppers can be cut into the shapes of ghosts or bats. Pepperoni can be arranged to look like eyeballs. Cooked sausage can be crumbled to resemble brains. Corn kernels can be used to create spooky designs. Get creative and let your imagination run wild. Make sure not to overcrowd the pan with toppings, as this can prevent the pizza from cooking evenly.
* **Baking:** Preheat your oven to the recommended temperature for your dough and bake the pizzas until the crust is golden brown and the cheese is melted and bubbly. Keep a close eye on them, as the baking time may vary depending on your oven and the thickness of the dough.
* **Serving:** Let the pizzas cool slightly before carefully removing them from the pans. Serve them whole for maximum impact, or slice them into wedges for easier eating. Garnish with fresh herbs or a sprinkle of Parmesan cheese for an extra touch of flavor.
Making a scary good Halloween Pizza for your family couldn’t be any easier with these pans. The skull shape adds a festive element, and the pizza is always a crowd-pleaser.
Beyond Pizza: Unleashing the Versatility of Your Skull Pans
While the “Best 2 Pcs Halloween Skull Baking Pan 6” is perfect for making Halloween Pizza, its versatility extends far beyond just one dish. Here are some other creative ways to use these pans:
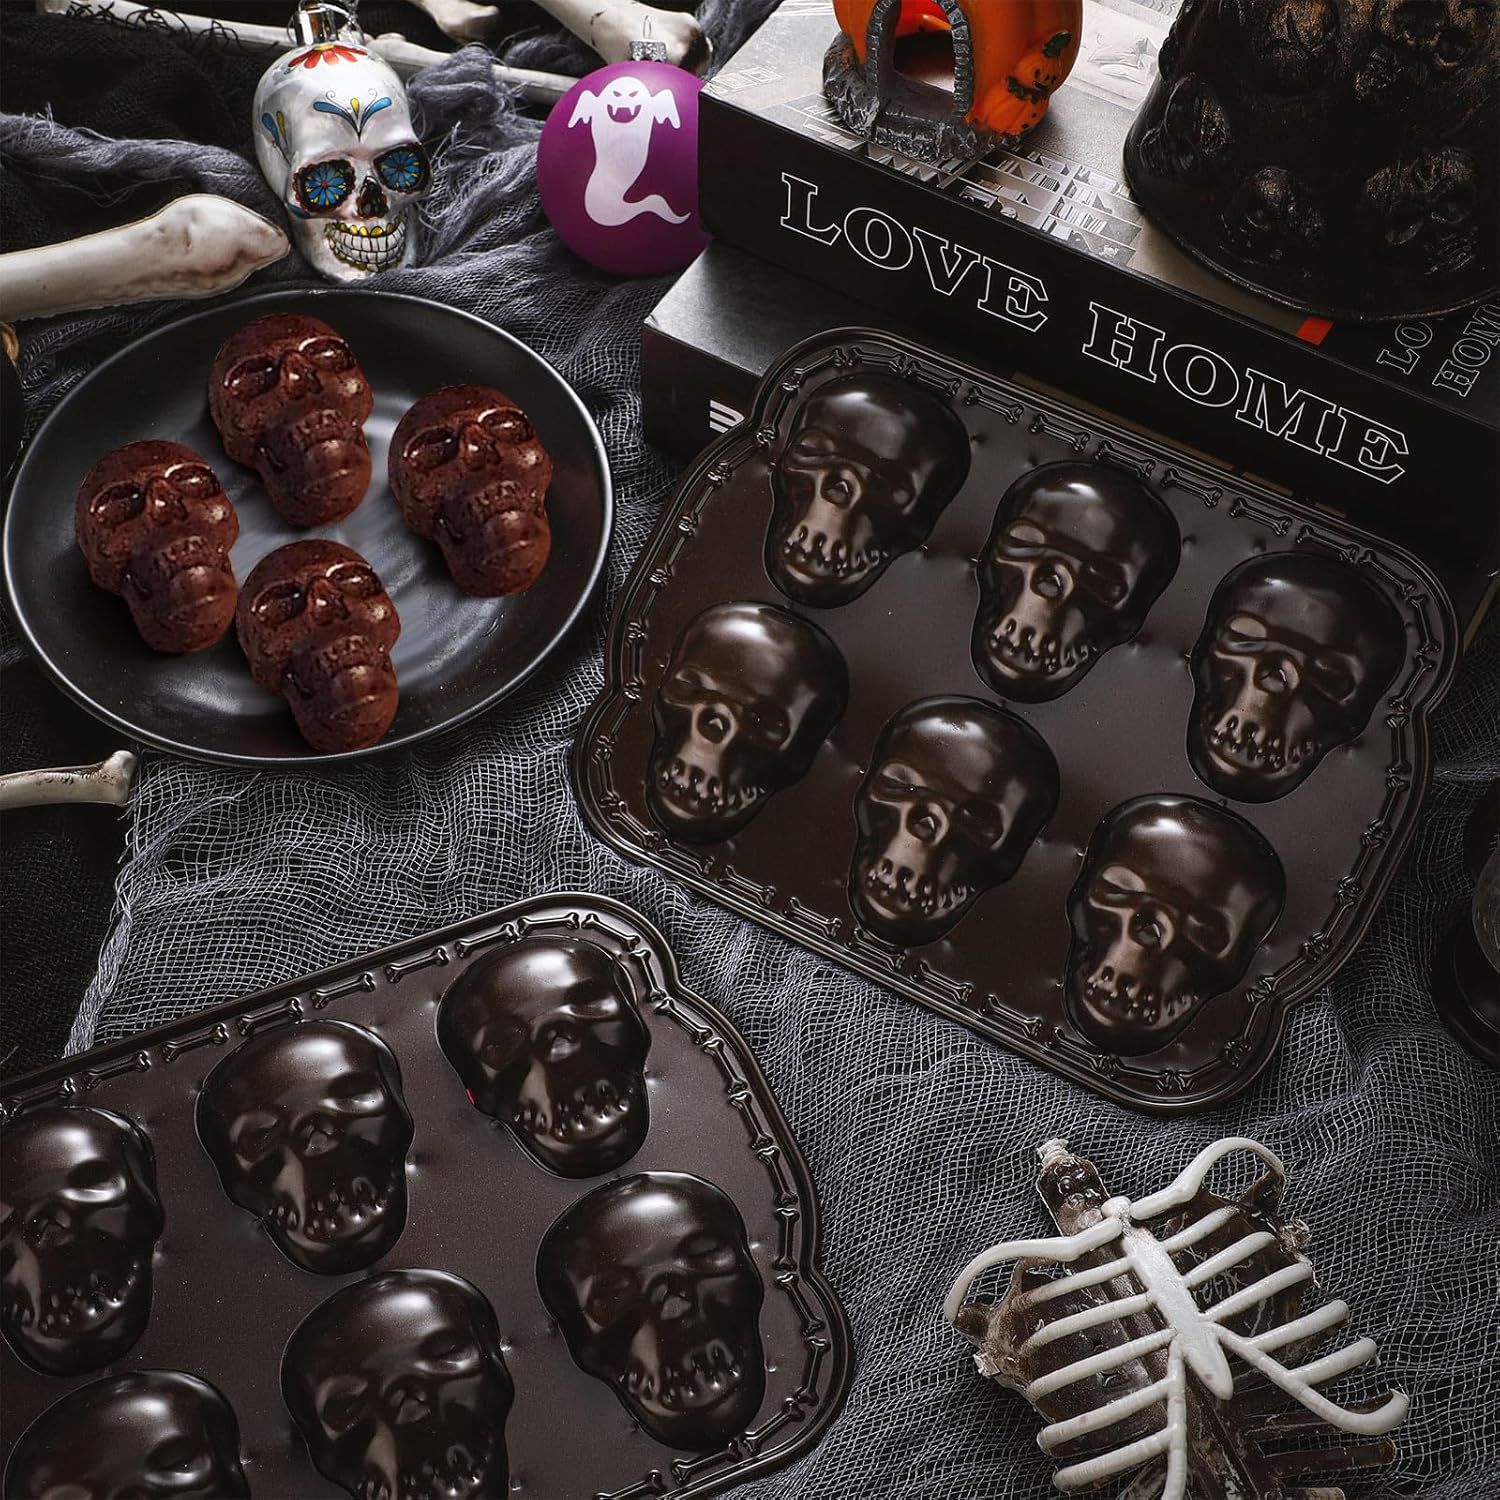
* **Cakes:** Bake individual skull-shaped cakes for a spooky dessert. Use a chocolate cake batter for a dark and decadent treat, or a vanilla cake batter for a lighter option. Frost the cakes with buttercream icing and decorate them with edible skulls, bones, or other Halloween-themed decorations.
* **Brownies:** Transform your favorite brownie recipe into skull-shaped delights. The fudgy texture of brownies perfectly complements the spooky shape. Drizzle with white chocolate for a ghostly effect, or dust with powdered sugar for a classic look.
* **Jell-O Molds:** Create wobbly, jiggly skull-shaped Jell-O molds for a fun and festive dessert. Use different colors of Jell-O to create layered effects, or add gummy worms or other candies for a creepy crawly surprise.
* **Ice Molds:** Freeze water, juice, or even cocktails in the skull pans to create spooky ice molds. Add food coloring or fruit slices for extra flair. These ice molds are perfect for chilling Halloween-themed drinks.
* **Soap Molds:** If you’re feeling crafty, use the skull pans to make homemade soaps. Add essential oils and natural colorants to create unique and personalized soaps.
* **Candy Molds:** Melt chocolate or candy melts and pour them into the skull pans to create skull-shaped candies. Add nuts, pretzels, or other ingredients for extra texture and flavor.
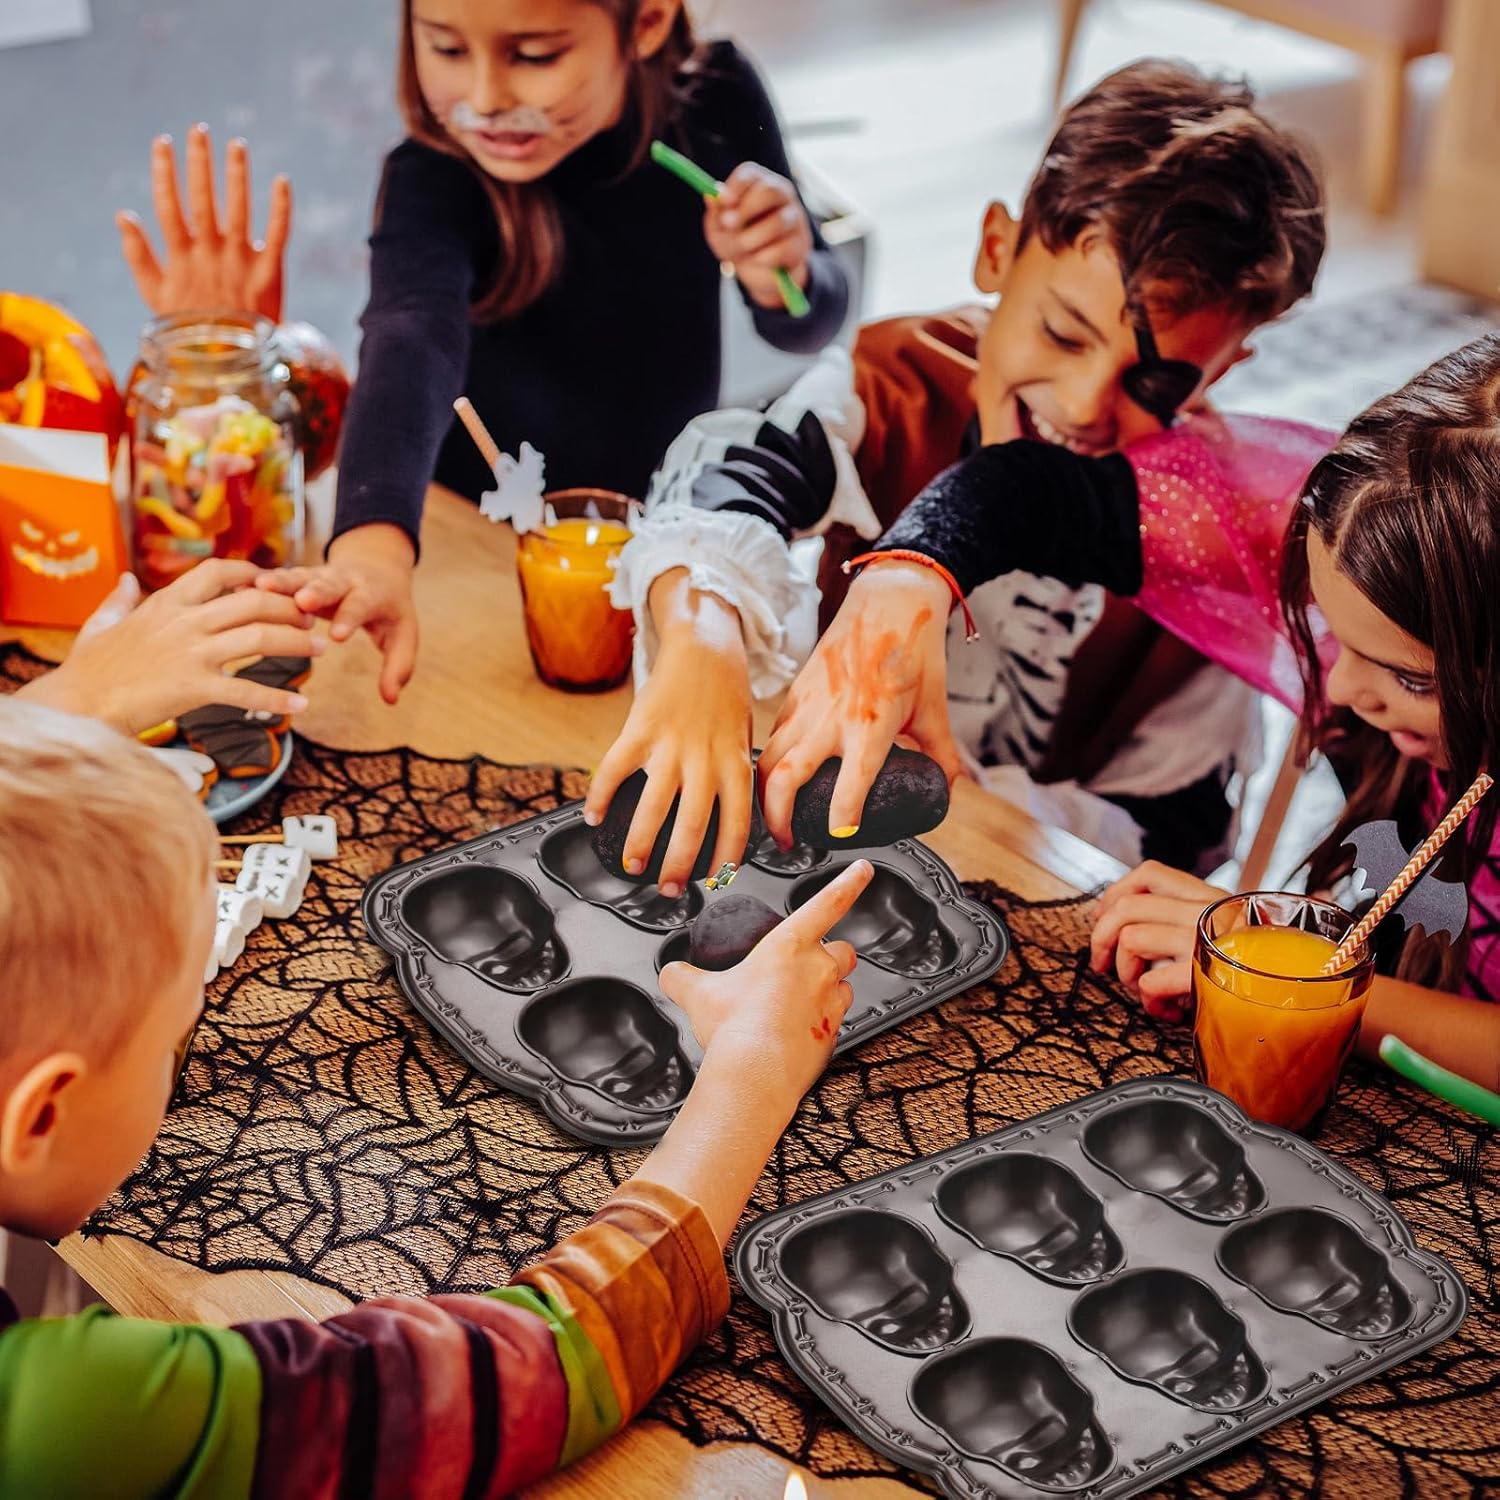
These pans aren’t just for baking, but for creativity! Think outside the box and you’ll discover even more ways to use them. A Halloween themed pizza party would be the perfect venue for this.
Pros and Cons: Weighing the Skull Baking Pan’s Value
Before making a purchase, it’s important to weigh the pros and cons of the “Best 2 Pcs Halloween Skull Baking Pan 6.” This will help you determine if these pans are the right fit for your needs and preferences.
**Pros:**
* **Festive and Fun:** The skull shape adds a spooky and festive touch to your Halloween creations.
* **Versatile:** Can be used for baking, molding, and crafting.
* **Easy to Clean:** Silicone and non-stick coated metal pans are generally easy to clean.
* **Durable:** High-quality pans can withstand repeated use and cleaning.
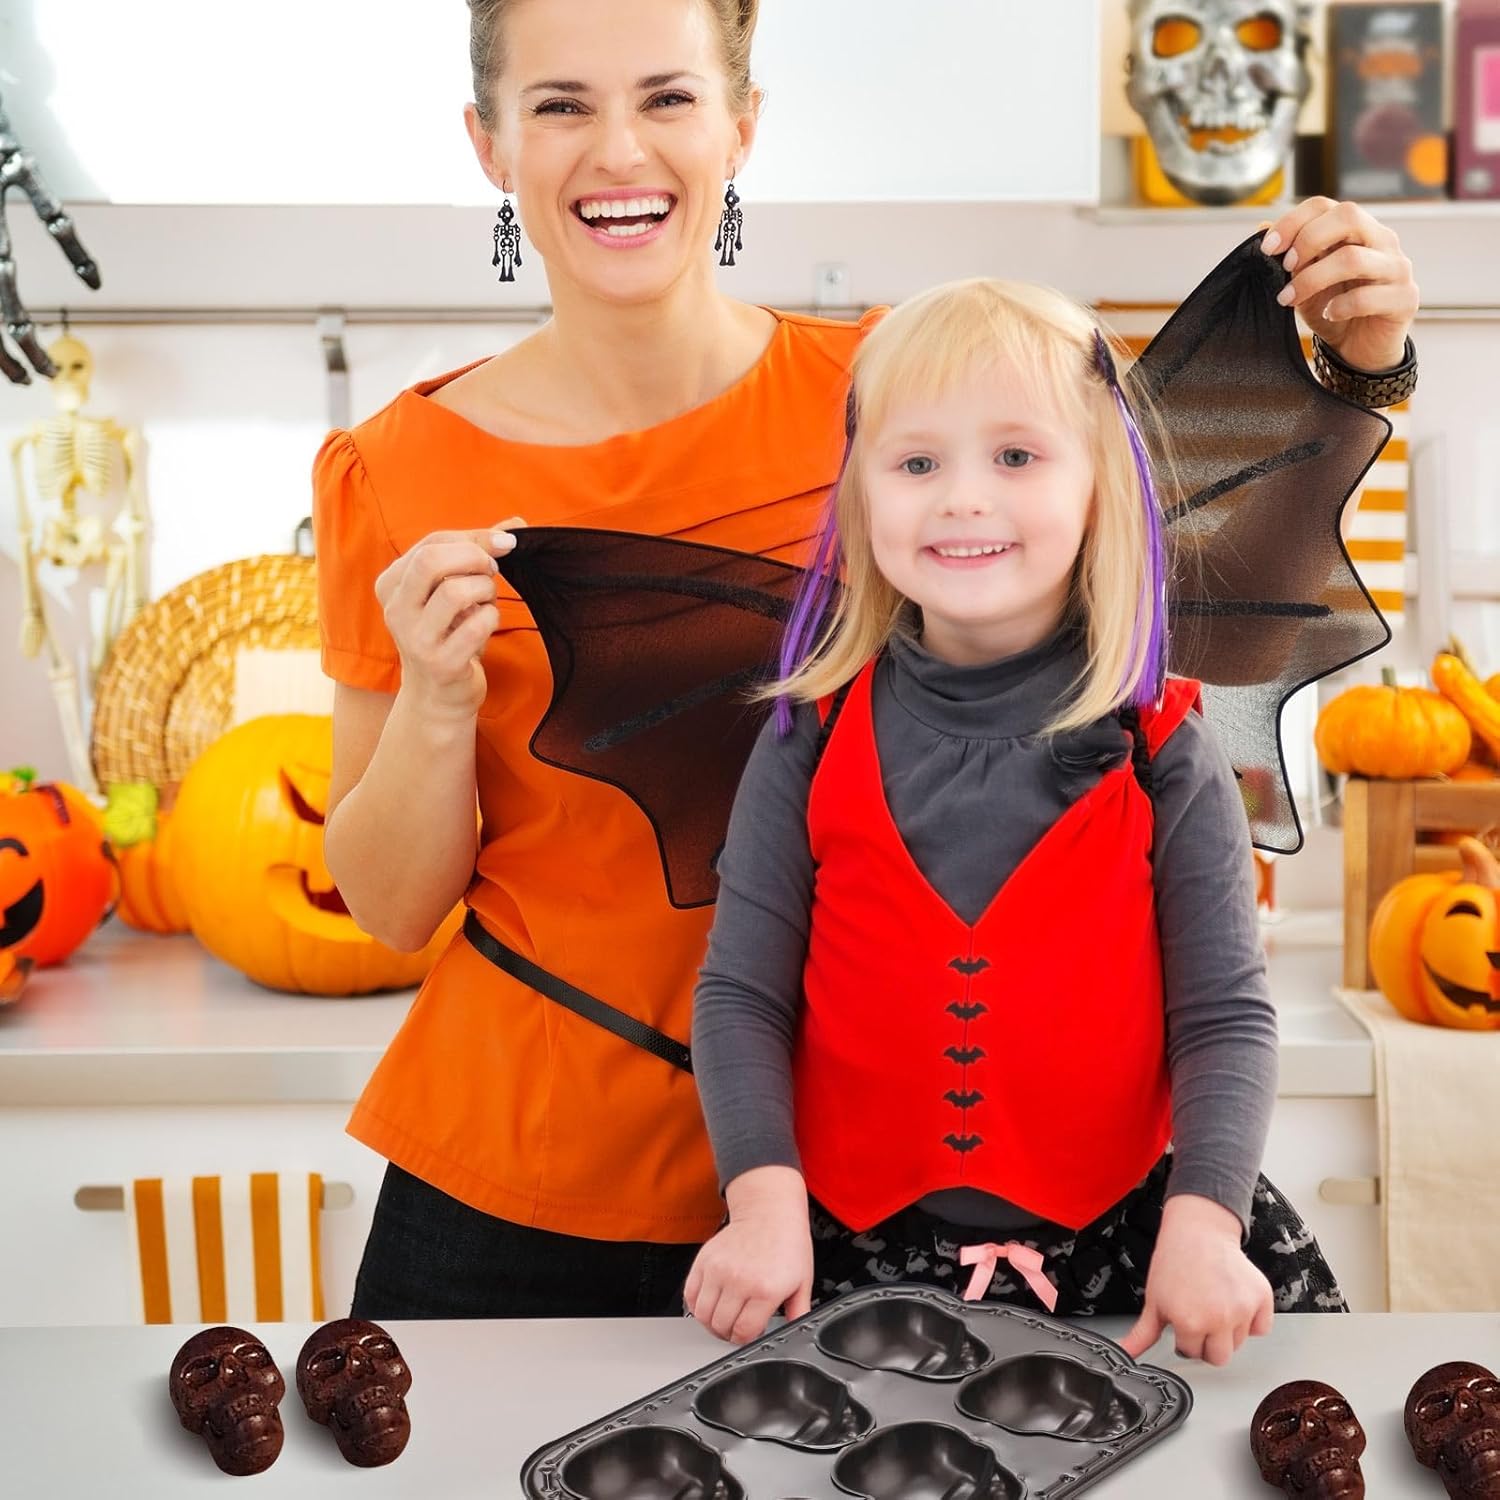
* **Two-Piece Set:** Allows you to bake two skulls simultaneously, saving time and effort.
* **Unique Halloween Pizza:** Create a different and fun recipe for a Halloween Pizza.
**Cons:**
* **Limited Use:** The skull shape is primarily suitable for Halloween or other spooky occasions.
* **Size Limitations:** The 6-inch size may not be suitable for large batches or large servings.
* **Potential for Uneven Baking:** Depending on the material and design, the pans may not distribute heat evenly.
* **Storage:** The bulky skull shape may take up more storage space than traditional baking pans.
* **Material Quality:** Lower-quality silicone or non-stick coatings may degrade over time.
Choosing a baking pan can be daunting, consider if you need the pan specifically for baking a Halloween Pizza, and if you will use it for other things as well.
Making the Right Choice: Factors to Consider Before Buying
Choosing the right “Best 2 Pcs Halloween Skull Baking Pan 6” depends on your individual needs and preferences. Here are some key factors to consider before making a purchase:
* **Frequency of Use:** If you plan to use the pans frequently, invest in high-quality materials and construction.
* **Cleaning Preferences:** If you prefer dishwasher-safe items, choose pans that are specifically labeled as dishwasher safe.
* **Budget:** Skull baking pans range in price, so set a budget before you start shopping.
* **Storage Space:** Consider the size and shape of the pans and whether you have adequate storage space.
* **Intended Use:** Think about what you plan to bake or mold in the pans. This will help you determine the appropriate material and size.
* **Reviews and Ratings:** Read online reviews and ratings from other customers to get an idea of the pan’s performance and durability.
* **Brand Reputation:** Choose a reputable brand that is known for producing high-quality baking supplies.
With all the factors listed above, finding the perfect pan for that Halloween Pizza is a breeze.
Frequently Asked Questions (FAQ)
What is the best material for a Halloween skull baking pan?
The best material for a Halloween skull baking pan depends on your priorities. Silicone offers flexibility, easy release, and generally easier cleanup, making it a good choice for beginners or those who value convenience. Look for food-grade, BPA-free silicone. Metal, particularly non-stick coated carbon steel, provides superior heat distribution, resulting in more evenly baked goods. Metal pans are also generally more durable and can withstand higher temperatures. However, they might require more careful handling to prevent scratching the non-stick coating. Consider your baking experience and desired level of convenience when choosing between silicone and metal. A well-made metal pan can last longer, but a flexible silicone pan can be incredibly convenient for removing intricate skull shapes. In the end, the “best” material is the one that best suits your baking style and preferences for making the perfect Halloween Pizza.
How do I prevent my pizza or cake from sticking to the skull baking pan?
Preventing sticking is crucial for preserving the intricate details of your skull-shaped creations. For silicone pans, a light spray with cooking oil or baking spray is usually sufficient. For metal pans, ensure the non-stick coating is in good condition. If it’s starting to wear down, consider lightly greasing and flouring the pan before adding your dough or batter. Pay close attention to the nooks and crannies of the skull design, as these are the most prone to sticking. After baking, let the pizza or cake cool slightly before attempting to remove it. Cooling allows the food to firm up, making it less likely to break. If using a silicone pan, gently flex the sides to loosen the edges. If using a metal pan, run a thin spatula around the edges before inverting it onto a serving plate. With a little care and preparation, you can ensure your Halloween Pizza or cake releases cleanly from the skull baking pan, revealing its spooky details.
Can I use these skull pans for other holidays or occasions?
While the skull shape is most associated with Halloween, you can certainly use these pans for other holidays or occasions with a bit of creativity. For a gothic-themed birthday party, a skull-shaped cake would be a perfect fit. You could also use the pans to create skull-shaped ice molds for a pirate-themed party. Think about how you can adapt the skull shape to fit the theme of your event. You can decorate the skull cakes or pizzas with different colors and toppings to make them more festive for other holidays. For example, red and green frosting for Christmas, or pastel colors for Easter. The key is to think outside the box and find ways to incorporate the skull shape into your overall theme. While it may not be suitable for every occasion, there are plenty of opportunities to get creative and use your skull baking pans year-round.
Are these skull baking pans dishwasher safe?
Whether or not the “Best 2 Pcs Halloween Skull Baking Pan 6” is dishwasher safe depends on the specific material and manufacturer’s instructions. Most silicone pans are dishwasher safe, but it’s always best to check the packaging or product description to be sure. Metal pans with non-stick coatings may also be dishwasher safe, but frequent dishwasher use can shorten the lifespan of the non-stick coating. Hand washing with warm soapy water is generally recommended for metal pans to preserve the coating. If you do choose to wash your skull baking pans in the dishwasher, place them on the top rack to avoid direct contact with the heating element. Avoid using abrasive cleaners or scrub brushes, as these can damage the surface of the pans. Always refer to the manufacturer’s instructions for specific cleaning recommendations.
What is the best way to store these skull baking pans?
Due to their unique shape, storing skull baking pans can be a bit tricky. The best approach depends on the material and available storage space. For silicone pans, you can often fold or roll them up to save space. Store them in a drawer or cabinet away from sharp objects that could puncture or tear the silicone. For metal pans, avoid stacking them directly on top of each other, as this can scratch the non-stick coating. Instead, place a piece of parchment paper or a kitchen towel between the pans to protect the surface. Store metal pans in a cabinet or pantry where they won’t be bumped or scratched. If you have limited storage space, consider hanging the pans on hooks using the hole often found at the top edge of the pan.
How do I get a perfectly defined skull shape in my baked goods?
Achieving a perfectly defined skull shape in your baked goods requires careful preparation and attention to detail. Start by ensuring your skull baking pan is thoroughly clean and dry. Lightly grease or spray the pan with cooking oil or baking spray, paying close attention to the nooks and crannies of the skull design. If using a metal pan, consider lightly flouring it as well. When filling the pan with dough or batter, make sure to press it firmly into all the crevices to capture the intricate details. Avoid overfilling the pan, as this can cause the baked goods to overflow and lose their shape. During baking, monitor the progress closely and adjust the baking time as needed. Overbaking can dry out the edges and make it difficult to release the baked goods cleanly. After baking, let the pizza or cake cool slightly before attempting to remove it. This allows the food to firm up and retain its shape. Finally, use a gentle touch when removing the baked goods from the pan to avoid breaking or damaging the skull shape.
Can I use these pans for making chocolate skulls?
Yes, skull baking pans are excellent for making chocolate skulls! The process is relatively simple and yields impressive results. First, melt your chocolate of choice (dark, milk, or white) using a double boiler or microwave. Ensure the chocolate is smooth and free of lumps. Allow the chocolate to cool slightly before pouring it into the skull baking pans. Tap the pans gently to release any air bubbles and ensure the chocolate fills all the crevices of the skull design. Place the pans in the refrigerator or freezer to allow the chocolate to set completely. Once the chocolate is firm, carefully remove the skulls from the pans. You can decorate the chocolate skulls with edible markers, sprinkles, or other candies to create personalized designs. These chocolate skulls are perfect for Halloween parties, gothic-themed desserts, or as spooky additions to gift baskets. Experiment with different types of chocolate and decorations to create unique and delicious treats. A Halloween Pizza topped with these chocolate skulls would make for a truly memorable and terrifying dessert.
Price: $25.99
(as of Sep 11, 2025 12:45:23 UTC – Details)


