
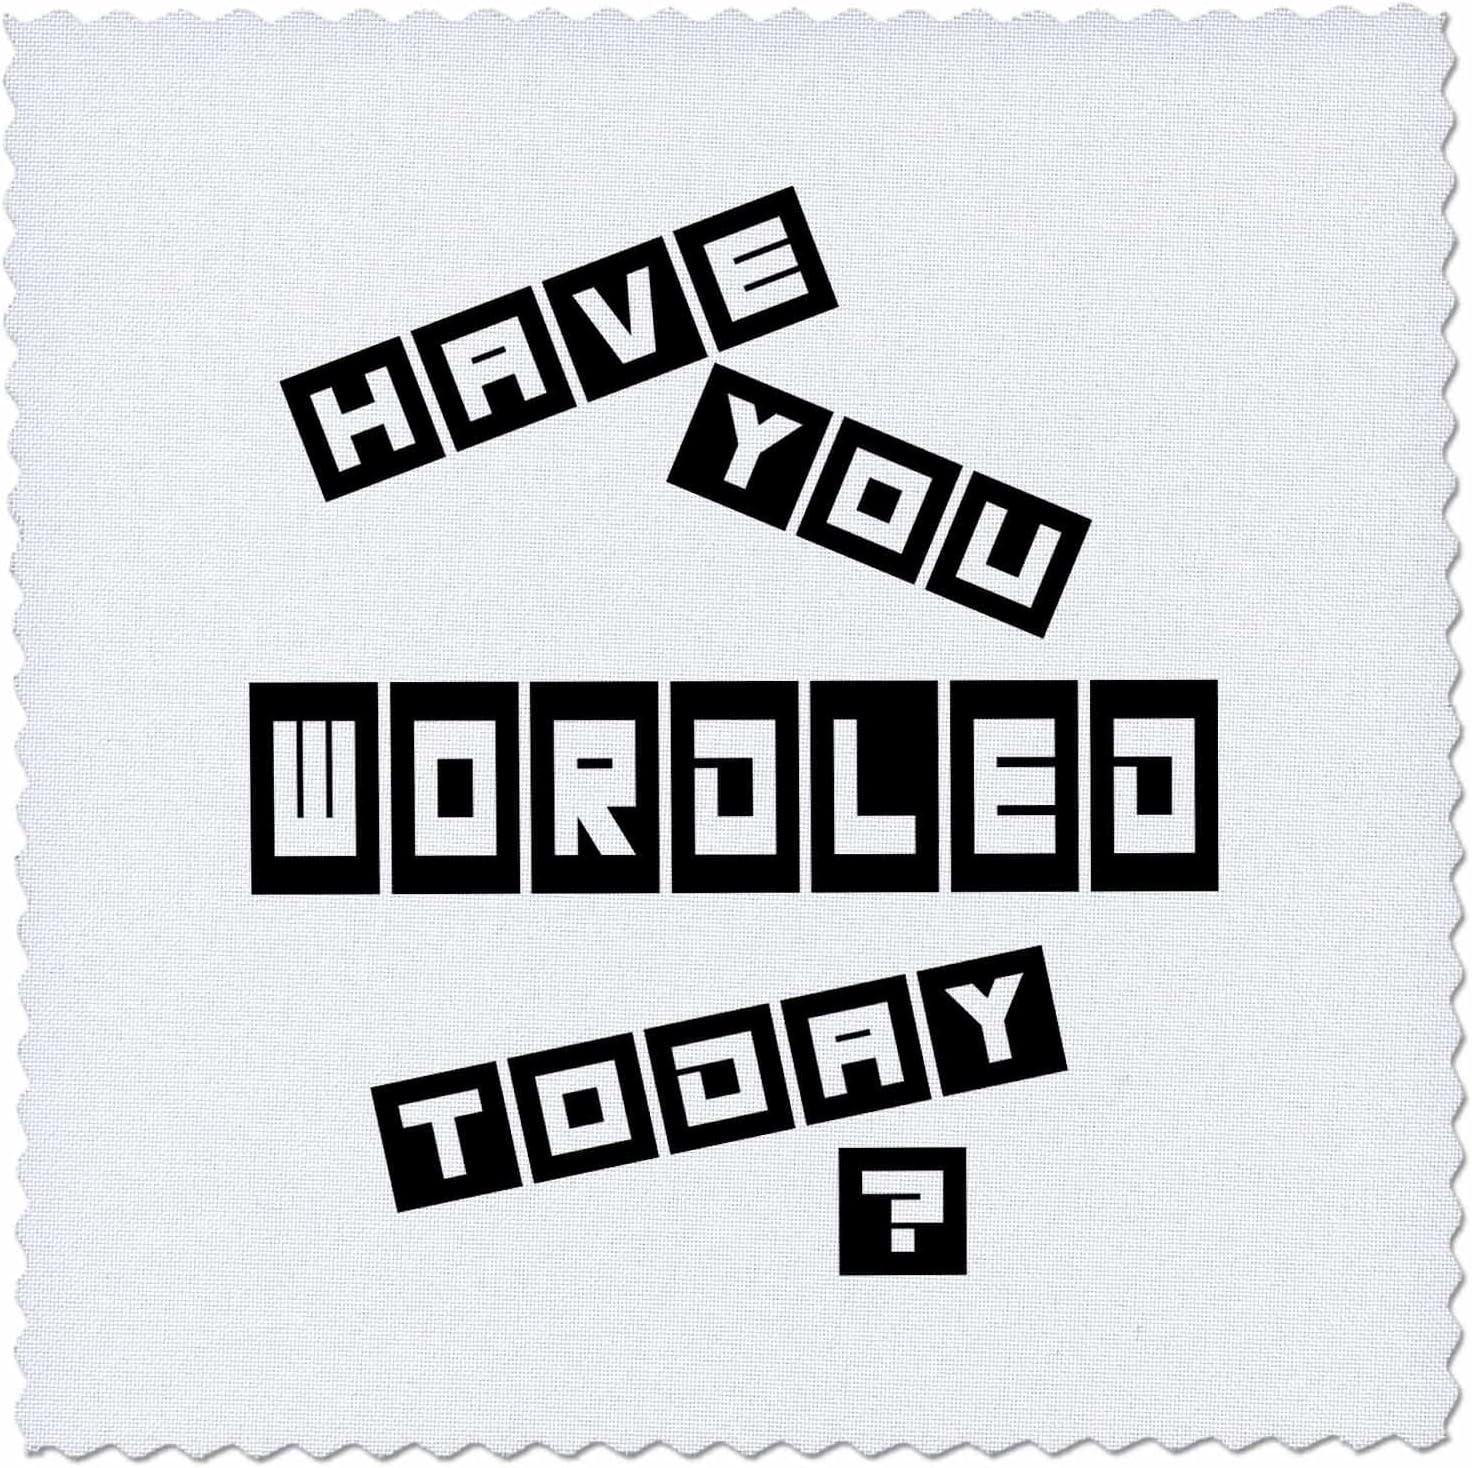
Best 14×14 inch Quilt Square – Cute Funny Review wordle today Buying Guide
Best 14×14 inch Quilt Square: Cute, Funny Review & Buying Guide
The world of quilting is a vast and vibrant landscape, filled with endless possibilities for creativity and self-expression. From intricate patterns to whimsical designs, quilts tell stories, preserve memories, and provide warmth and comfort. At the heart of many quilts lies the humble quilt square, a building block that, when combined with others, transforms into a stunning work of art. While quilt squares come in various sizes, the 14×14 inch quilt square offers a sweet spot between versatility and manageability, making it a popular choice for quilters of all skill levels. But with so many options available, how do you choose the best 14×14 inch quilt square for your project, especially when you’re looking for something cute, funny, or even inspired by the popular online game Wordle (in the context of crafting, of course)? This comprehensive guide will delve into the world of 14×14 inch quilt squares, exploring the different types, materials, design considerations, and ultimately helping you make an informed decision for your next quilting adventure. Whether you’re a seasoned quilter or just starting out, get ready to unlock the potential of the perfect 14×14 inch canvas for your creative vision. We’ll also be looking at how to incorporate themes from things you love, like perhaps creating a quilt square inspired by today’s wordle puzzle, into your designs.
Understanding the Appeal of 14×14 Inch Quilt Squares
Why choose a 14×14 inch quilt square over other sizes? The answer lies in its versatility and balance. It’s large enough to accommodate intricate designs, detailed embroidery, or even a small panel print, yet it’s manageable enough to handle and sew without feeling cumbersome. Think of it as the Goldilocks of quilt squares – not too big, not too small, but just right. This size allows for a decent amount of real estate for showcasing your chosen fabric, pattern, or embellishments. It’s a good size for beginner quilters to learn on, as it allows enough space to comfortably practice seams and piecing, while experienced quilters will appreciate the larger canvas for complex designs. For projects like baby quilts or smaller lap quilts, 14×14 inch squares provide a good balance between size and the number of squares needed, simplifying the overall construction. Additionally, the relatively large size lends itself well to “charm pack” quilting, where pre-cut fabrics are used for a more spontaneous and scrappy look. Imagine using a collection of coordinating fabrics to create a visually rich and texturally interesting quilt square. Furthermore, this size can be easily adapted to various quilt patterns, from traditional block designs to more modern and abstract compositions. The even number dimension also makes it easy to subdivide the square into smaller components for more complex piecing within the square itself.
Another advantage of 14×14 inch quilt squares is their adaptability for different quilting techniques. They work well with hand quilting, machine quilting, and even longarm quilting. The size allows for enough space to create intricate quilting patterns within each square, adding depth and dimension to the finished quilt. For example, you could use a simple stipple stitch to fill the background of a fabric panel or try free-motion quilting to create more elaborate designs. The larger size also gives you more room to experiment with different thread weights and colors to create visual interest. If you’re interested in incorporating applique into your quilt, a 14×14 inch square provides ample space to showcase your chosen designs. You can use a variety of applique techniques, such as needle-turn applique, raw-edge applique, or fusible applique, to create stunning effects. Consider layering different fabrics and embellishments to add texture and dimension to your applique designs. The 14×14 inch square also works beautifully for showcasing embroidered details. You can use a variety of embroidery stitches to create intricate designs, monograms, or even personalized messages on your quilt squares. Experiment with different thread colors and textures to add visual interest to your embroidery. The versatility of this size makes it an excellent choice for a wide range of quilting projects, from traditional quilts to contemporary art quilts. You might even design a 14×14 inch square inspired by a particularly difficult wordle today, celebrating a puzzle solved with clever thinking and wordplay.
Cute and Funny Quilt Square Ideas
Let’s face it, sometimes quilting is about more than just creating a functional object; it’s about bringing joy and laughter into the world. Incorporating cute and funny elements into your 14×14 inch quilt squares can transform a simple quilt into a delightful conversation starter and a cherished keepsake. The possibilities are endless, limited only by your imagination. Consider incorporating whimsical animal motifs, such as playful kittens, mischievous puppies, or quirky cartoon characters. You can find a plethora of fabric panels, embroidery patterns, and applique designs featuring adorable animals. Alternatively, you can create your own custom designs using felt, fabric scraps, and a little bit of creativity. Don’t be afraid to experiment with different textures and embellishments to add visual interest to your animal designs. For example, you could use faux fur to create a fluffy tail for a kitten or add googly eyes to a cartoon character. Another fun idea is to incorporate puns or witty sayings into your quilt squares. Use fabric markers, embroidery, or applique to create personalized messages that will make people smile. Think about incorporating clever puns related to quilting, such as “Sew Happy” or “Cut it Out,” or use your favorite funny quotes from movies, books, or TV shows. Remember, the key is to keep it lighthearted and fun. You could even commemorate a particularly challenging *wordle today* with a silly design incorporating letters and wordplay. Imagine a quilt square with the letters arranged in a Wordle grid, perhaps featuring a funny image representing the winning word. The more personalized and unique your designs are, the more special your quilt will become.
Beyond animals and puns, consider exploring other sources of inspiration for your cute and funny quilt squares. Think about your hobbies, interests, or favorite things. Do you love cooking? Create quilt squares featuring whimsical kitchen utensils or cute food characters. Are you a fan of gardening? Design quilt squares with blooming flowers, buzzing bees, or adorable garden gnomes. Do you enjoy traveling? Create quilt squares featuring iconic landmarks or funny travel-related quotes. The possibilities are truly endless. You can also draw inspiration from popular culture, such as movies, TV shows, or video games. Design quilt squares featuring your favorite characters, iconic scenes, or memorable quotes. However, be mindful of copyright laws and avoid using copyrighted images or characters without permission. Another great way to add humor to your quilt squares is to play with scale and proportion. Create quilt squares featuring oversized buttons, gigantic zippers, or ridiculously large spools of thread. This playful approach can add a touch of whimsy to your quilt and make it stand out from the crowd. Finally, don’t be afraid to embrace imperfections. Sometimes, the most endearing and memorable quilt squares are the ones that are slightly imperfect. Embrace the “wonky” look and let your creativity flow freely. The most important thing is to have fun and express yourself through your quilting. A playful approach to interpreting *wordle today* might involve creating a quilt square where the letters are intentionally misspelled but still recognizable, creating a humorous take on the popular game.
Choosing the Right Fabric for Your 14×14 Inch Quilt Square
The fabric you choose for your 14×14 inch quilt squares plays a crucial role in the overall look, feel, and durability of your finished quilt. There’s a vast array of fabrics available, each with its own unique characteristics and suitability for different quilting projects. The most common and popular choice for quilting is 100% cotton fabric. Cotton is easy to work with, readily available in a wide variety of colors and patterns, and generally affordable. It’s also breathable, comfortable, and relatively durable, making it a great choice for quilts that will be used and washed frequently. However, not all cotton fabrics are created equal. Look for high-quality quilting cotton that is tightly woven and has a smooth surface. This will help prevent fraying and ensure that your quilt squares hold their shape over time. Pre-washed cotton is also a good option, as it will minimize shrinkage after the quilt is finished. Another popular choice for quilting is linen fabric. Linen is a natural fiber that is known for its durability, breathability, and unique texture. It’s also more resistant to wrinkles than cotton. However, linen can be more expensive than cotton and can be more challenging to work with, as it tends to fray easily. If you’re using linen for your quilt squares, be sure to pre-wash it to minimize shrinkage and use a sharp rotary cutter and a walking foot on your sewing machine to prevent distortion. Consider linen blends for a more affordable and manageable alternative. These blends often combine linen with cotton or other synthetic fibers, offering a good balance of durability, affordability, and ease of use. Deciding on the right fabric can also be influenced by the daily *wordle today*, perhaps choosing colors associated with the winning word.
In addition to cotton and linen, there are other fabric options to consider for your 14×14 inch quilt squares. Quilting with flannel fabric creates a soft, cozy, and warm feel, perfect for baby quilts, winter quilts, and snuggly throws. Flannel is typically made from cotton or wool and has a napped surface, which gives it its characteristic softness. However, flannel tends to shrink and stretch more than other fabrics, so it’s important to pre-wash it thoroughly before using it in your quilt. Another option is to use batik fabrics. Batik fabrics are hand-dyed using a wax-resist process, resulting in unique and vibrant patterns. Batik fabrics are often used to add a touch of color and texture to quilts. They can be more expensive than other fabrics, but their unique beauty makes them worth the investment. For a more modern and contemporary look, consider using solid fabrics. Solid fabrics can create a clean and minimalist aesthetic or serve as a backdrop for more intricate designs. Solid fabrics are also a great choice for highlighting the quilting patterns on your quilt. If you’re looking for a more luxurious feel, consider using silk or velvet fabrics. Silk and velvet are both natural fibers that are known for their softness, sheen, and drape. However, they can be more challenging to work with and may require special care. Ultimately, the best fabric for your 14×14 inch quilt squares depends on your personal preferences, the intended use of the quilt, and your budget. Experiment with different fabrics and textures to find the perfect combination for your project. Don’t be afraid to mix and match different fabrics to create a unique and visually interesting quilt. Imagine using different fabric textures to represent the different emotional states one might experience while trying to solve *wordle today*, such as smooth silk for calm confidence and rough burlap for frustrating dead ends.
Sewing Techniques for 14×14 Inch Quilt Squares
Mastering basic sewing techniques is essential for creating beautiful and durable quilt squares. Whether you’re a beginner or an experienced quilter, it’s always a good idea to brush up on your skills and explore new techniques. One of the most important techniques is accurate cutting. Precise cutting is crucial for ensuring that your quilt squares are the correct size and shape. Use a rotary cutter, a cutting mat, and a clear ruler to cut your fabric with precision. Pay attention to the grain of the fabric and make sure to cut along the straight grain to prevent distortion. Always double-check your measurements before cutting to avoid mistakes. Accurate seam allowances are also essential for creating quilt squares that fit together perfectly. Use a 1/4 inch seam allowance for most quilting projects. A consistent seam allowance will ensure that your quilt squares line up properly and that your finished quilt is the correct size. Use a seam guide or a walking foot on your sewing machine to maintain a consistent seam allowance. Pressing your seams correctly is also crucial for creating a professional-looking quilt. Press your seams open or to one side, depending on the pattern and the desired effect. Pressing your seams open will reduce bulk and create a flatter quilt surface, while pressing your seams to one side will add strength and stability. Use a hot iron and a pressing cloth to press your seams without scorching the fabric. Consider using steam to set the seams and remove wrinkles. A well-pressed quilt square will look more polished and professional.
Beyond the basics, there are several other sewing techniques that can enhance your quilt squares. Consider using different types of seams to add visual interest and texture. For example, you can use a decorative stitch to create a unique seam or a French seam for a clean and finished look. Experiment with different types of batting to add loft and warmth to your quilt. Batting comes in a variety of materials, such as cotton, polyester, wool, and bamboo. Each type of batting has its own unique properties and characteristics. Choose a batting that is appropriate for the intended use of the quilt and your personal preferences. Consider using different quilting techniques to add texture and dimension to your quilt squares. You can use hand quilting, machine quilting, or longarm quilting to create a variety of quilting patterns. Experiment with different thread colors and weights to add visual interest to your quilting. Don’t be afraid to try new techniques and push your creative boundaries. The key to successful quilting is to practice and experiment. The more you quilt, the better you will become. Embrace imperfections and learn from your mistakes. The most important thing is to have fun and express yourself through your quilting. Even the way you stitch together squares representing a *wordle today* victory can reflect the precision and strategy involved in the game itself, using strong, clean lines to echo the grid structure. Adding embellishments to your quilt squares can add a personal touch and make them truly unique. Consider adding buttons, beads, ribbons, lace, or other embellishments to your quilt squares. Be creative and have fun with it. Just be sure to use embellishments that are durable and washable, especially if the quilt will be used and washed frequently.
Finding Inspiration: Wordle Today and Quilt Square Design
The connection between seemingly disparate things like Wordle and quilt square design might not be immediately obvious, but the principles of creativity and problem-solving inherent in both can be surprisingly synergistic. Wordle, with its daily puzzle and constrained letter selection, forces you to think strategically and creatively within a limited framework. This same kind of thinking can be applied to quilt square design, where you might choose to limit your color palette, fabric types, or design elements to create a cohesive and visually interesting piece. You could, for example, use the colors from the Wordle interface – green, yellow, and gray – as the dominant colors in your quilt square. This could be a subtle nod to the game for fellow enthusiasts or simply a way to create a visually striking design. Consider using the five-letter grid as inspiration for the layout of your quilt square. You could create a grid-like pattern using different fabrics or colors, mimicking the structure of the Wordle board. Within each cell of the grid, you could incorporate different design elements, such as applique, embroidery, or piecing techniques. The daily word could inspire the imagery of the quilt square. If the word is “FLOWER,” you might create a quilt square featuring a stylized floral design. If the word is “OCEAN,” you might create a quilt square with swirling blue fabrics and embroidered sea creatures. The possibilities are endless, limited only by your imagination and the daily *wordle today* result.
Furthermore, the collaborative nature of Wordle can also inspire your quilt square design. Consider creating a quilt with a group of friends or family members, each contributing a quilt square based on the same day’s Wordle puzzle. This would create a unique and collaborative piece that reflects the shared experience of playing the game. Each person could interpret the Wordle prompt in their own way, resulting in a diverse and visually interesting quilt. You could also use the game as a starting point for exploring different design themes. For example, you could create a series of quilt squares that explore the different parts of speech, with each square representing a noun, verb, adjective, or adverb. You could also create a series of quilt squares that explore different literary devices, such as alliteration, metaphor, or simile. These types of projects can be both educational and creative, making them a fun and engaging way to explore language and design. If you’re looking for even more inspiration, consider browsing online quilting forums and social media groups. There you can find a wealth of ideas and inspiration from other quilters around the world. You can also find tutorials, patterns, and tips for improving your quilting skills. Remember, the most important thing is to have fun and express yourself through your quilting. And who knows, maybe your *wordle today* inspired quilt square will become the next big trend in the quilting world. The constraints of the game – the limited guesses, the feedback on correct letters – can be translated into a design challenge: How can you represent these constraints visually within the square? Perhaps by using progressively lighter shades of grey to represent unused letters, or bolder colors for confirmed ones.
Creating a Cohesive Quilt from Disparate Squares
Once you’ve created a collection of individual 14×14 inch quilt squares, the next step is to assemble them into a cohesive and visually appealing quilt. This process requires careful planning and attention to detail to ensure that the finished quilt is balanced and harmonious. One of the most important considerations is the layout of the quilt squares. Experiment with different arrangements to find the most pleasing and balanced composition. Consider the colors, patterns, and textures of your quilt squares and how they interact with each other. Try to create a sense of visual rhythm and movement throughout the quilt. You can use a design wall or a large flat surface to experiment with different layouts. Take photos of different arrangements and compare them to see which ones work best. If you have some squares that stand out more than others, strategically place them so they don’t overwhelm the rest of the quilt. You might cluster similar squares together or distribute them evenly throughout the quilt to create a more balanced look. Think about adding sashing between the quilt squares to create visual separation and define the individual squares. Sashing can also be used to add a pop of color or texture to the quilt. Choose a sashing fabric that complements the colors and patterns of your quilt squares. You can also add cornerstones to the intersections of the sashing to add visual interest. Borders are another important element to consider when assembling your quilt. Borders can be used to frame the quilt and add a sense of completion. Choose a border fabric that complements the colors and patterns of your quilt squares. You can use multiple borders to add depth and dimension to the quilt. When selecting a layout, consider the overall theme or message of your quilt. For instance, if you’ve created a quilt inspired by a series of particularly challenging *wordle today* puzzles, you might arrange the squares in chronological order, creating a visual timeline of your linguistic battles.
Beyond the layout and borders, consider the overall color scheme of your quilt. A cohesive color scheme can tie together disparate quilt squares and create a unified look. Choose a color palette that complements your quilt squares and reflects your personal style. You can use a color wheel to help you choose colors that harmonize well together. Consider using a limited color palette to create a more cohesive look or using a variety of colors to create a more eclectic look. Also, pay attention to the scale and proportion of your quilt squares. If you have some quilt squares that are significantly larger or smaller than others, consider using borders or sashing to balance out the overall proportions. You can also use different quilting patterns to create visual balance. If you’re using different fabrics and textures in your quilt squares, consider how they will affect the overall drape and feel of the quilt. Some fabrics may be stiffer or more bulky than others, which can affect how the quilt hangs and feels. Choose fabrics that are compatible with each other and that will create a comfortable and visually appealing quilt. Finally, don’t be afraid to experiment and have fun with the assembly process. Quilting is a creative endeavor, and there are no hard and fast rules. Trust your instincts and create a quilt that you love. If you’re feeling stuck, ask for feedback from other quilters or seek inspiration from online resources. Remember, the most important thing is to create a quilt that is uniquely yours. Imagine a quilt where the squares representing easier *wordle today* puzzles are arranged at the center, radiating outwards to squares representing more difficult puzzles, creating a visual representation of the challenges faced and overcome.
FAQ: Your Questions Answered About 14×14 Inch Quilt Squares
What are the best fabrics for beginner quilters using 14×14 inch squares?
For beginner quilters working with 14×14 inch squares, 100% cotton is generally considered the best choice. It’s readily available in a vast array of colors and patterns, making it easy to find something that suits your taste. Cotton is also relatively inexpensive compared to other fabrics like linen or silk, which is helpful when you’re just starting out and may make mistakes. Most importantly, cotton is easy to sew and manipulate, holding its shape well and not being too slippery. Look for quilting cotton that has a tight weave and a smooth surface; this will minimize fraying and make it easier to achieve accurate seams. Pre-washing your cotton fabric before cutting is also a good idea to prevent shrinkage after the quilt is finished. Avoid stretchy or loosely woven fabrics until you gain more experience, as these can be more challenging to work with. Starting with a solid or simple print can also make the process less overwhelming, allowing you to focus on mastering basic sewing techniques.
How do I accurately cut 14×14 inch quilt squares?
Accurate cutting is paramount for successful quilting, especially when working with specific sizes like 14×14 inch squares. The best tools for achieving precise cuts are a rotary cutter, a self-healing cutting mat, and a clear acrylic ruler. Start by ensuring your fabric is properly pressed to remove any wrinkles or creases. Lay the fabric flat on the cutting mat and align the ruler’s edge with the fabric’s selvage or a previously cut straight edge. Firmly hold the ruler in place to prevent slipping, and run the rotary cutter along the ruler’s edge in a smooth, controlled motion. Always cut away from your body for safety. Double-check your measurements after each cut to ensure accuracy. To cut a 14×14 inch square, align the 14-inch mark on the ruler with the edge of your fabric and make the first cut. Then, rotate the fabric 90 degrees and repeat the process to create a square. Using a sharp rotary cutter blade is crucial for clean, accurate cuts. Replace the blade regularly to maintain optimal performance. Practice makes perfect, so don’t be discouraged if your first few cuts aren’t perfect. With a little patience and practice, you’ll be cutting accurate 14×14 inch squares in no time.
What are some ways to incorporate hand embroidery into 14×14 inch quilt squares?
Hand embroidery can add a beautiful and personal touch to your 14×14 inch quilt squares. There’s a wide range of stitches you can use, from simple running stitches and backstitches to more elaborate satin stitches and French knots. Start by transferring your chosen design onto the fabric using a water-soluble marker or tracing paper. Hoop the fabric to provide a stable surface for stitching and prevent distortion. Choose embroidery floss colors that complement your fabric and the overall design. Experiment with different thread weights and textures to add visual interest. You can use embroidery to outline shapes, fill in areas with color, or create intricate details. Consider adding embellishments like beads or sequins to enhance the embroidered design. For a more rustic look, try using thicker threads like embroidery floss or perle cotton. You can also create dimensional embroidery by layering stitches or using padded satin stitch. When embroidering on quilt squares, be mindful of the fabric’s thickness and avoid pulling the stitches too tight, as this can distort the square. Practice your stitches on scrap fabric before working on the actual quilt square to ensure you’re comfortable with the technique. Hand embroidery is a great way to express your creativity and add a unique touch to your quilting projects. Perhaps even embroider the solutions to particularly memorable *wordle today* puzzles.
How do I choose batting for my 14×14 inch quilt squares?
Choosing the right batting for your 14×14 inch quilt squares depends on several factors, including the desired loft, warmth, drape, and washability of your finished quilt. Cotton batting is a popular choice for its breathability, natural fibers, and relatively low cost. It provides a moderate amount of loft and warmth and drapes well. Polyester batting is a synthetic alternative that is lightweight, hypoallergenic, and resistant to mildew. It provides a higher loft than cotton and is often used for quilts that need to be extra puffy. Wool batting is a natural fiber that is known for its warmth, loft, and drape. It’s also resistant to wrinkles and has a natural crimp that helps to insulate. Silk batting is a luxurious option that is lightweight, breathable, and has a beautiful sheen. It’s also hypoallergenic and drapes well. Bamboo batting is an eco-friendly option that is soft, breathable, and has excellent drape. It’s also naturally antibacterial and resistant to odors. Consider the intended use of your quilt when choosing batting. For baby quilts, choose a soft and breathable batting like cotton or bamboo. For winter quilts, choose a warm and lofty batting like wool or polyester. For quilts that will be washed frequently, choose a batting that is durable and washable like cotton or polyester. Experiment with different types of batting to find the perfect one for your project. Consider the weight of the batting; a heavier batting will result in a warmer quilt.
What are some creative ways to arrange 14×14 inch quilt squares?
Beyond the traditional grid layout, there are many creative ways to arrange your 14×14 inch quilt squares to create a visually stunning and unique quilt. A medallion layout features a central focal point, surrounded by concentric borders of quilt squares. This layout works well for showcasing a special fabric or design in the center. A row-by-row layout involves arranging the quilt squares in horizontal or vertical rows, creating a linear design. This layout is simple and easy to execute, but it can also be very effective. A diagonal layout involves arranging the quilt squares on the diagonal, creating a dynamic and visually interesting composition. This layout works well for showcasing geometric patterns or bold colors. A random or “scrappy” layout involves arranging the quilt squares in a seemingly random order, creating a relaxed and informal look. This layout is perfect for using up fabric scraps and creating a one-of-a-kind quilt. A bargello layout involves arranging strips of fabric to create a flowing, wave-like effect. This layout requires precise cutting and sewing, but the results are stunning. Consider using different sizes and shapes of quilt squares to create a more dynamic and visually interesting layout. You can also use sashing or borders to define the different sections of the quilt and add visual interest. Experiment with different arrangements on a design wall or a large flat surface until you find a layout that you love. Consider the overall theme or message of your quilt when choosing a layout. And if *wordle today* gave you a tough time, maybe arrange the squares to show the pattern of successes and failures!
How do I care for a quilt made with 14×14 inch quilt squares?
Proper care is essential for preserving the beauty and longevity of your quilt made with 14×14 inch quilt squares. Always check the fabric care instructions for all the fabrics used in your quilt, including the quilt top, batting, and backing. Most cotton quilts can be machine washed in cold water on a gentle cycle with a mild detergent. Avoid using bleach or fabric softeners, as these can damage the fabrics and reduce their lifespan. Tumble dry on low heat or hang the quilt to dry. Avoid drying the quilt in direct sunlight, as this can cause the colors to fade. For quilts made with delicate fabrics like silk or velvet, hand washing is recommended. Fill a basin with cold water and add a mild detergent specifically designed for delicate fabrics. Gently swish the quilt in the water and rinse thoroughly. Avoid twisting or wringing the quilt, as this can damage the fibers. Lay the quilt flat to dry on a clean, absorbent surface. Store your quilt in a cool, dry place away from direct sunlight and moisture. Avoid storing the quilt in a plastic bag, as this can trap moisture and lead to mildew. Instead, store the quilt in a breathable cotton bag or wrap it in acid-free tissue paper. Regularly inspect your quilt for any signs of damage, such as tears, stains, or loose threads. Repair any damage promptly to prevent it from getting worse. With proper care, your quilt made with 14×14 inch quilt squares will provide warmth and comfort for many years to come.
How can I personalize a quilt made with 14×14 inch squares?
Personalizing a quilt made with 14×14 inch squares is a wonderful way to create a cherished heirloom that reflects your unique style and memories. One of the easiest ways to personalize a quilt is to use fabrics that have special meaning to you, such as scraps from old clothing, baby blankets, or family heirlooms. Incorporate hand embroidery or machine embroidery to add names, dates, or special messages to your quilt squares. You can also use embroidery to create personalized designs or motifs that reflect your hobbies, interests, or favorite things. Add embellishments like buttons, beads, ribbons, lace, or charms to your quilt squares to add texture and visual interest. Consider using different quilting patterns to highlight specific areas of the quilt or to create a unique texture. For example, you could use free-motion quilting to create intricate designs or echo quilting to outline specific shapes. Include photos or other memorabilia in your quilt squares using fabric transfer techniques or photo printing on fabric. Create a memory quilt by incorporating squares that represent significant events or milestones in your life or the lives of your loved ones. Design a quilt based on a specific theme or color palette that is meaningful to you. Get inspiration from your favorite books, movies, or works of art. If you are a *wordle today* enthusiast, you could create a quilt square that showcases your journey of solving the daily puzzles. You could even create a series of quilt squares that represent your favorite words or word-related memories. The possibilities are endless! The most important thing is to have fun and create a quilt that you will cherish for years to come.
Price: $9.99
(as of Sep 11, 2025 13:10:49 UTC – Details)


