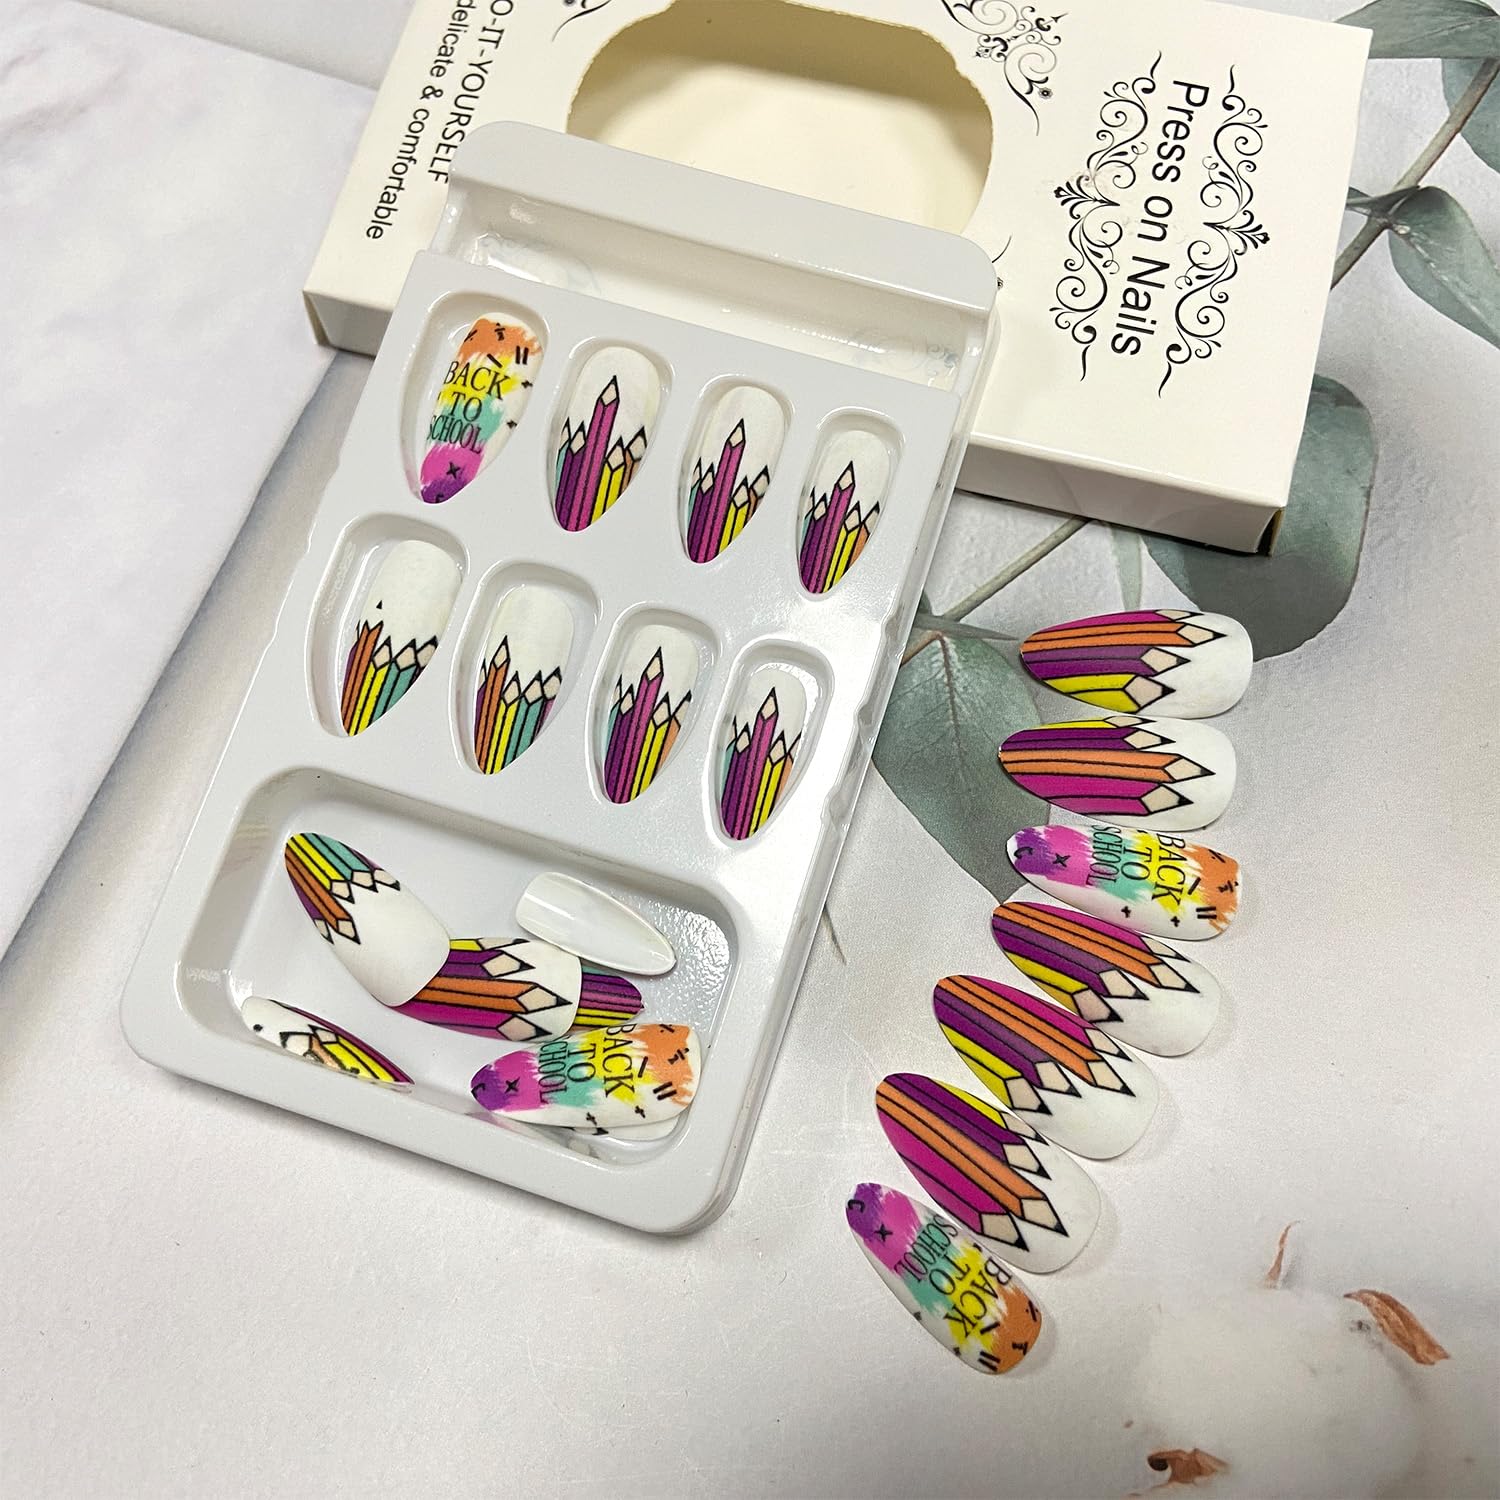
Back To School Press on Nails Medium Review back to school nails Buying Guide – Oemiu
Back to School Nail Trends: A Medium-Length Press-On Guide
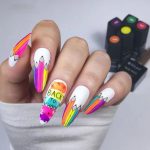
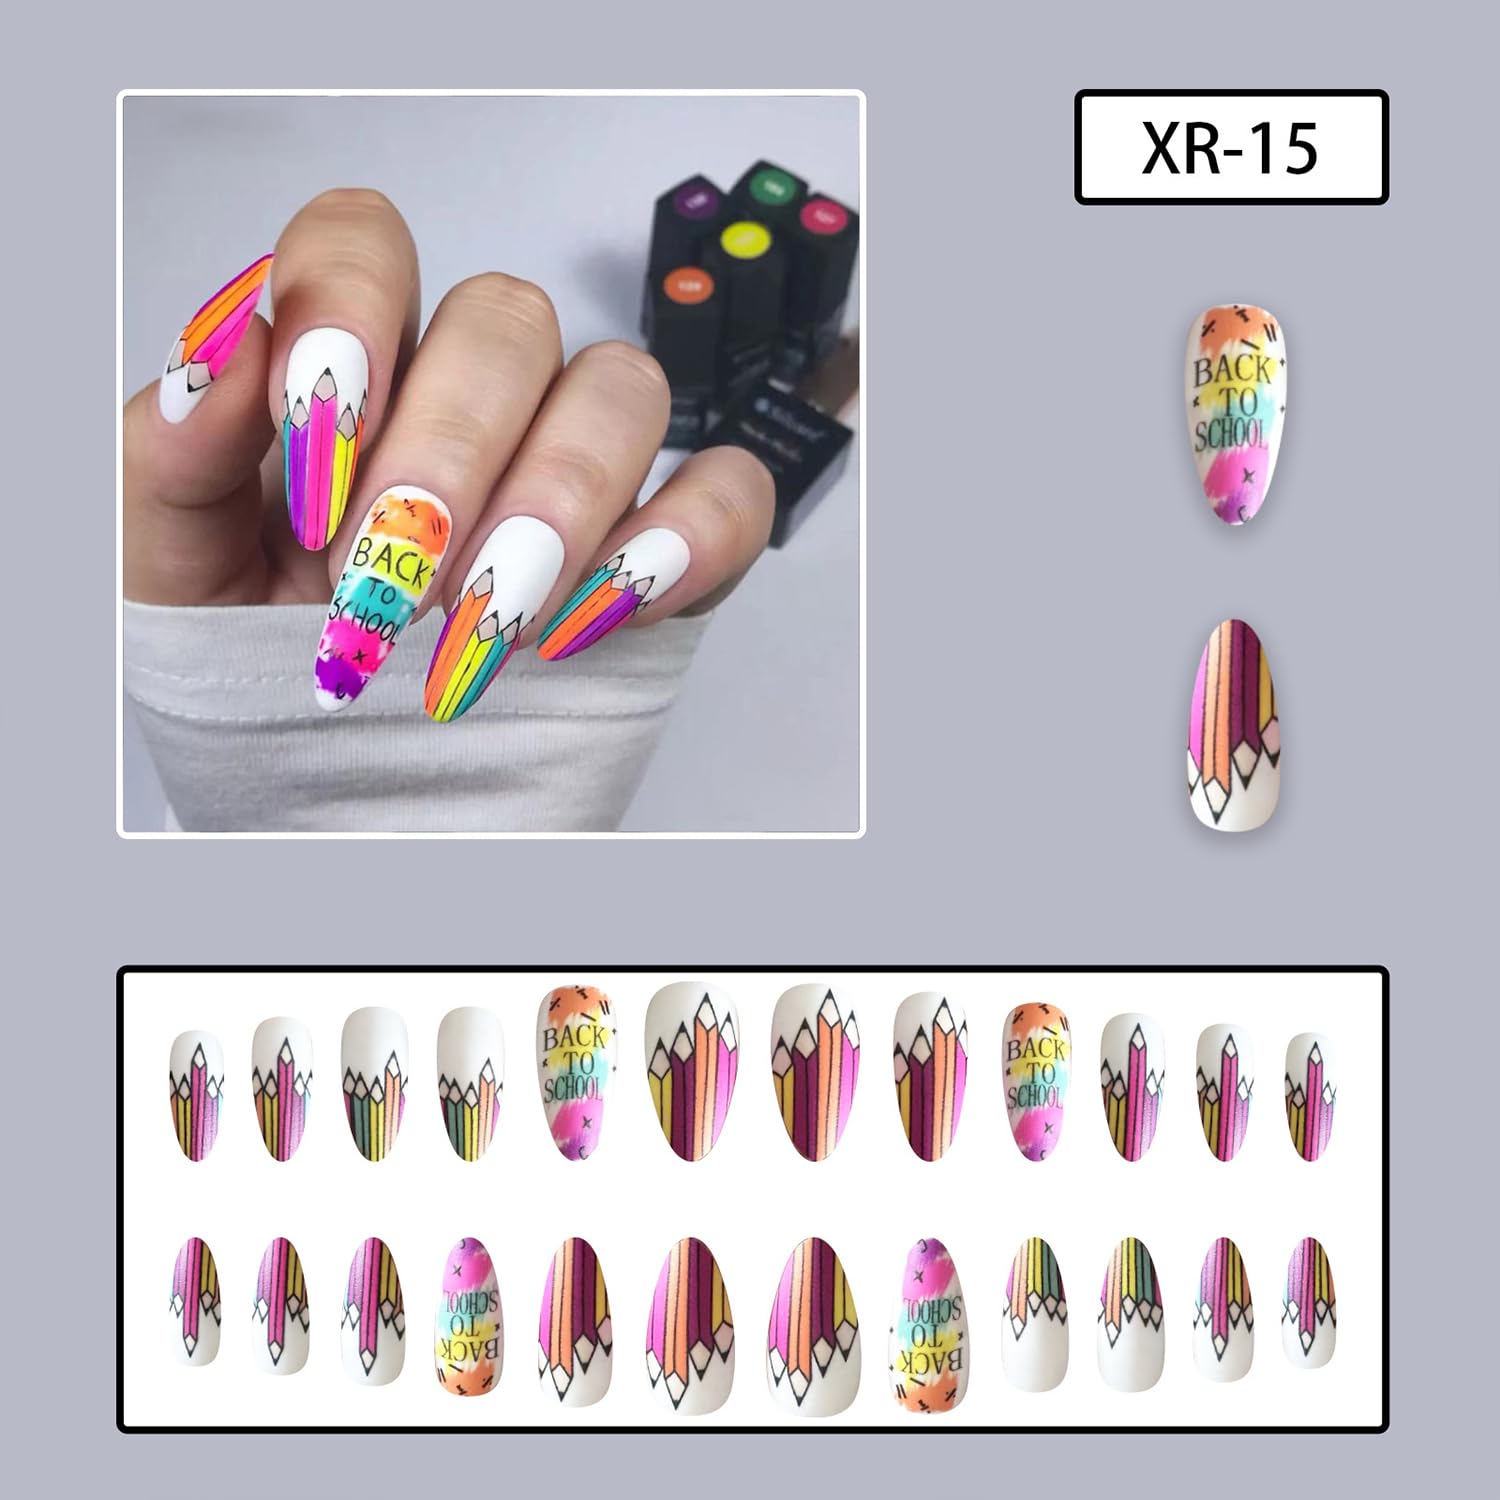
Back-to-school season is more than just fresh notebooks and early mornings; it’s a chance to express yourself, to showcase a new, slightly more polished version of yourself after a summer of freedom. And what better way to do that than with a stylish set of press-on nails? Gone are the days of flimsy, obviously-fake nails. Today, press-ons offer salon-quality looks without the salon price tag or time commitment. This guide focuses on medium-length press-on nails, striking the perfect balance between practicality and style, ideal for navigating the school year. From classroom-appropriate designs to weekend-ready glam, we’ll explore the best options, offering advice on selection, application, and maintenance. This year, enhance your style with some perfect medium-length back to school press on nails.
Why Medium-Length Press-Ons Are Perfect for School
Choosing the right nail length for school is a careful balance. Too long, and you’ll be fumbling with pens, keyboards, and possibly even science experiments. Too short, and you might as well skip the effort altogether. Medium-length press-ons offer the sweet spot. They provide ample canvas for expressing your personality with colors, patterns, and embellishments, without hindering your daily activities. Think about it: typing out essays, taking notes during lectures, and even participating in sports or extracurricular activities become significantly easier with a manageable nail length.
Beyond practicality, medium-length nails are universally flattering. They elongate the fingers, creating a more sophisticated and elegant look, suitable for students of all ages. They’re also more durable than longer nails, less prone to breakage, and require less maintenance. A broken nail in the middle of class is never a good look, and medium-length nails drastically reduce the likelihood of this happening. This allows you to focus on what truly matters: your studies and social life, not constantly worrying about your manicure. Furthermore, consider the versatility of medium-length nails. They transition seamlessly from school to after-school activities, from casual hangouts with friends to more formal events. You don’t need to change your nails to suit different occasions; they are always appropriate. Ultimately, medium-length press-on nails are a smart and stylish choice for students who want to look their best without sacrificing practicality or comfort. This back to school nails guide will steer you through selection, application and upkeep.
Exploring Popular Medium-Length Nail Shapes & Designs for the School Year
The world of press-on nails is vast and varied, offering a plethora of shapes and designs to suit every style and preference. When it comes to medium-length nails, certain shapes tend to be more popular and practical for the school environment. Here are some top contenders:
* **Almond:** This shape is tapered and rounded at the tip, resembling the shape of an actual almond. It’s incredibly elegant and elongates the fingers, making them appear slimmer. Almond-shaped nails are a popular choice for those seeking a sophisticated look.
* **Oval:** Similar to almond but with a softer, more rounded tip. It’s a classic and timeless shape that works well with any outfit or occasion. Oval nails are known for their versatility and ability to complement a wide range of hand shapes.
* **Square:** This shape is characterized by straight sides and a blunt, squared-off tip. It’s a bold and modern choice that can make a statement. Square nails are durable and less prone to breakage, making them a practical option for busy students.
* **Squoval:** A hybrid of square and oval, offering the best of both worlds. It has the straight sides of a square but with slightly rounded edges, making it more comfortable and less likely to snag on things. Squoval nails are a popular choice for those seeking a balance of style and practicality.
Now, let’s talk about designs. For school, consider these trends:
* **Solid Colors:** Timeless and versatile, solid colors are always a safe bet. Opt for neutral shades like nude, blush, or light gray for a subtle and polished look. Deeper shades like burgundy, navy, or forest green can add a touch of sophistication.
* **French Manicure:** A classic for a reason, the French manicure is elegant and understated. A simple white tip on a nude base is always in style.
* **Minimalist Designs:** Less is more. Simple geometric patterns, delicate floral accents, or subtle glitter can add a touch of personality without being overwhelming.
* **Ombre:** A gradient effect that blends two or more colors seamlessly. It’s a fun and trendy way to add visual interest to your nails.
* **Matte Finishes:** Matte nails have a velvety texture that’s both modern and sophisticated. They’re a great alternative to glossy finishes.
* **School Spirit:** Show off your school pride with colors and designs featuring your school’s logo, mascot, or initials.
| Shape | Description | Pros | Cons |
|---|---|---|---|
| Almond | Tapered and rounded tip | Elegant, elongates fingers | Can be less durable |
| Oval | Softly rounded tip | Classic, versatile | Similar durability to Almond |
| Square | Straight sides, blunt tip | Durable, modern | Can feel bulky |
| Squoval | Straight sides, rounded edges | Balance of style and practicality | May not be as distinct |
Choosing the right shape and design is a matter of personal preference. Consider your style, your daily activities, and your school’s dress code (if any) when making your decision. Don’t be afraid to experiment and try different things until you find what works best for you. The best back to school nails are the ones you feel most confident wearing.
Material Matters: Choosing the Right Press-On Nail Material
The material of your press-on nails plays a significant role in their appearance, durability, and overall feel. Most press-on nails are made from acrylic or ABS plastic, each with its own set of advantages and disadvantages. Understanding these differences can help you make an informed decision and choose the best option for your needs.
**Acrylic Nails:**
* **Pros:**
* **Durability:** Acrylic is known for its strength and resistance to breakage. Acrylic press-ons can withstand daily wear and tear without chipping or cracking easily. This makes them a good choice for active students.
* **Customization:** Acrylic nails can be easily filed, shaped, and painted, allowing for a high degree of customization. You can create unique designs and achieve a salon-quality look at home.
* **Realistic Appearance:** Acrylic nails tend to look more realistic than ABS plastic nails, especially when properly applied. They can mimic the appearance of natural nails closely.
* **Cons:**
* **Stiffness:** Acrylic nails can feel stiff and inflexible, which may be uncomfortable for some users. They may not conform to the natural curve of the nail as well as other materials.
* **Potential Damage:** Improper removal of acrylic nails can damage the natural nail underneath. It’s important to follow the instructions carefully or seek professional removal to avoid harm.
* **Cost:** Acrylic press-on nails tend to be more expensive than ABS plastic nails due to the higher quality material and manufacturing process.
**ABS Plastic Nails:**
* **Pros:**
* **Flexibility:** ABS plastic is more flexible than acrylic, allowing it to conform to the natural curve of the nail more easily. This can result in a more comfortable and natural-feeling fit.
* **Lightweight:** ABS plastic nails are generally lighter than acrylic nails, which can make them more comfortable to wear for extended periods.
* **Affordability:** ABS plastic press-on nails are typically more affordable than acrylic nails, making them a budget-friendly option for students.
* **Cons:**
* **Durability:** ABS plastic is less durable than acrylic and may be more prone to chipping, cracking, or bending. This can shorten the lifespan of the press-on nails.
* **Appearance:** ABS plastic nails may not look as realistic as acrylic nails. They can sometimes appear thicker or more artificial.
* **Customization:** ABS plastic nails are more difficult to customize than acrylic nails. They may not be as easy to file, shape, or paint.
Consider your budget, lifestyle, and desired look when choosing between acrylic and ABS plastic press-on nails. If durability is a top priority and you’re willing to invest a bit more, acrylic may be the better choice. If you prioritize comfort and affordability, ABS plastic may be a more suitable option. Ultimately, the best material depends on your individual needs and preferences. Whether you prefer durable acrylics or flexible ABS, choosing the right material ensures your school season press-on nails are both stylish and practical.
Application Techniques for Long-Lasting Results for Back to School Nails
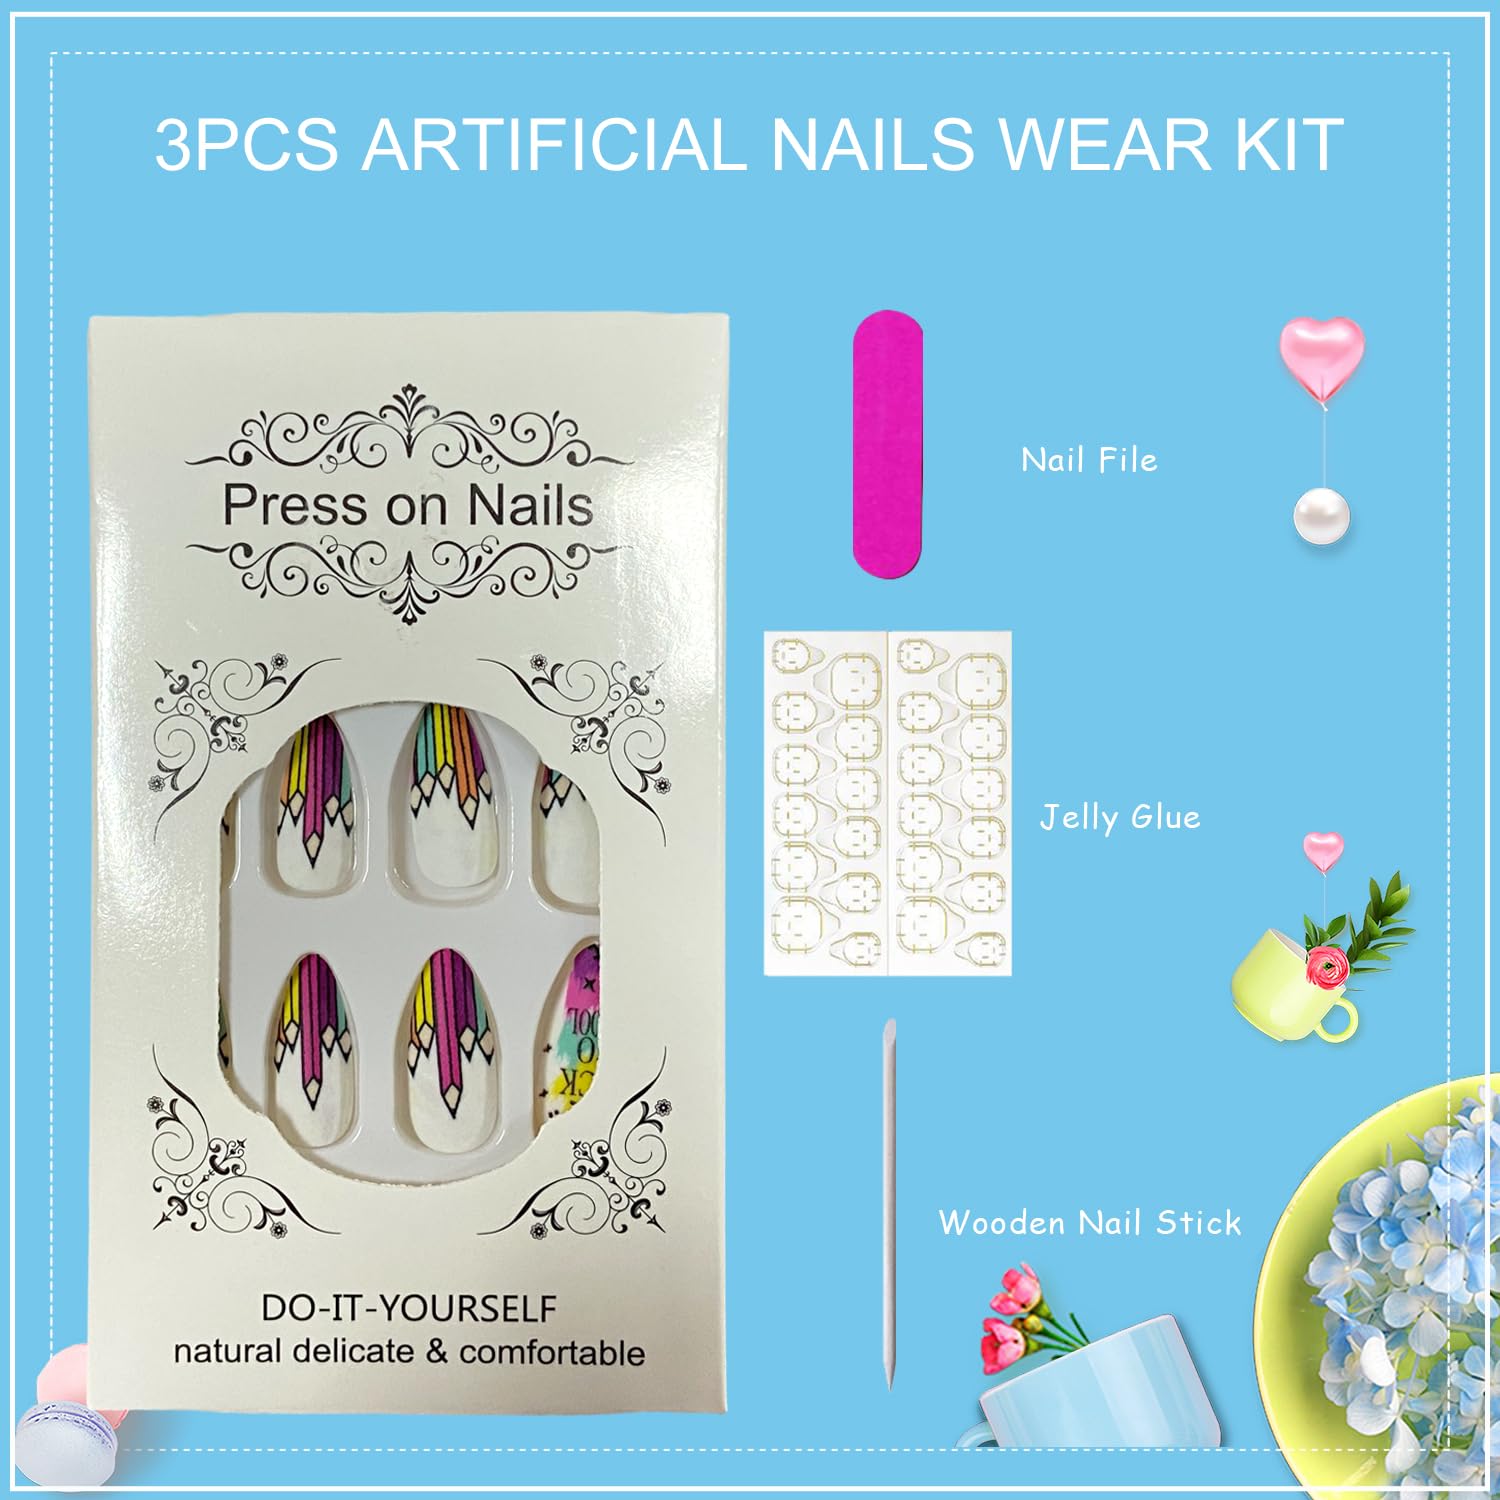
Applying press-on nails might seem straightforward, but mastering the technique is key to achieving a natural-looking and long-lasting manicure. Here’s a step-by-step guide to ensure your back to school nail sets stay put throughout the school day:
1. **Prepare Your Natural Nails:**
* **Cleanse:** Wash your hands thoroughly with soap and water to remove any dirt, oil, or residue. Use a nail polish remover to remove any existing polish.
* **Push Back Cuticles:** Gently push back your cuticles using a cuticle pusher. This will create a clean and smooth surface for the press-on nails.
* **Buff:** Lightly buff the surface of your natural nails with a fine-grit buffer. This will create a slightly rough texture that helps the adhesive grip better. Be careful not to over-buff, as this can damage your natural nails.
* **Dehydrate:** Wipe your nails with alcohol or a nail dehydrator to remove any remaining oils and ensure proper adhesion.
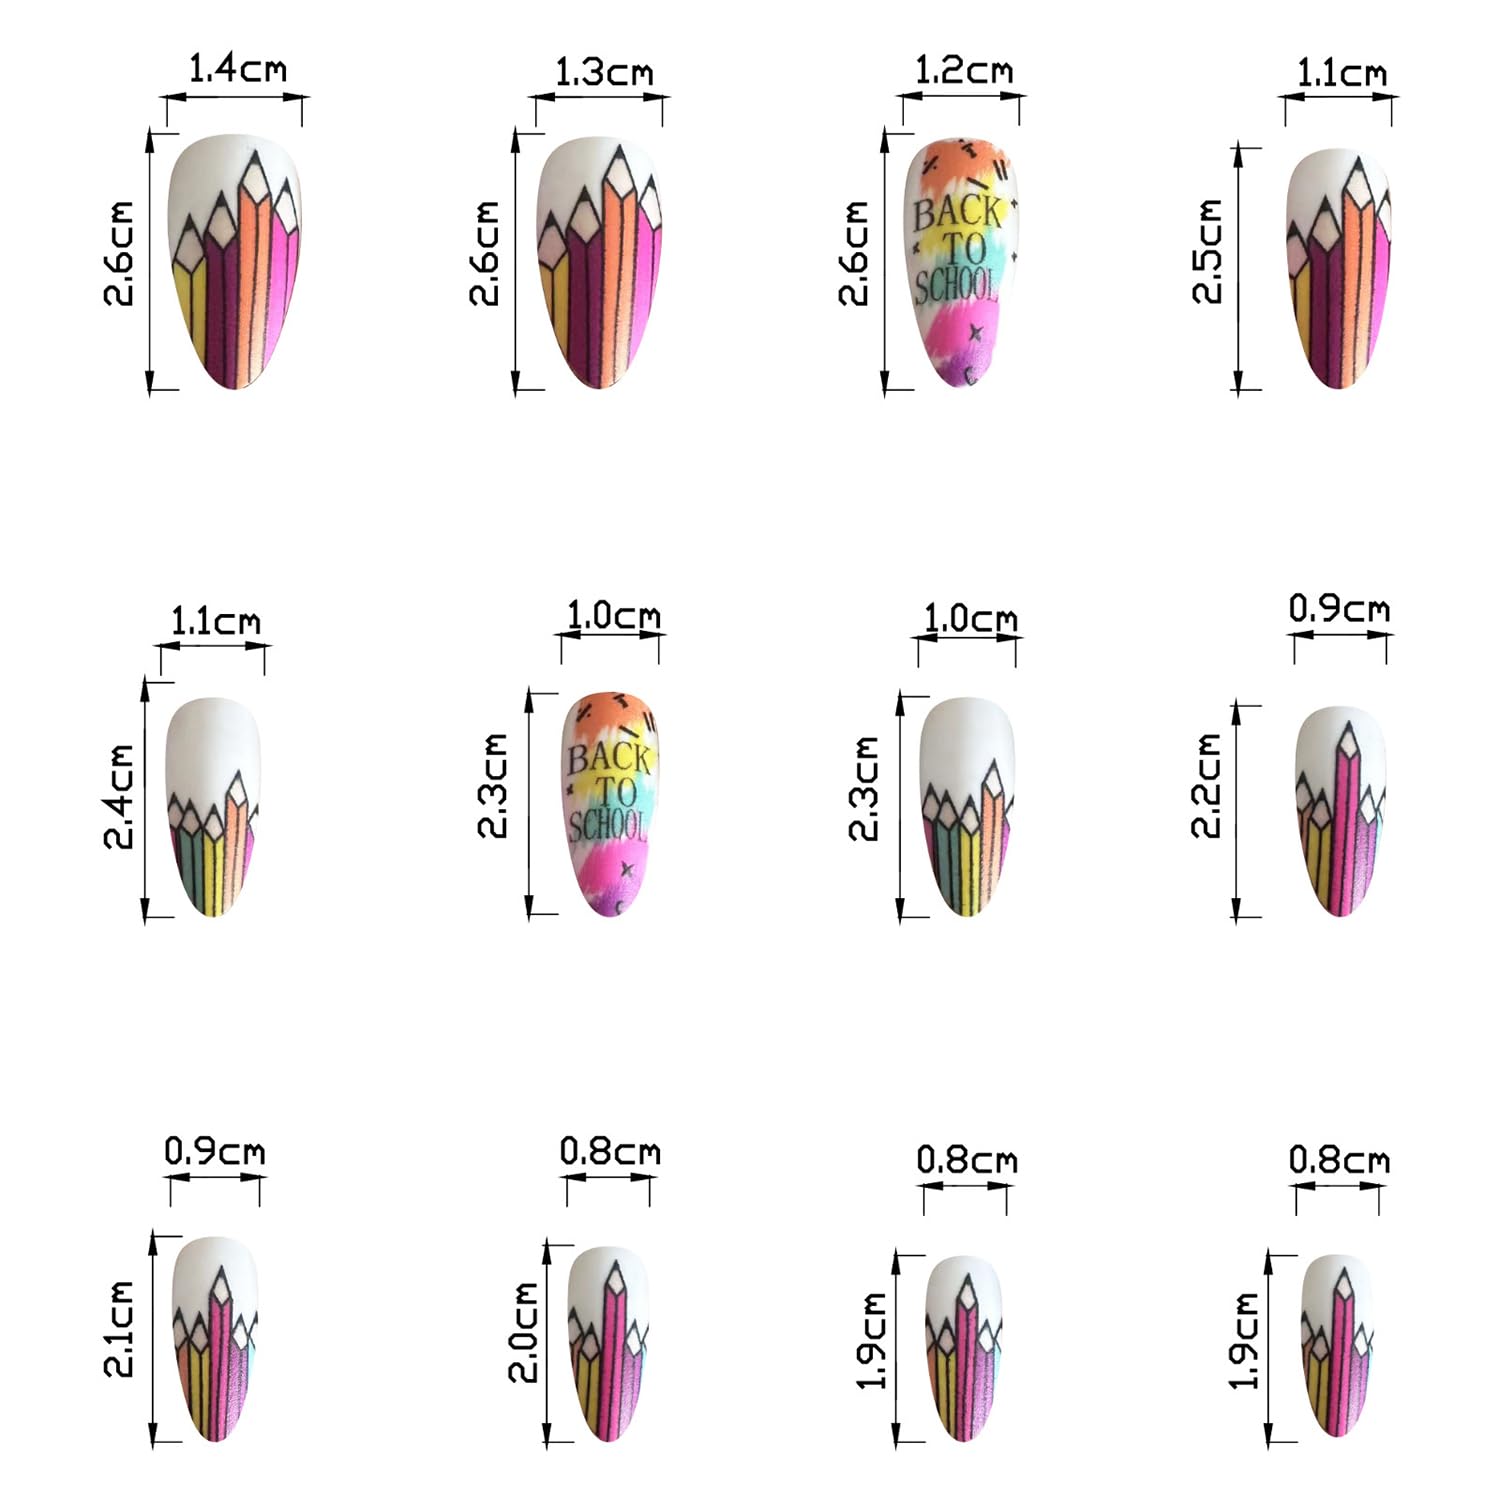
2. **Choose the Right Size:**
* **Size Matching:** Select press-on nails that closely match the size and shape of your natural nails. If you’re between sizes, it’s better to choose a slightly larger size and file it down to fit.
* **Test Fit:** Before applying any adhesive, test fit each press-on nail to ensure it covers your entire natural nail without overlapping the skin or cuticles.
3. **Apply Adhesive:**
* **Adhesive Options:** Press-on nails typically come with adhesive tabs or liquid glue. Adhesive tabs are easier to use and less messy, while liquid glue provides a stronger and longer-lasting hold.
* **Application:** If using adhesive tabs, peel off the backing and apply the tab to the back of the press-on nail. Press firmly to ensure it adheres securely. If using liquid glue, apply a small amount of glue to the back of the press-on nail and spread it evenly.
* **Placement:** Align the press-on nail with your cuticle and gently press it onto your natural nail, starting from the cuticle and working your way towards the tip. Hold the nail in place for 15-20 seconds to allow the adhesive to set.
4. **Finishing Touches:**
* **Trim and Shape:** If necessary, trim and shape the press-on nails to your desired length and shape using nail clippers and a file.
* **Smooth Edges:** Use a fine-grit file to smooth any rough edges or imperfections.
* **Apply Top Coat (Optional):** Apply a clear top coat to seal the press-on nails and add extra shine and protection. This can also help prevent chipping and extend the lifespan of your manicure.
**Tips for Long-Lasting Results:**
* Avoid prolonged exposure to water, as this can weaken the adhesive. Wear gloves when washing dishes or doing other household chores.
* Be gentle with your hands and avoid using your nails as tools.
* If a press-on nail comes loose, reapply it immediately using fresh adhesive.
* When removing press-on nails, soak your hands in warm, soapy water for 10-15 minutes to loosen the adhesive. Gently pry the nails off using a cuticle pusher or orangewood stick.
* Moisturize your hands and cuticles regularly to keep them healthy and prevent dryness.
By following these application techniques and tips, you can enjoy a beautiful and long-lasting press-on nail manicure that will keep you looking stylish all school year long. Don’t forget to search for amazing designs for school nails online!
Maintaining Your Medium-Length Press-On Nails for Optimal Wear
Once you’ve applied your perfect set of medium-length press-on nails, proper maintenance is crucial to ensure they stay looking their best and last as long as possible. Here are some essential tips for maintaining your press-on nails throughout the school year:
* **Avoid Excessive Water Exposure:** Prolonged exposure to water can weaken the adhesive and cause the press-on nails to lift or detach. Wear gloves when washing dishes, doing laundry, or engaging in any activity that involves prolonged contact with water. Minimize the amount of time you spend soaking your hands in water.
* **Be Gentle with Your Hands:** Avoid using your nails as tools to open packages, scrape surfaces, or perform other tasks that could damage them. Be mindful of your movements and avoid actions that could put stress on your press-on nails.
* **Moisturize Regularly:** Keep your hands and cuticles moisturized to prevent dryness and cracking. Apply a cuticle oil or hand cream several times a day, especially after washing your hands. This will help keep your natural nails healthy and prevent them from drying out, which can weaken the adhesive bond.
* **Avoid Harsh Chemicals:** Exposure to harsh chemicals, such as cleaning products, solvents, and nail polish remover, can damage the press-on nails and weaken the adhesive. Wear gloves when handling these substances. If you do come into contact with chemicals, wash your hands immediately with soap and water.
* **Repair Chips and Cracks Promptly:** If you notice any chips or cracks in your press-on nails, repair them immediately to prevent further damage. You can use nail glue to reattach any loose pieces or apply a clear top coat to seal the cracks.
* **Reapply Loose Nails:** If a press-on nail starts to lift or come loose, reapply it as soon as possible to prevent it from falling off completely. Clean the back of the nail and your natural nail with alcohol, apply fresh adhesive, and press the nail firmly in place.
* **Regularly Clean Underneath the Nails:** Bacteria and debris can accumulate underneath the press-on nails, leading to infections or discoloration. Use a nail brush or a toothpick to gently clean underneath the nails on a regular basis.
* **Proper Removal:** When it’s time to remove your press-on nails, do so gently and carefully to avoid damaging your natural nails. Soak your hands in warm, soapy water for 10-15 minutes to loosen the adhesive. Gently pry the nails off using a cuticle pusher or orangewood stick. Avoid pulling or forcing the nails off, as this can damage your natural nails.
By following these maintenance tips, you can extend the lifespan of your medium-length press-on nails and keep them looking beautiful and healthy throughout the school year. You’ll find that back to school nails stay on longer with proper care.
Where to Buy Medium-Length Press-On Nails for Back to School
Finding the perfect set of medium-length press-on nails for back to school involves exploring various retail options. The availability and selection can vary significantly depending on your location and preferences, but here’s a breakdown of common places to find press-on nails:
* **Drugstores and Pharmacies:** Chains like CVS, Walgreens, and Rite Aid typically carry a selection of press-on nails from popular brands like Kiss, imPRESS, and Static Nails. These are often conveniently located and offer a budget-friendly option for trying out different styles and colors. Selection can be limited, but they are a great place to start.
* **Beauty Supply Stores:** Stores like Ulta Beauty and Sephora offer a wider range of press-on nail brands, including more high-end options and specialty designs. You’ll find a greater variety of shapes, colors, and finishes, as well as expert advice from sales associates.
* **Department Stores:** Department stores like Macy’s and Nordstrom may carry press-on nails within their beauty departments. The selection may be more curated and focused on higher-end brands.
* **Online Retailers:** Online marketplaces like Seller, Etsy, and eBay offer an extensive selection of press-on nails from a variety of sellers, including independent artists and small businesses. This is a great option for finding unique and customized designs. Be sure to read reviews and check seller ratings before making a purchase.
* **Brand Websites:** Many press-on nail brands have their own websites where you can purchase directly from them. This can be a good option for finding exclusive products and taking advantage of sales and promotions.
* **Discount Stores:** Stores like Target and Walmart often carry a selection of press-on nails at discounted prices. This can be a great option for stocking up on basic styles and colors.
When choosing where to buy your press-on nails, consider the following factors:
* **Price:** Press-on nails range in price from a few dollars to upwards of $50 or more. Set a budget and stick to it.
* **Selection:** Consider the variety of styles, colors, and shapes available. Do they offer the types of designs you’re looking for?
* **Quality:** Read reviews and research brands to ensure you’re purchasing high-quality press-on nails that will last.
* **Convenience:** Consider the location and hours of the store, as well as the shipping times if ordering online.
* **Return Policy:** Check the return policy in case you’re not satisfied with your purchase.
No matter where you choose to buy your medium-length press-on nails, take the time to research different brands and styles to find the perfect fit for your needs and preferences. You can find some super cute designs for back to school season; happy shopping!
Frequently Asked Questions (FAQ)
What are the benefits of using press-on nails instead of traditional manicures?
Press-on nails offer a range of benefits that make them an appealing alternative to traditional manicures, especially for students. First and foremost, they’re incredibly convenient and time-saving. Applying a set of press-on nails takes just a few minutes, compared to the hour or more required for a salon manicure. This is a huge advantage for busy students who don’t have much free time. Secondly, press-on nails are much more affordable than salon manicures. A single salon visit can easily cost $30 or more, while a set of press-on nails can be purchased for as little as $5-$10. Over the course of a school year, the savings can really add up. Thirdly, press-on nails are a great way to experiment with different styles and designs without committing to a permanent look. You can easily change your nails to match your outfit, your mood, or the occasion. Finally, press-on nails are generally less damaging to your natural nails than acrylics or gel manicures, which require harsh chemicals and filing. With proper application and removal, press-on nails can be a safe and fun way to enhance your appearance.
How long do medium-length press-on nails typically last?
The lifespan of medium-length press-on nails can vary depending on several factors, including the quality of the nails, the type of adhesive used, and your daily activities. On average, you can expect a set of press-on nails to last anywhere from a few days to two weeks. Using high-quality nails made from durable materials like acrylic can significantly extend their lifespan. Opting for liquid glue instead of adhesive tabs will also provide a stronger and longer-lasting hold. Your daily activities play a major role. If you’re constantly washing your hands, doing household chores, or engaging in activities that put stress on your nails, they’re more likely to loosen or detach. Taking precautions like wearing gloves when doing dishes or using your hands gently can help prolong the life of your manicure. Proper preparation and application are also key. Making sure your natural nails are clean, dry, and buffed before applying the press-ons will help them adhere better. By following these tips, you can maximize the lifespan of your medium-length press-on nails and keep them looking their best for as long as possible.
Are press-on nails damaging to my natural nails?
While press-on nails are generally considered a less damaging alternative to acrylics or gel manicures, they can still cause some harm to your natural nails if not applied and removed properly. The biggest risk comes from improper removal. Pulling or forcing the press-on nails off can strip away layers of your natural nail, leaving them weak, thin, and brittle. To avoid this, always soak your hands in warm, soapy water for 10-15 minutes before attempting to remove the nails. This will help loosen the adhesive and allow the press-ons to slide off more easily. Using a cuticle pusher or orangewood stick to gently lift the edges of the nails can also help. Another potential issue is the adhesive itself. Some adhesives contain harsh chemicals that can dry out or irritate your natural nails. Look for press-on nails that come with non-toxic or gentle adhesives. It’s also important to give your natural nails a break between sets of press-ons. Wearing them constantly without allowing your nails to breathe can weaken them over time.
What can I do to minimize damage to my natural nails?
To minimize damage to your natural nails when using press-ons, focus on gentle application and removal. Avoid harsh chemicals and always moisturize your nails and cuticles.
Can I reuse press-on nails?
Yes, you can reuse press-on nails, but it depends on the condition they’re in after removal and the type of adhesive you used. If you removed the nails carefully and they’re still in good shape (no cracks, bends, or missing embellishments), you can definitely reuse them. The key is to gently remove any remaining adhesive from the back of the nails. You can use a cotton swab dipped in nail polish remover or acetone, but be careful not to damage the design on the front of the nails. If you used adhesive tabs, you can simply peel them off. If you used liquid glue, you may need to soak the nails in acetone for a few minutes to dissolve the glue residue. Once the adhesive is removed, store the nails in a safe place where they won’t get scratched or damaged. You can reuse them with fresh adhesive tabs or liquid glue. However, keep in mind that the more times you reuse the nails, the more likely they are to show wear and tear. Eventually, they may become damaged or lose their adhesion, at which point it’s time to replace them.
How do I choose the right size of press-on nails for my fingers?
Choosing the right size of press-on nails is crucial for achieving a natural-looking and comfortable fit. Most press-on nail sets come with a variety of sizes to accommodate different finger sizes. The best way to find the right size is to test fit each nail to your natural nail before applying any adhesive. Start by laying out all the press-on nails and comparing them to your natural nails. Look for a size that closely matches the width of your natural nail. The press-on nail should cover your entire natural nail without overlapping the skin or cuticles. If you’re between sizes, it’s generally better to choose a slightly larger size and file it down to fit. You can use a nail file to gently shape the sides and tip of the press-on nail until it matches the shape of your natural nail. It’s also important to consider the length of the press-on nail. If you have short nail beds, you may want to choose shorter press-on nails to avoid them looking too long or unnatural.
What are some trendy nail art designs that are easy to achieve with press-on nails?
Press-on nails are a fantastic canvas for experimenting with trendy nail art designs without the need for professional skills. One popular and easy-to-achieve design is minimalist nail art. This involves using simple geometric shapes, lines, or dots to create a modern and understated look. You can find press-on nails that already feature minimalist designs, or you can create your own using nail art pens or stickers. Another trendy design is ombre nails. This involves blending two or more colors seamlessly to create a gradient effect. You can find press-on nails that feature pre-made ombre designs, or you can create your own by layering different colored polishes on the press-on nails before applying them. Floral accents are always a popular choice, especially for spring and summer. You can find press-on nails that feature delicate floral patterns, or you can add your own floral stickers or decals. Glitter accents are another easy way to add some sparkle and glam to your press-on nails. You can find press-on nails that are pre-coated with glitter, or you can apply glitter polish or loose glitter to the press-on nails before applying them.
Can I paint or decorate press-on nails myself?
Absolutely! One of the great things about press-on nails is that you can customize them to your heart’s content. Painting and decorating press-on nails is a fun and easy way to express your creativity and create unique looks. To paint press-on nails, start by lightly buffing the surface of the nails with a fine-grit buffer. This will create a slightly rough texture that helps the polish adhere better. Then, apply a base coat to protect the nails and provide a smooth surface for the polish. Once the base coat is dry, apply your desired nail polish color in thin, even coats. Allow each coat to dry completely before applying the next one. You can also use nail art brushes, sponges, or dotting tools to create intricate designs. To decorate press-on nails, you can use a variety of embellishments, such as rhinestones, glitter, stickers, and decals. Use nail glue or a clear top coat to adhere the embellishments to the nails. Be sure to seal the design with a clear top coat to protect the polish and embellishments.

Price: $6.98
(as of Sep 08, 2025 12:22:19 UTC – Details)


