Art3d Smoothing Tool Kit for Applying Review wallpaper Buying Guide – Oemiu
A Smooth Finish: Mastering Wallpaper Application with the Art3d Smoothing Tool Kit
Applying wallpaper can transform a room from drab to fab, injecting personality and style with a single application. However, the journey from a roll of decorative paper to a perfectly adorned wall is often fraught with challenges. Air bubbles, creases, and uneven seams can quickly derail even the most ambitious DIY project. This is where the Art3d Smoothing Tool Kit steps in, promising to be your indispensable ally in achieving a professional-looking wallpaper installation. This article will delve into the kit’s components, explore its benefits, and provide a comprehensive guide to help you decide if it’s the right tool for your next wallpaper endeavor, especially when considering options like trendy peel and stick removable wallpaper.
Understanding the Art3d Smoothing Tool Kit: More Than Just a Spatula
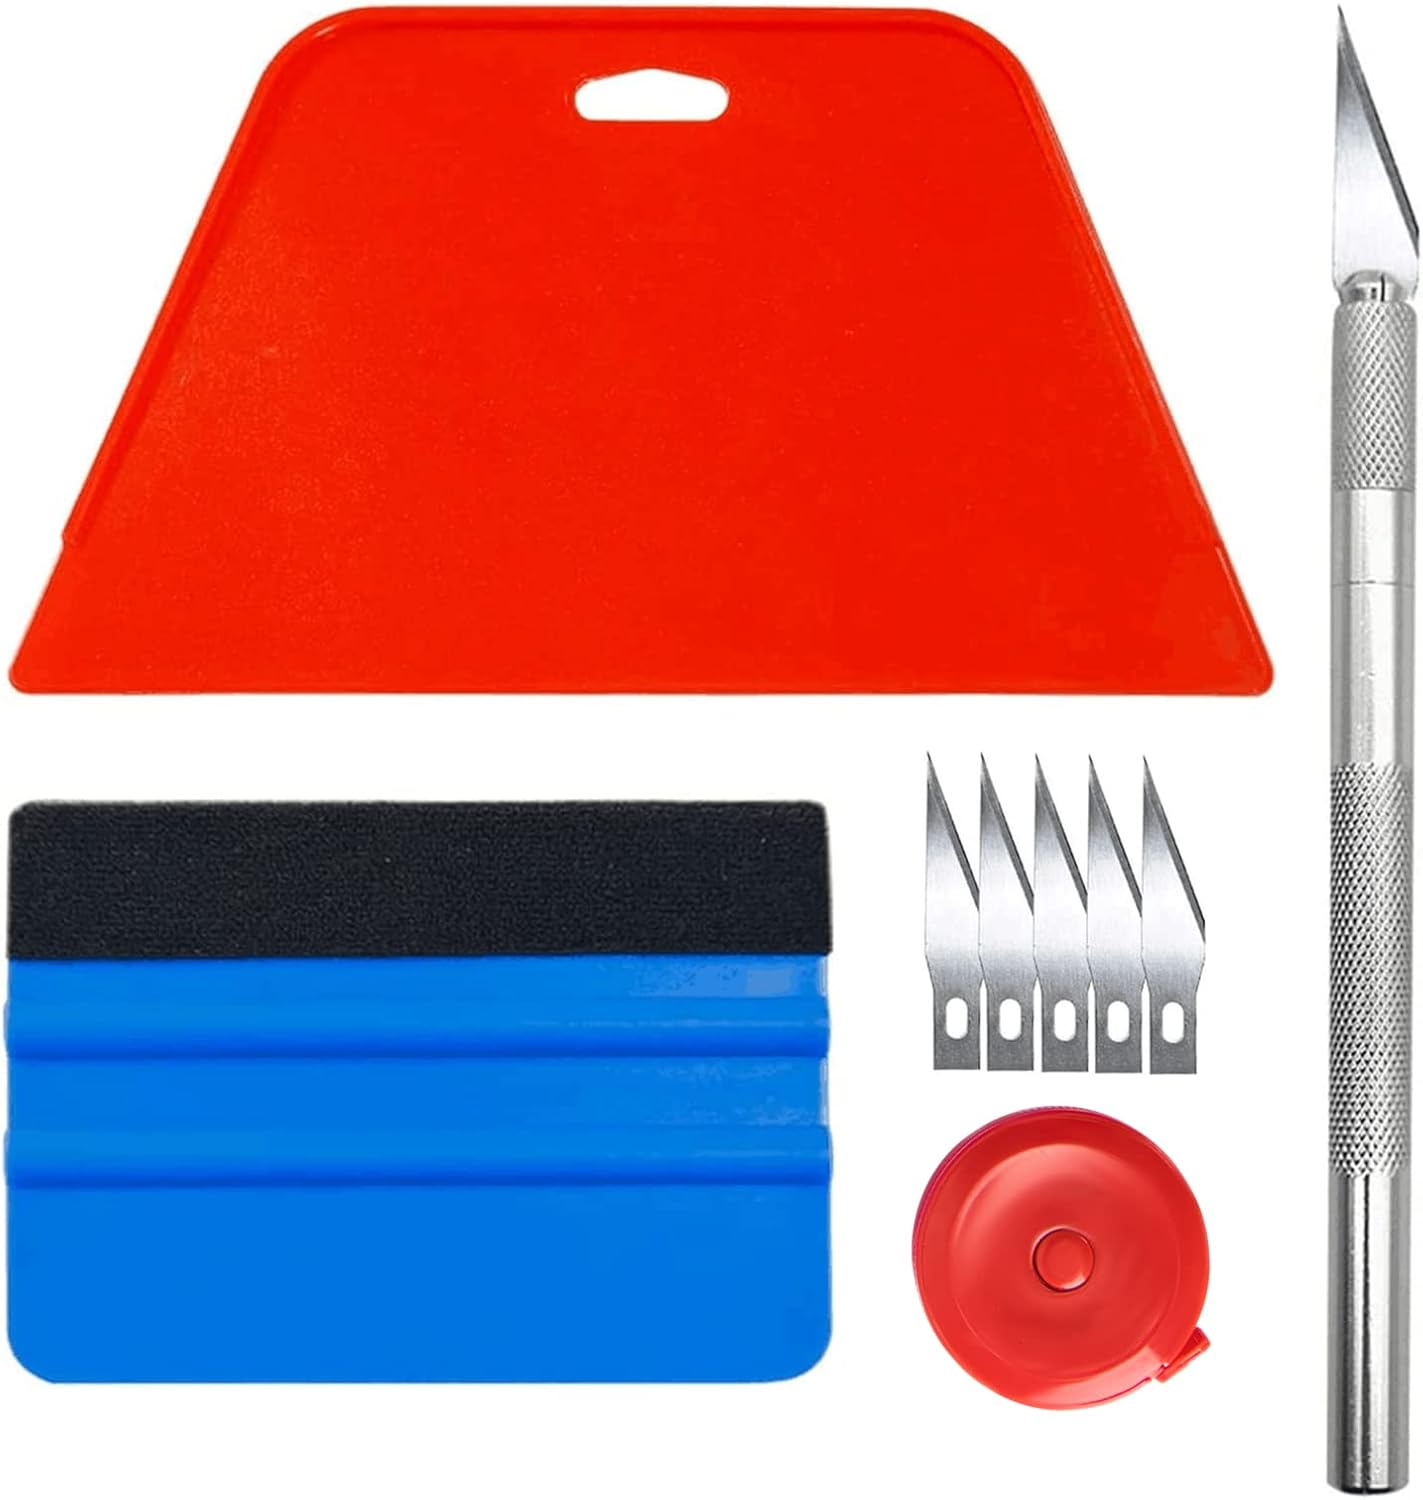
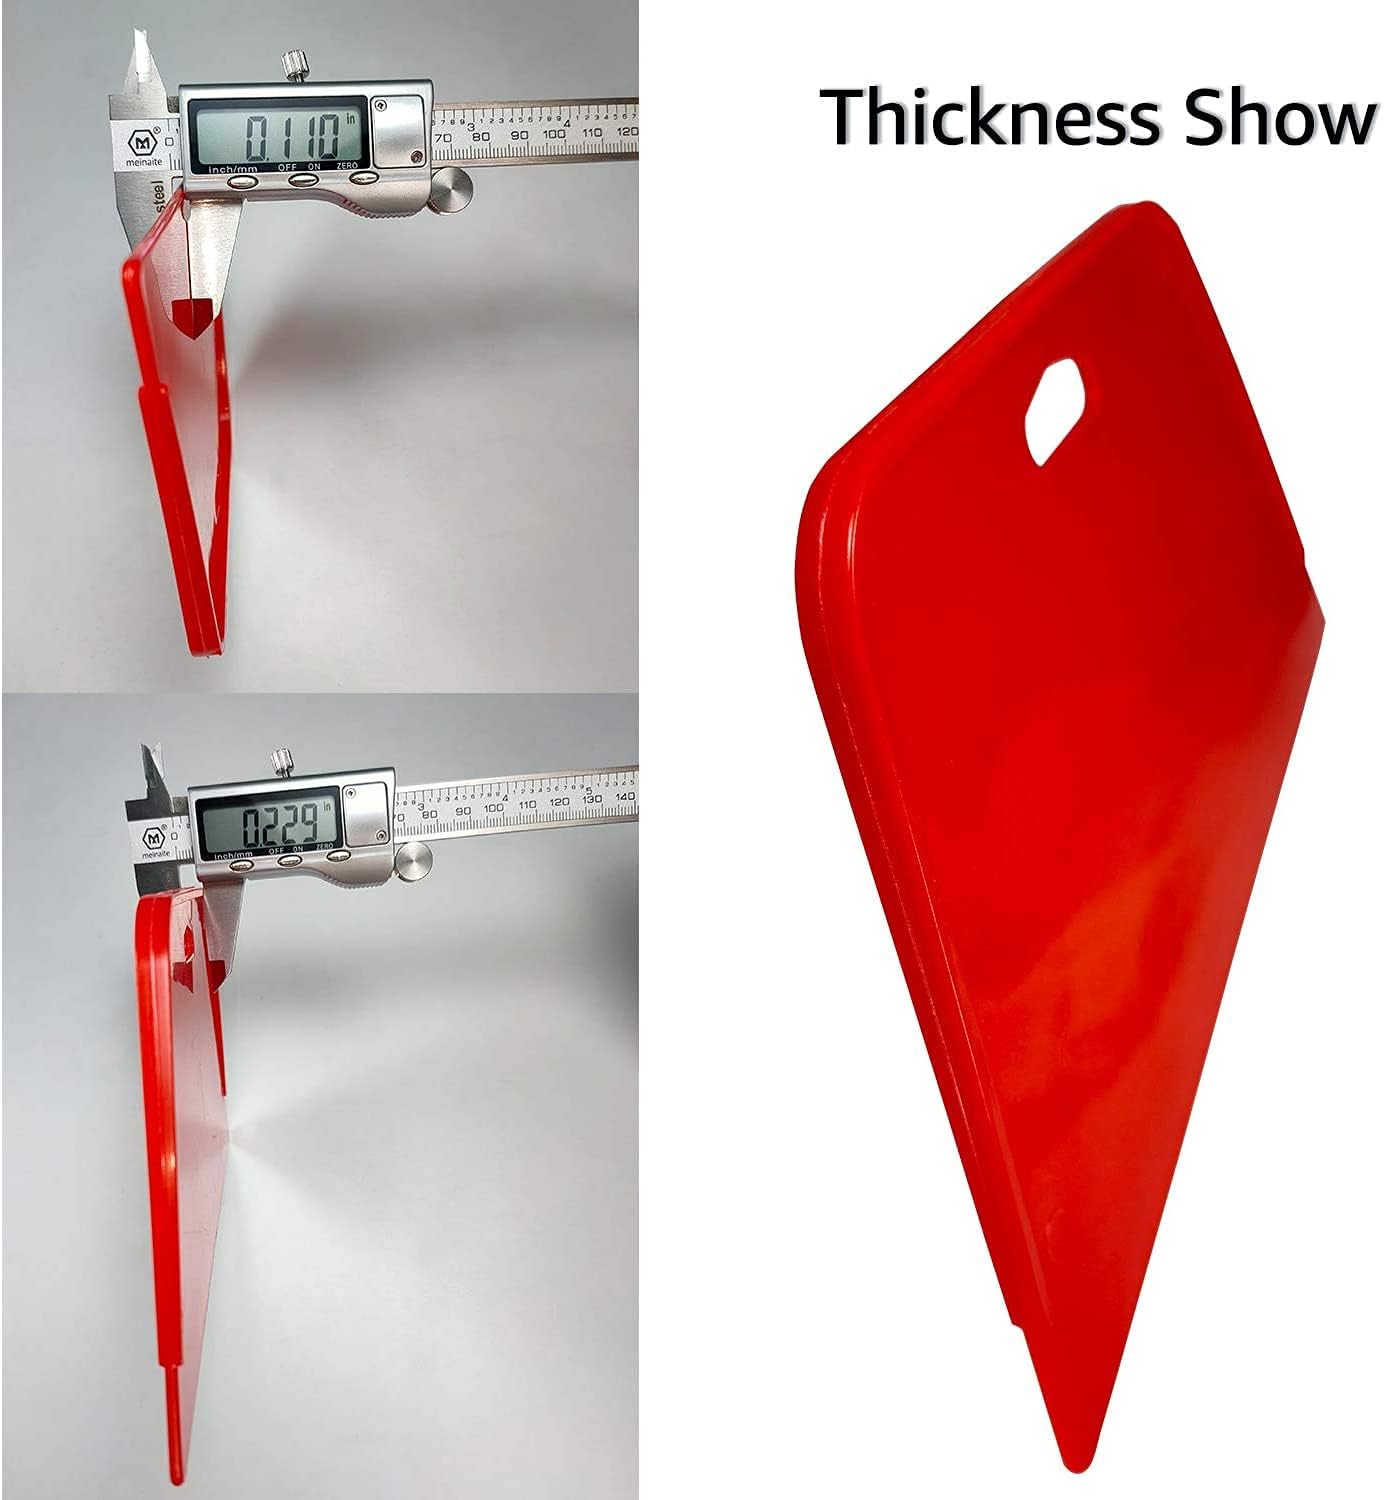
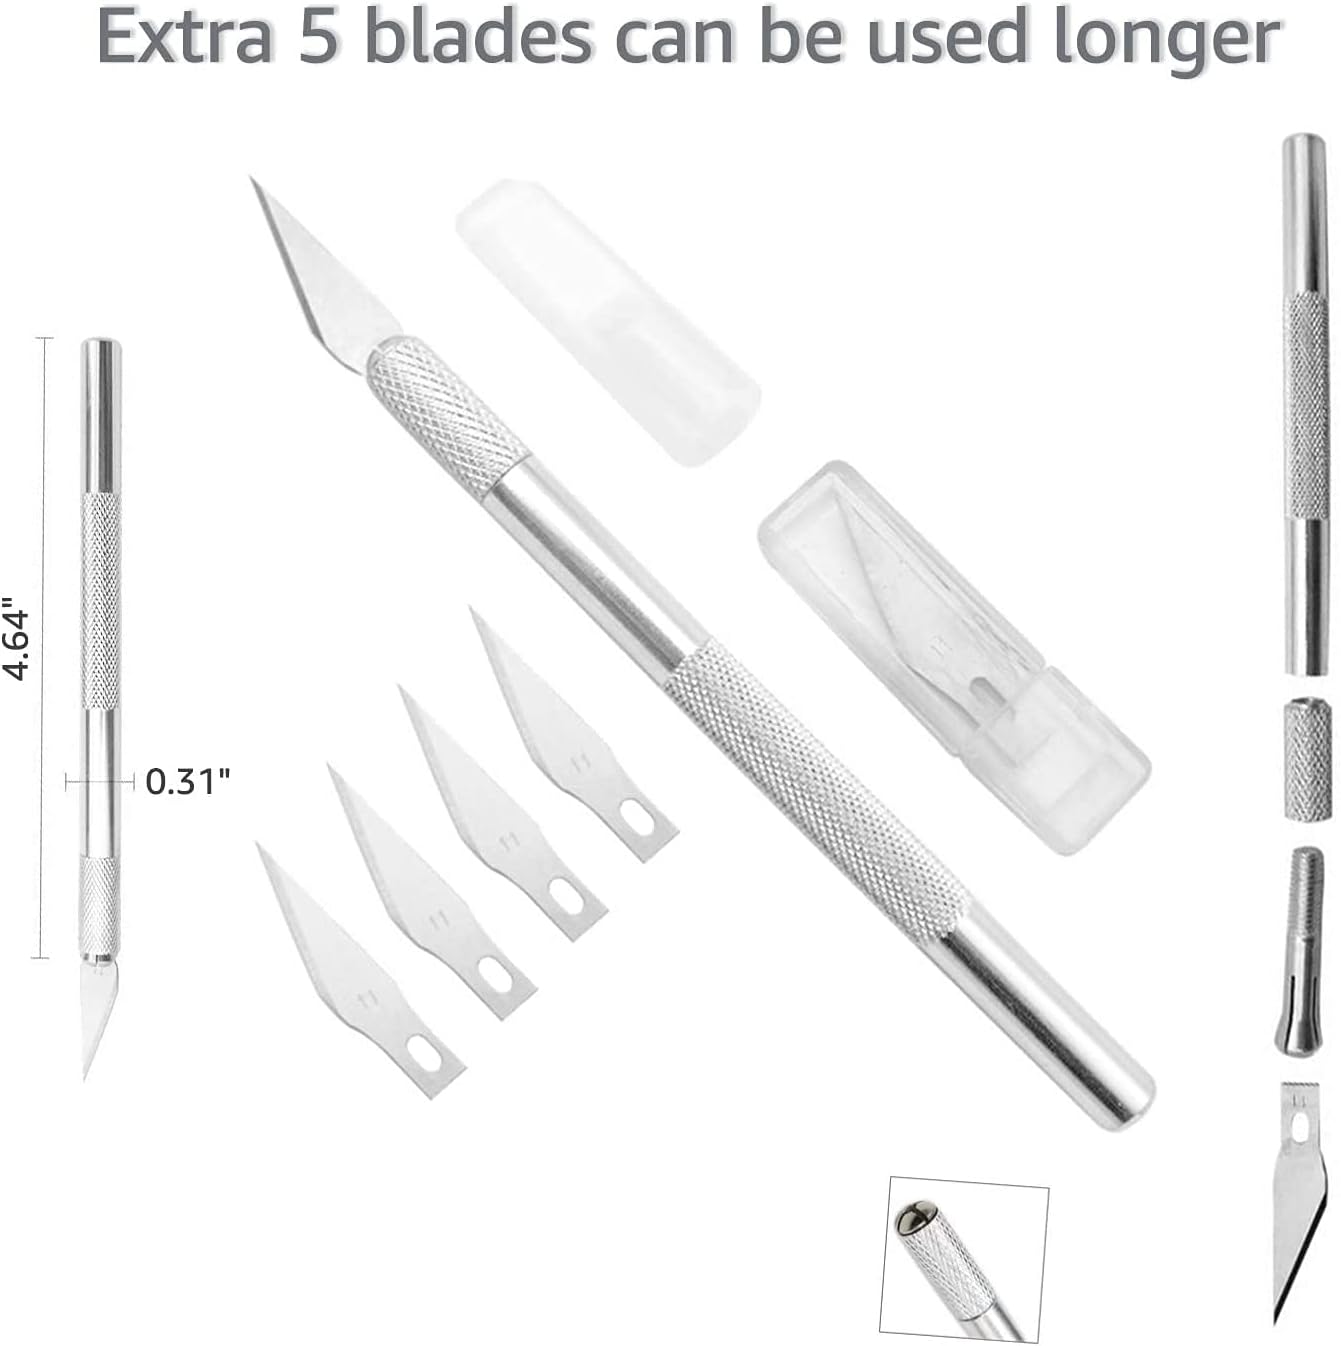
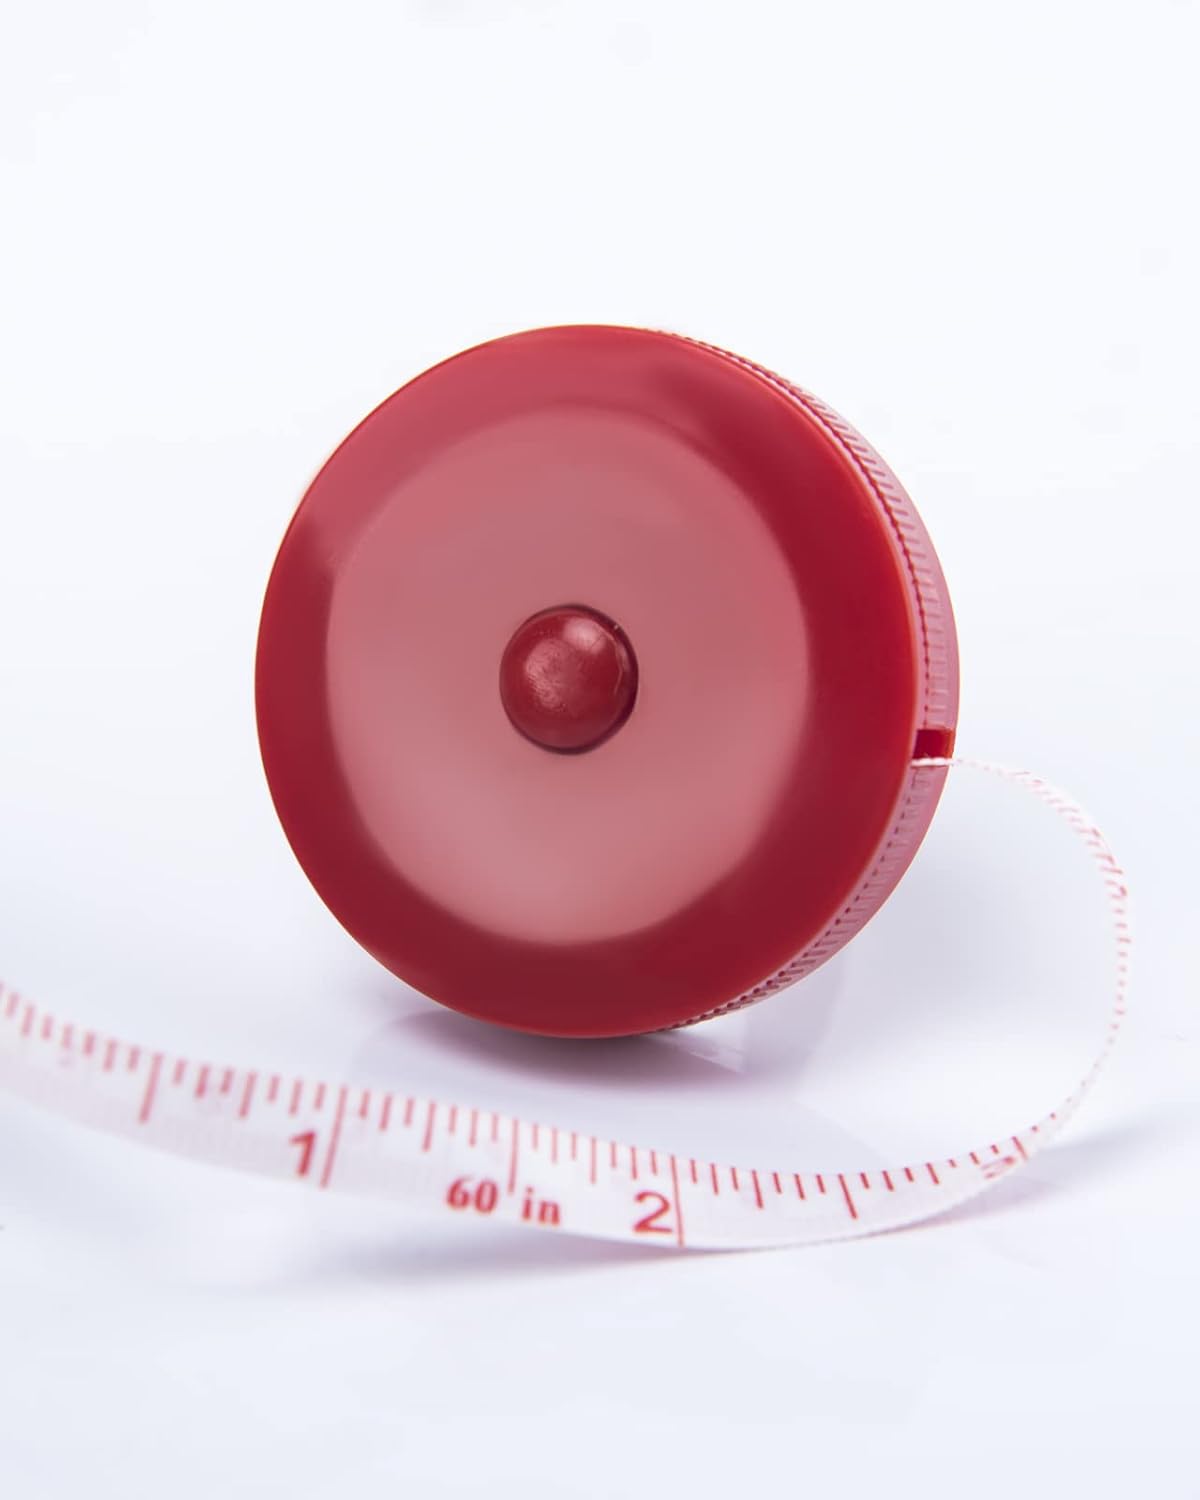
The Art3d Smoothing Tool Kit isn’t just a single tool; it’s a curated collection designed to address the various stages of wallpaper application. At its core, it typically includes a smoothing tool (often referred to as a squeegee or smoother), a utility knife, a measuring tape, a sponge, and sometimes, seam rollers or additional applicator tools. Let’s examine each component and its role in achieving a flawless finish. The smoothing tool is arguably the star of the show. It’s usually made of durable plastic or a combination of plastic and rubber, designed to apply even pressure across the wallpaper surface. This pressure helps to eliminate air pockets trapped beneath the paper, which can cause unsightly bubbles and prevent proper adhesion. The utility knife is crucial for trimming excess wallpaper along edges, corners, and around obstacles like windows and outlets. A sharp blade is essential for clean, precise cuts that contribute to a professional appearance. The measuring tape ensures accurate measurements and proper alignment of wallpaper panels, preventing costly errors and wasted material. The sponge is used to clean adhesive residue from the wallpaper surface, preventing a sticky or discolored finish. Finally, seam rollers, if included, are used to firmly press the seams between wallpaper panels, creating a seamless and visually appealing result. Applying intricate designs such as textured wallpaper can be tricky without the right tools.
The effectiveness of the kit hinges on the quality of each individual component. A flimsy smoothing tool will bend under pressure, resulting in an uneven finish. A dull utility knife will tear the wallpaper instead of cutting it cleanly. A poorly made seam roller will leave gaps and visible seams. Therefore, it’s important to consider the materials and construction of each tool when evaluating the Art3d Smoothing Tool Kit or any similar product. Consider the longevity of the tool kit and how often you will be using it. For example, if you are simply doing a small area with easy-to-use self adhesive wallpaper, this kit might be overkill.
Navigating the Market: Alternatives and Comparisons
While the Art3d Smoothing Tool Kit offers a convenient all-in-one solution, it’s essential to understand the alternatives available and how they stack up. You can assemble your own kit by purchasing individual tools from various brands, which allows for greater customization but may also require more research and effort. Some DIY enthusiasts prefer using specialized wallpaper smoothing tools, such as those with ergonomic handles or unique blade designs for tackling specific types of wallpaper. When comparing options, consider factors such as the quality of materials, the ease of use, the price, and the overall value.
Here’s a comparison table to help you visualize the differences:
| Feature | Art3d Smoothing Tool Kit | Individual Tools (Generic) | Specialized Wallpaper Tools |
|---|---|---|---|
| Convenience | High (All-in-one) | Medium (Requires sourcing) | Low to Medium (May require sourcing multiple tools) |
| Cost | Medium | Variable (Can be cheaper or more expensive) | Variable (Often more expensive) |
| Quality Control | Medium (Depends on the kit) | Variable (Depends on brand selection) | High (Often higher quality) |
| Customization | Low (Pre-selected tools) | High (Choose each tool individually) | Medium (Choose specific tools for specific tasks) |
| Ease of Use (Beginner) | High | Medium | Variable (Some specialized tools require practice) |
Beyond these basic comparisons, it’s wise to read online reviews and seek recommendations from experienced wallpaper installers. Pay attention to feedback regarding the durability of the tools, the effectiveness of the smoothing tool, and the sharpness of the utility knife. Remember that the best option for you will depend on your budget, your skill level, and the specific type of wallpaper you’re working with.
Applying the Art3d Smoothing Tool Kit: A Step-by-Step Guide
Now, let’s walk through the process of using the Art3d Smoothing Tool Kit for applying wallpaper. This guide assumes you’ve already prepared your walls by cleaning them, repairing any imperfections, and applying a primer.
* **Step 1: Measuring and Cutting:** Use the measuring tape to accurately measure the height of your wall and add a few inches to both the top and bottom for trimming. Cut the wallpaper panel to this size, ensuring the pattern aligns correctly with the adjacent panels.
* **Step 2: Applying Adhesive:** Apply wallpaper paste or activate the adhesive on the self adhesive wallpaper according to the manufacturer’s instructions. Be sure to apply the adhesive evenly to prevent dry spots and ensure proper adhesion.
* **Step 3: Positioning the Wallpaper:** Carefully position the wallpaper panel on the wall, aligning it with your reference marks. Leave a slight overlap at the top and bottom for trimming.
* **Step 4: Smoothing the Wallpaper:** This is where the smoothing tool shines. Starting from the center of the panel, use the smoothing tool to gently press the wallpaper against the wall, working your way outwards towards the edges. Use firm, even pressure to eliminate air bubbles and wrinkles.
* **Step 5: Trimming Excess Wallpaper:** Use the utility knife to carefully trim the excess wallpaper at the top and bottom of the panel. Guide the knife along the ceiling and baseboard for clean, precise cuts. It’s best to change the blade frequently to ensure sharpness.
* **Step 6: Seam Rolling:** If you’re working with multiple wallpaper panels, use the seam roller to firmly press the seams between the panels. This will create a seamless and visually appealing result.
* **Step 7: Cleaning Adhesive Residue:** Use the sponge to gently wipe away any adhesive residue from the wallpaper surface. Be careful not to saturate the paper, as this can damage it.
* **Step 8: Inspect and Correct:** Once the wallpaper is installed, inspect it carefully for any imperfections, such as air bubbles, wrinkles, or loose seams. Use the smoothing tool or seam roller to correct any issues.
Remember to always follow the manufacturer’s instructions for both the wallpaper and the Art3d Smoothing Tool Kit. With practice and patience, you’ll be able to achieve a professional-looking wallpaper installation.
Beyond the Basics: Tips and Tricks for Wallpaper Success
While the Art3d Smoothing Tool Kit is a valuable asset, it’s not a magic wand. Achieving a truly flawless wallpaper installation requires attention to detail, patience, and a few insider tips and tricks.
* **Wall Preparation is Key:** A smooth, clean, and primed wall is essential for proper wallpaper adhesion. Repair any cracks, holes, or imperfections before applying the wallpaper. Consider using a wallpaper primer to create a consistent surface and improve adhesion.
* **Pattern Matching Matters:** When working with patterned wallpaper, pay close attention to pattern matching to ensure a seamless and visually appealing result. Take your time and double-check the alignment before applying the wallpaper. Intricate patterns such as floral patterned wallpaper might require extra precision.
* **Work in Good Lighting:** Adequate lighting is crucial for spotting imperfections and ensuring proper alignment. Work in a well-lit room or use additional lighting to illuminate the wall.
* **Take Breaks:** Wallpapering can be physically demanding, so take breaks as needed to avoid fatigue and maintain focus.
* **Don’t Be Afraid to Ask for Help:** If you’re struggling with a particular aspect of the wallpaper installation, don’t hesitate to ask for help from a friend or family member. Having an extra pair of hands can make the process much easier and faster.
* **Practice Makes Perfect:** The more you practice, the better you’ll become at wallpaper installation. Start with a small, inconspicuous area to hone your skills before tackling a larger project.
* **Choose the Right Wallpaper:** The type of wallpaper you choose will also affect the ease of installation. Some wallpapers, such as non-woven or peel-and-stick wallpapers, are easier to install than others.
By following these tips and tricks, you can maximize the effectiveness of the Art3d Smoothing Tool Kit and achieve a stunning wallpaper installation that will transform your room.
Frequently Asked Questions (FAQ)
What exactly is included in the Art3d Smoothing Tool Kit?
The Art3d Smoothing Tool Kit typically includes several essential tools for wallpaper installation. You can usually expect a smoothing tool, often made of plastic or a combination of plastic and rubber, designed to eliminate air bubbles and wrinkles. A utility knife with replaceable blades is included for trimming excess wallpaper. A measuring tape is crucial for accurate measurements, and a sponge is provided for cleaning adhesive residue. Some kits also include a seam roller for pressing seams between wallpaper panels. The specific contents can vary slightly depending on the kit version, so it’s always a good idea to check the product description before purchasing. However, the core tools mentioned above are generally standard in most Art3d Smoothing Tool Kits, offering a convenient and comprehensive solution for your wallpapering needs.
Is the Art3d Smoothing Tool Kit suitable for beginners?
Yes, the Art3d Smoothing Tool Kit is generally considered suitable for beginners. The kit is designed to provide all the essential tools needed for a basic wallpaper installation, making it a convenient option for those new to the process. The smoothing tool is easy to use and helps to eliminate air bubbles and wrinkles, which can be a common issue for beginners. The utility knife allows for precise trimming, and the sponge helps to clean up any adhesive residue. While some techniques, like pattern matching or seam rolling, may require a bit of practice, the Art3d Smoothing Tool Kit provides a solid foundation for beginners to learn and improve their wallpapering skills. However, don’t expect perfect results on your first attempt, patience and practice are key.
How do I clean the tools in the Art3d Smoothing Tool Kit?
Cleaning the tools in the Art3d Smoothing Tool Kit is essential for maintaining their performance and longevity. The smoothing tool and seam roller can be cleaned with warm, soapy water. Be sure to remove any adhesive residue thoroughly and dry the tools completely before storing them. For the utility knife, carefully wipe the blade with a clean cloth to remove any debris. You can also use a small amount of rubbing alcohol to clean the blade. Always handle the utility knife with caution to avoid injury. The sponge can be rinsed with water and squeezed dry after each use. Allow it to air dry completely before storing it. Proper cleaning and maintenance will ensure that your Art3d Smoothing Tool Kit remains in good condition for future wallpapering projects.
Can I use the Art3d Smoothing Tool Kit for peel and stick wallpaper?
Yes, the Art3d Smoothing Tool Kit can be effectively used for applying peel and stick wallpaper. The smoothing tool is particularly useful for ensuring that the wallpaper adheres smoothly to the wall and for removing any air bubbles that may form during application. The utility knife is essential for trimming the wallpaper around edges, corners, and obstacles. While peel and stick wallpaper is generally easier to install than traditional wallpaper, the Art3d Smoothing Tool Kit can still help to achieve a more professional and flawless finish. The kit will help with accurate measurements and will improve the look of designs such as temporary peel and stick removable wallpaper.
How durable are the tools in the Art3d Smoothing Tool Kit?
The durability of the tools in the Art3d Smoothing Tool Kit can vary depending on the specific materials used and the quality of construction. Generally, the smoothing tool is made of durable plastic or a combination of plastic and rubber, which should withstand regular use. The utility knife is designed with replaceable blades, so you can easily replace dull blades to maintain its cutting performance. However, the overall lifespan of the tools will depend on how frequently they are used and how well they are maintained. To maximize the durability of the tools, it’s important to clean them properly after each use and store them in a safe place. Reading reviews can help gauge overall durability.
What if the utility knife in the kit becomes dull?
If the utility knife in the Art3d Smoothing Tool Kit becomes dull, it’s important to replace the blade immediately. Using a dull blade can tear the wallpaper and result in jagged, uneven cuts. Most utility knives are designed with replaceable blades, so you can easily swap out the old blade for a new one. Refer to the utility knife’s instructions for guidance on how to safely replace the blade. Always exercise caution when handling the utility knife to avoid injury. Keeping a supply of replacement blades on hand will ensure that you can always achieve clean, precise cuts when installing wallpaper.
Are there any specific types of wallpaper that the Art3d Smoothing Tool Kit is not suitable for?
While the Art3d Smoothing Tool Kit is versatile and can be used for a wide range of wallpaper types, there may be some specific situations where it is not the ideal choice. For delicate or textured wallpapers, it’s important to use the smoothing tool with extra care to avoid damaging the surface. In some cases, a softer smoothing tool or a different application technique may be required. Additionally, for very thick or heavy wallpapers, a more robust smoothing tool or seam roller may be necessary to ensure proper adhesion and a seamless finish. Always refer to the wallpaper manufacturer’s instructions for guidance on the best tools and techniques to use for your specific type of wallpaper.


Price: $6.99 - $5.99
(as of Sep 08, 2025 02:38:22 UTC – Details)


