6 Sheets Halloween Nail Stickers for Review nail stickers Buying Guide – Oemiu
Unleash Spooky Elegance: A Deep Dive into Halloween Nail Art with Stickers
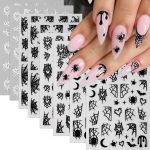
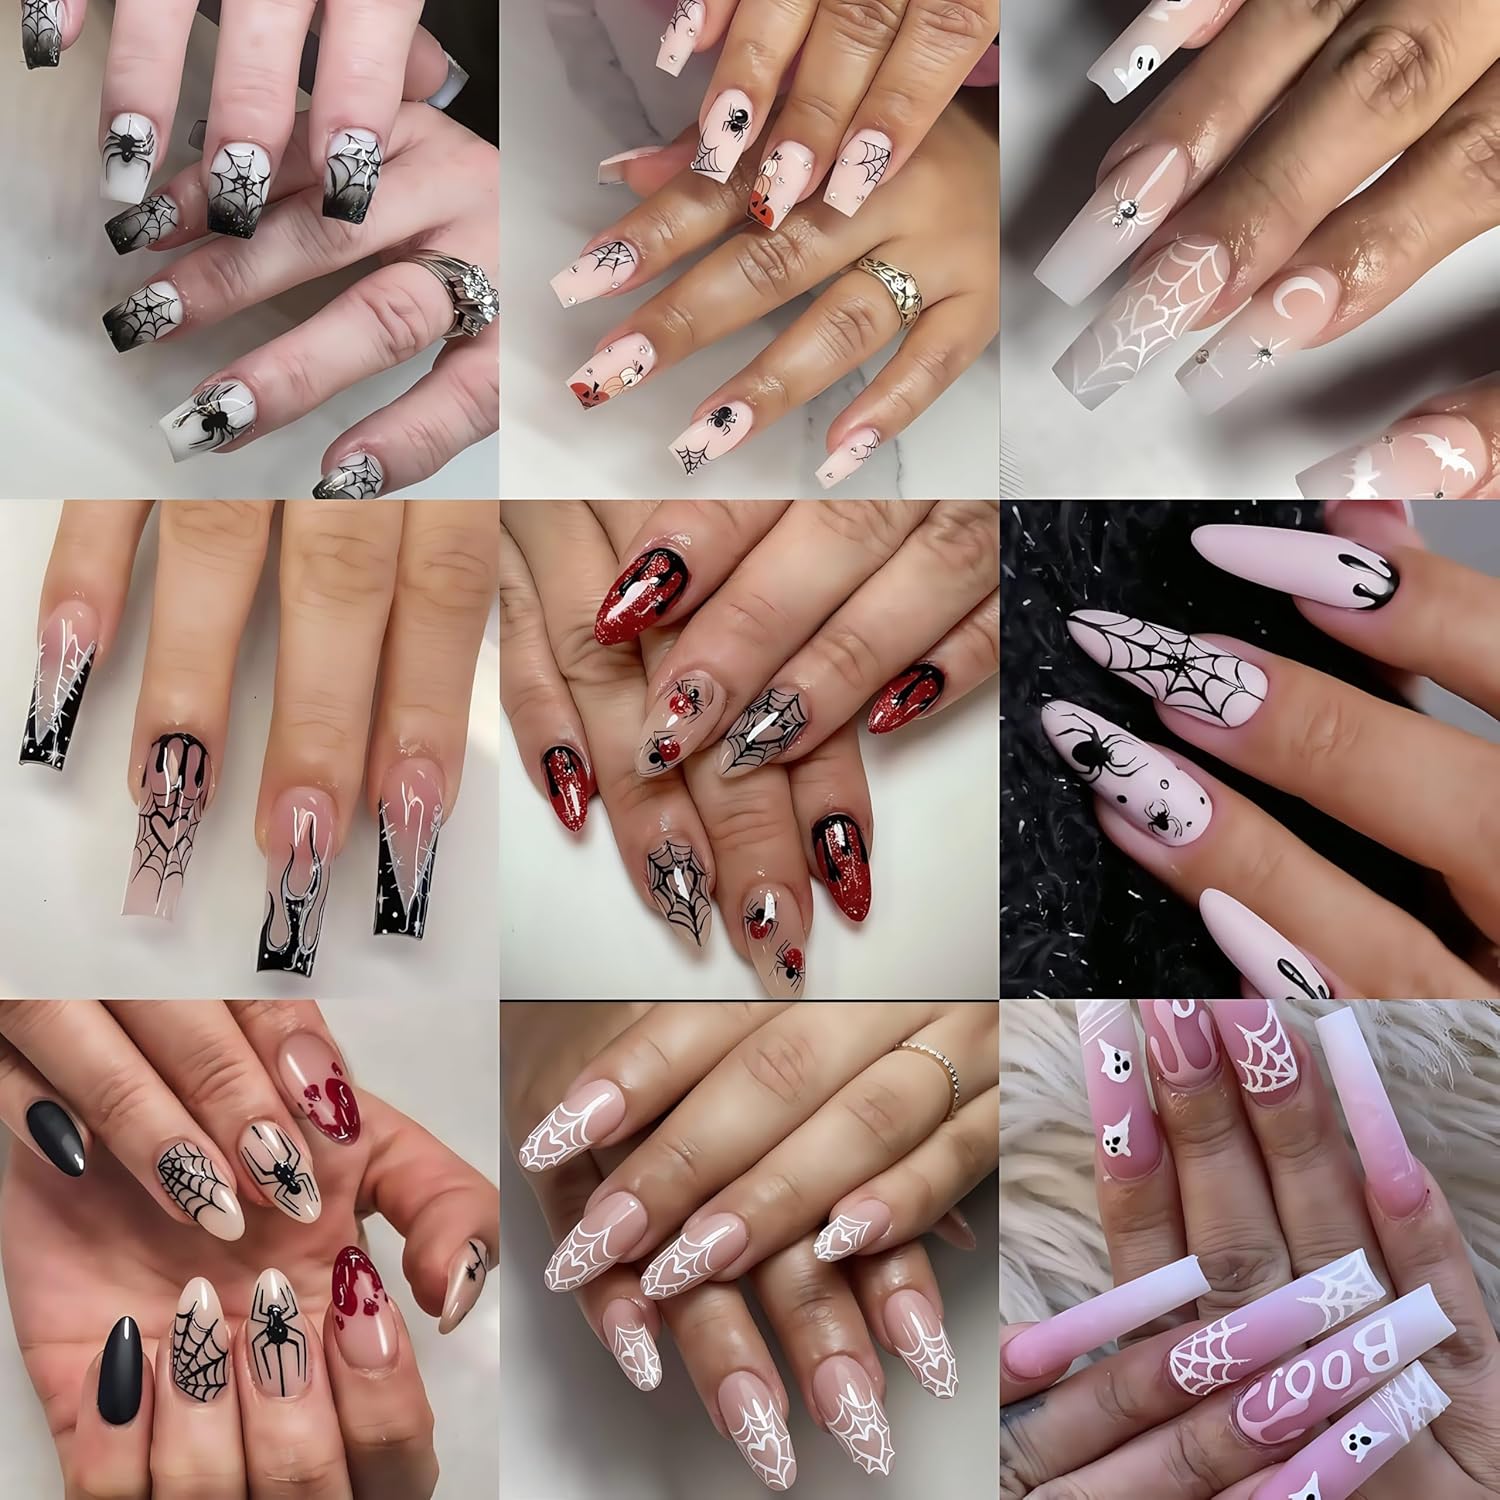
The air is getting crisper, the leaves are turning vibrant shades of orange and red, and the spirit of Halloween is undeniably upon us. Beyond costumes and candy, Halloween is also a fantastic opportunity to express your creativity through nail art. But let’s be honest, not all of us have the steady hand and artistic flair needed for intricate freehand designs. That’s where Halloween nail stickers come to the rescue, offering a quick, easy, and incredibly versatile way to achieve stunning spooky manicures. Specifically, we’re focusing on a popular option: the 6 sheets Halloween nail stickers set. These sets are a fantastic choice for both beginners and seasoned nail art enthusiasts, providing a wide variety of designs to suit any Halloween aesthetic, from cute and quirky to elegantly eerie. In this comprehensive guide, we’ll explore what makes these sticker sets so appealing, how to choose the right one for your needs, and tips for achieving a professional-looking finish. Get ready to transform your nails into miniature masterpieces of Halloween horror (or adorableness!).
The Allure of Halloween Nail Sticker Sets: Why Choose Stickers Over Polish?
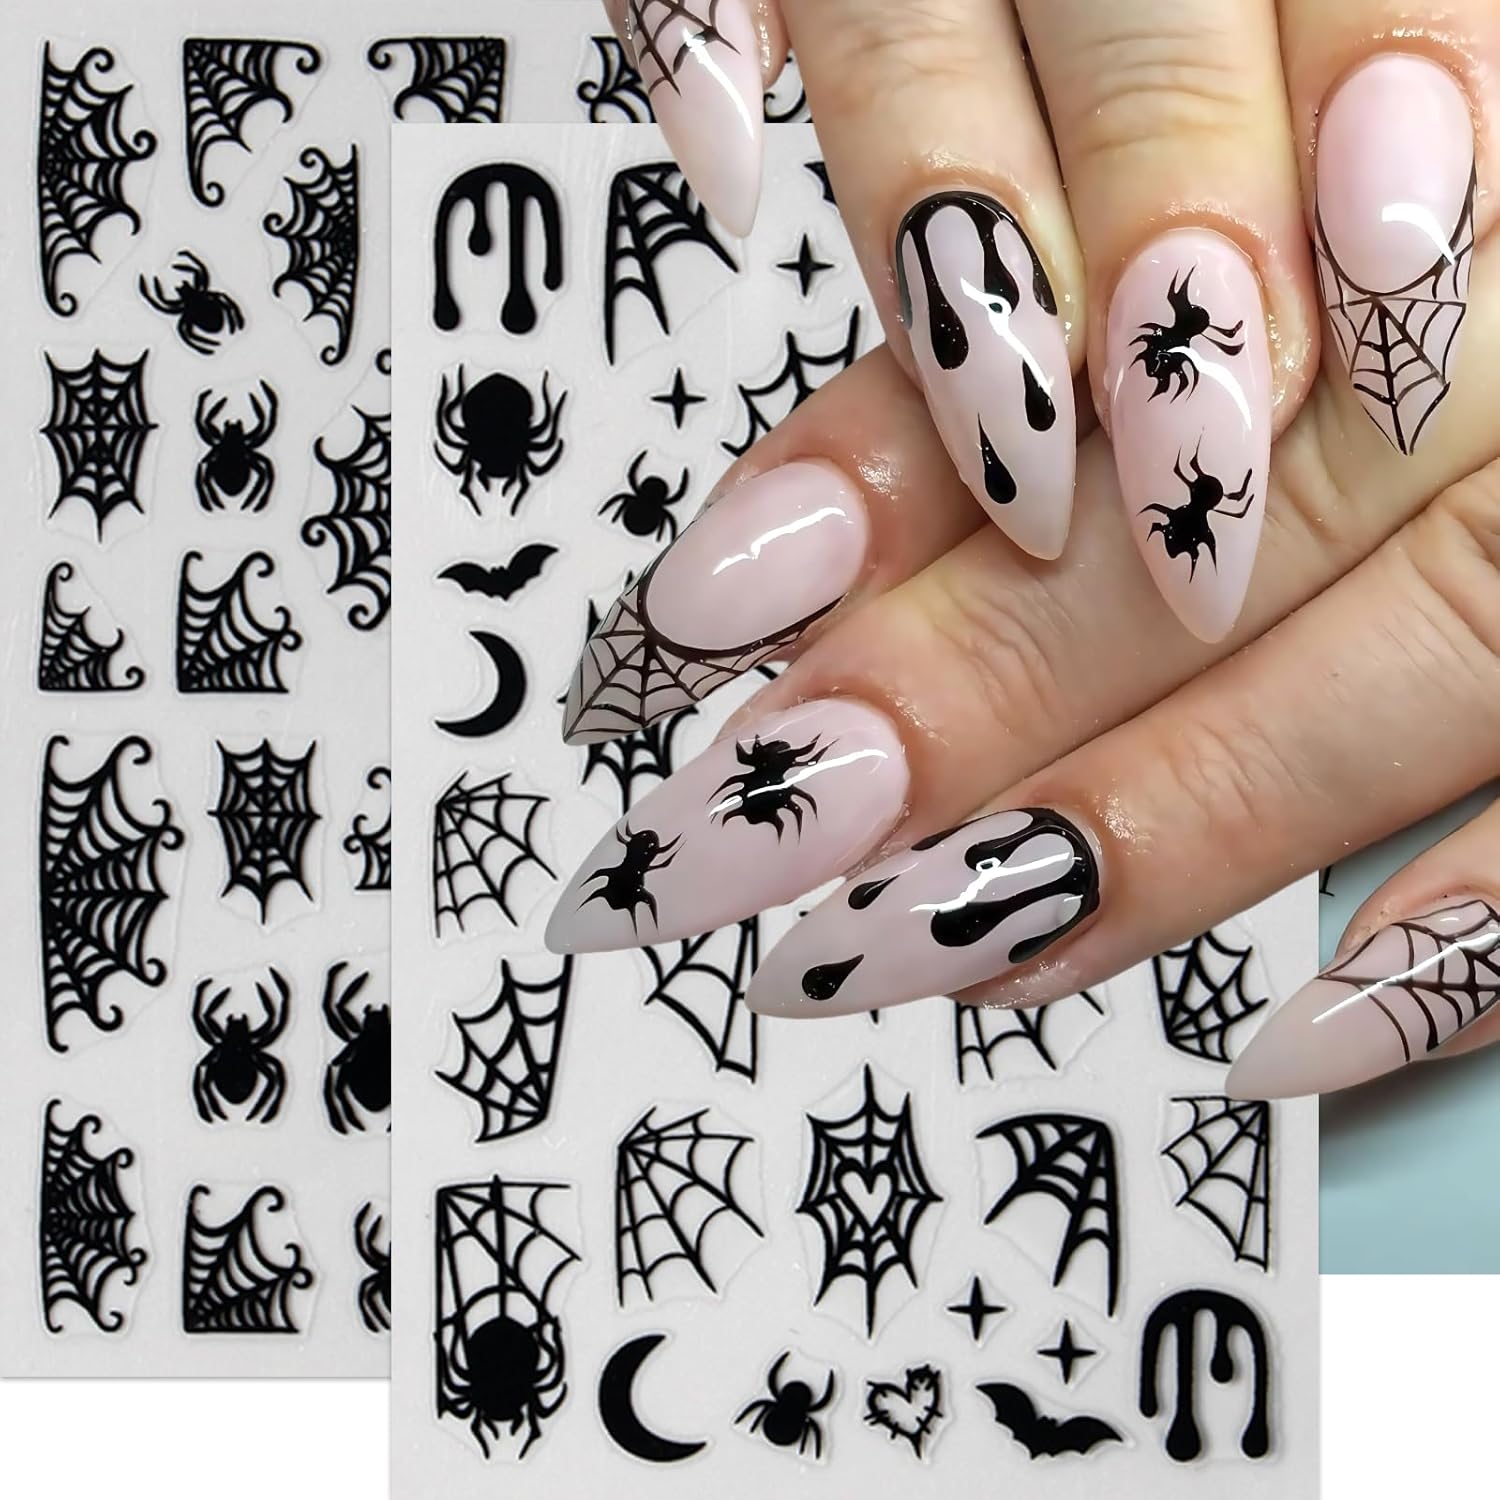
Let’s face it, crafting intricate nail art designs with polish can be a time-consuming and often frustrating endeavor. It requires precision, patience, and a steady hand – qualities that aren’t always readily available, especially when you’re rushing to get ready for a Halloween party. This is precisely where the appeal of Halloween nail stickers shines. They offer a shortcut to stunning designs, bypassing the need for advanced painting skills or specialized tools. Imagine trying to paint a perfect spiderweb onto your nail with a tiny brush – the result could be less “spiderweb” and more “abstract art gone wrong.” With stickers, you simply peel, stick, and seal, achieving a flawless design in a fraction of the time. These sets usually come with a diverse collection of designs, encompassing classic Halloween motifs like pumpkins, ghosts, bats, skulls, and spiderwebs, as well as more contemporary and artistic interpretations. This variety allows you to create a unique and personalized manicure that reflects your individual style and Halloween preferences. Furthermore, nail stickers are incredibly forgiving. If you don’t like the placement, you can gently peel them off and reposition them, unlike polish, which often requires a complete removal and restart. This makes them an excellent choice for beginners who are still learning the ropes of nail art. The convenience extends beyond the application process. Removal is also a breeze – simply peel them off! No harsh chemicals or tedious scrubbing required. This is a major advantage over gel polish designs, which often require soaking in acetone for an extended period. In essence, Halloween nail sticker sets offer a perfect blend of convenience, versatility, and affordability, making them an ideal choice for anyone looking to elevate their Halloween manicure game without the hassle and commitment of traditional nail art techniques. Plus, they’re a fantastic option for those who like to change their nail designs frequently, allowing you to experiment with different looks throughout the Halloween season. Consider them a low-risk, high-reward investment in your Halloween self-expression. Looking for something even more specific? Think about searching for Halloween themed nail decals or water slide nail art stickers to find even more unique and specialized designs.
Deciphering the Sticker Jungle: What to Look for in a 6 Sheets Halloween Nail Stickers Set
Navigating the world of Halloween nail stickers can feel a bit overwhelming, with countless options available online and in stores. However, by focusing on a few key factors, you can narrow down your choices and select a set that perfectly meets your needs and preferences. The first and perhaps most important consideration is the quality of the adhesive. A strong adhesive is crucial to ensure that the stickers stay firmly in place, preventing peeling or lifting. Look for reviews that specifically mention the longevity and adhesion of the stickers. Some stickers use a stronger adhesive than others, and this can significantly impact the overall wear time of your manicure. Consider what top coat you are using as well, as some top coats are better at sealing stickers than others. The design and variety within the set is another critical factor. Examine the images closely to ensure that the designs are crisp, clear, and appealing to you. A good set will offer a range of sizes and shapes to accommodate different nail sizes and preferences. Look for a mix of larger statement stickers and smaller accent pieces to provide versatility in your designs. Consider also the overall aesthetic of the designs – are they more spooky, cute, or elegant? Choose a set that aligns with your personal style and the overall theme of your Halloween costume or celebrations. The ease of application is also worth considering. Some stickers are easier to peel and apply than others. Look for stickers that are thin and flexible, as they tend to conform better to the natural curve of the nail and are less prone to creasing or bubbling. Reading reviews from other users can provide valuable insights into the ease of application. Finally, don’t overlook the price point. While nail stickers are generally an affordable option, the price can vary depending on the brand, quality, and quantity of stickers included in the set. Compare prices across different retailers and brands to ensure that you are getting the best value for your money. Remember to factor in shipping costs when making your decision. In general, investing in a slightly more expensive set from a reputable brand can often result in better quality and longer-lasting results. Here’s a quick comparison table:
| Feature | High-Quality Set | Budget-Friendly Set |
|---|---|---|
| Adhesive Strength | Strong, long-lasting | May be weaker, shorter wear time |
| Design Quality | Crisp, clear, detailed | May be less detailed or slightly blurry |
| Variety | Wide range of sizes and designs | Limited range, fewer options |
| Ease of Application | Thin, flexible, easy to peel | May be thicker, more difficult to apply |
| Price | Higher price point | Lower price point |
Remember to check for nail art decals for Halloween when you’re searching to ensure you are happy with the designs and quality of what you buy.
Mastering the Art of Sticker Application: Achieving a Professional Finish
Applying Halloween nail stickers is a relatively straightforward process, but a few key techniques can help you achieve a professional-looking finish that lasts. First and foremost, preparation is key. Start by cleaning and shaping your nails. Gently push back your cuticles and buff the surface of your nails to create a smooth, even base for the stickers. This will help the stickers adhere better and prevent lifting. Next, apply a base coat of your choice. A good base coat will protect your natural nails and provide a slightly tacky surface for the stickers to grip onto. Allow the base coat to dry completely before proceeding. Once the base coat is dry, carefully peel the desired sticker from the sheet using tweezers or a cuticle pusher. Avoid touching the adhesive side of the sticker with your fingers, as this can transfer oils and reduce its stickiness. Position the sticker on your nail, starting from one edge and gently smoothing it down to the other. Use a cuticle pusher or a silicone tool to press the sticker firmly onto the nail, paying particular attention to the edges and corners. This will help to eliminate any air bubbles and ensure a secure bond. If the sticker is too large for your nail, you can carefully trim the excess with small scissors or nail clippers. Be sure to trim it as close to the edge of the nail as possible to avoid any unsightly gaps. Once the sticker is in place, apply a generous layer of top coat. The top coat will seal the sticker, protect it from chipping, and add a glossy shine. Be sure to wrap the top coat around the free edge of the nail to prevent the sticker from lifting. Allow the top coat to dry completely. Depending on the top coat you use, you may need to apply a second coat for added protection and shine. For extra durability, consider using a gel top coat and curing it under a UV or LED lamp. This will provide a super-strong seal and ensure that your manicure lasts for weeks. To remove the stickers, simply peel them off gently. If they are difficult to remove, you can soak your nails in warm water for a few minutes to loosen the adhesive. Avoid using harsh chemicals or acetone, as these can damage your natural nails. With a little practice and attention to detail, you can master the art of sticker application and achieve a stunning Halloween manicure that is sure to impress. Think of it like adding the final, perfectly spooky touch to your Halloween ensemble. Looking for longer lasting designs? Try searching for adhesive nail art stickers which are a popular long-wearing option.
Beyond the Basics: Creative Ways to Incorporate Halloween Nail Stickers
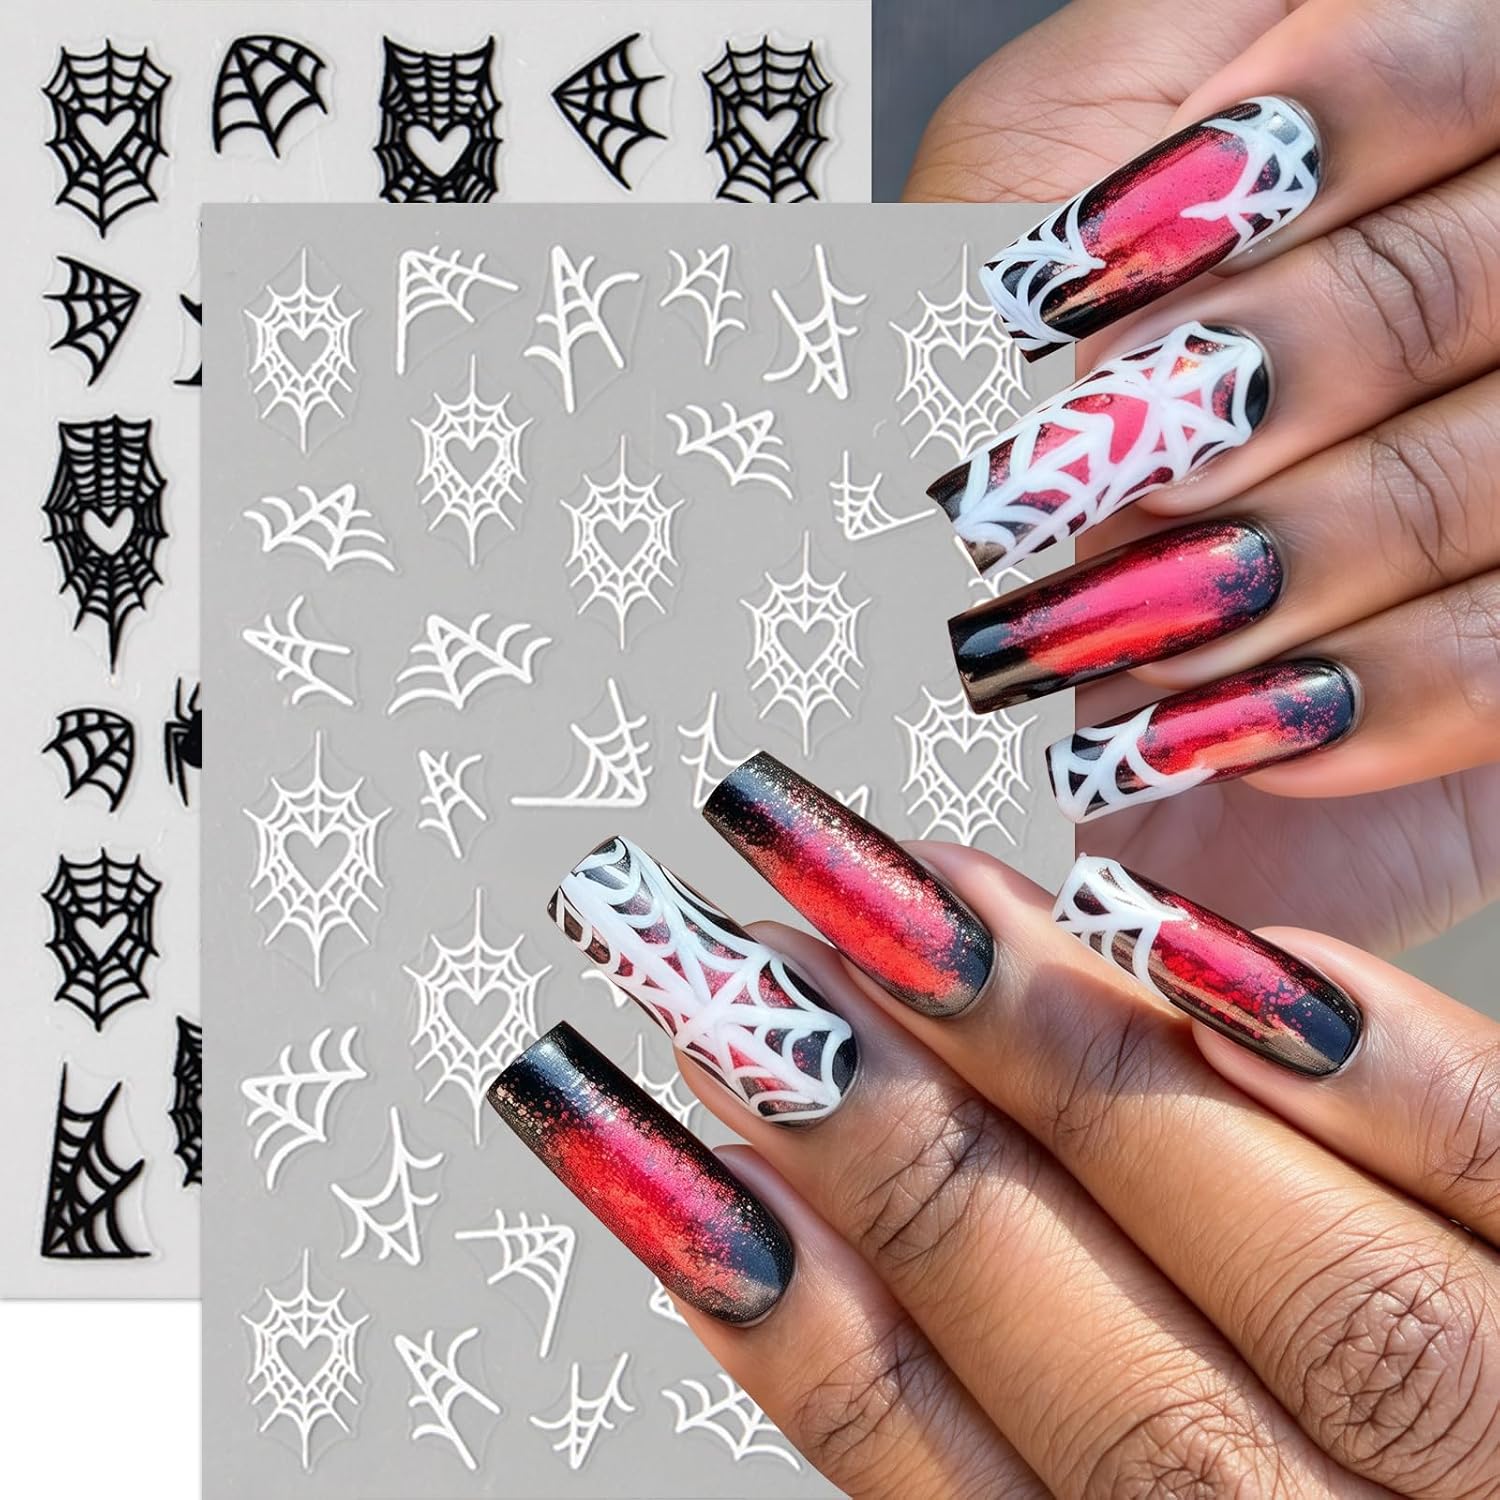
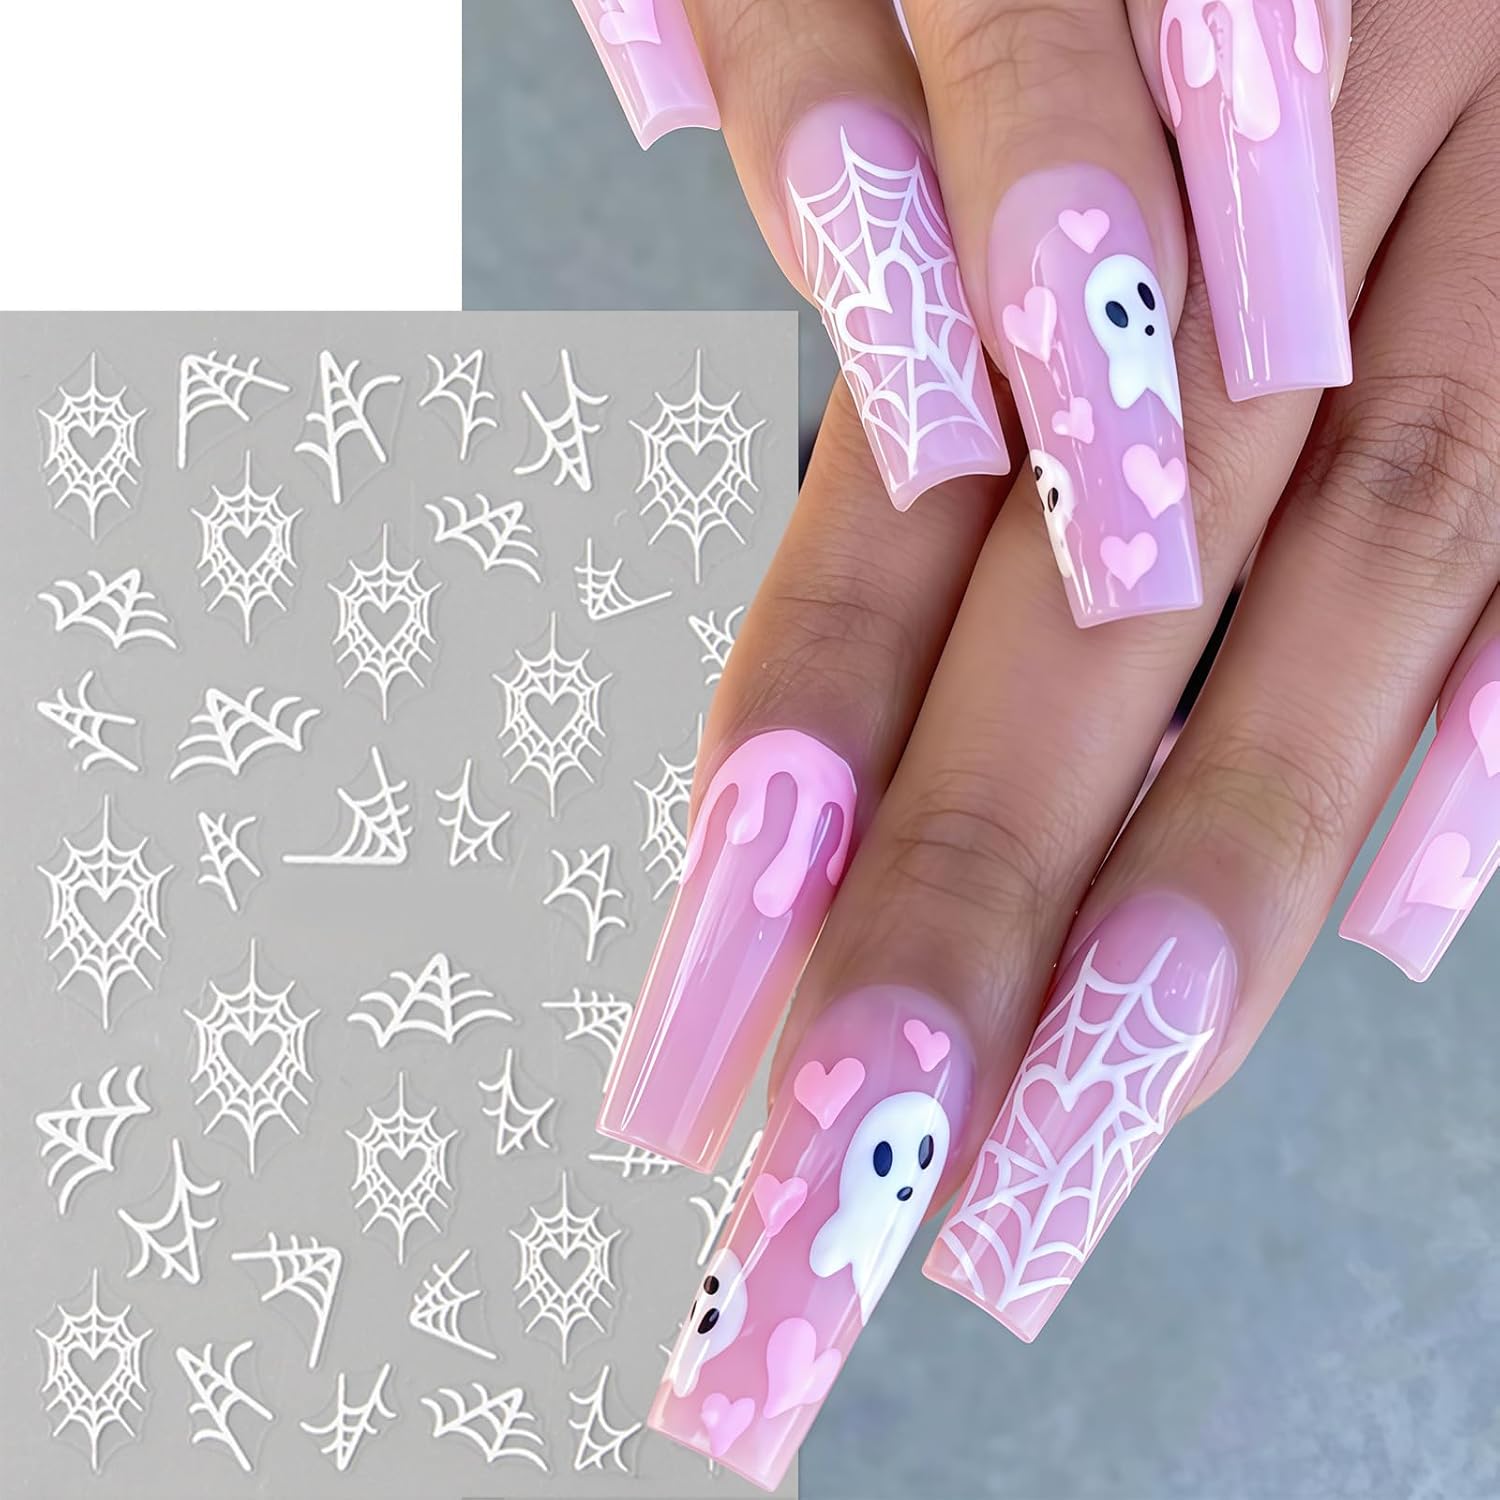
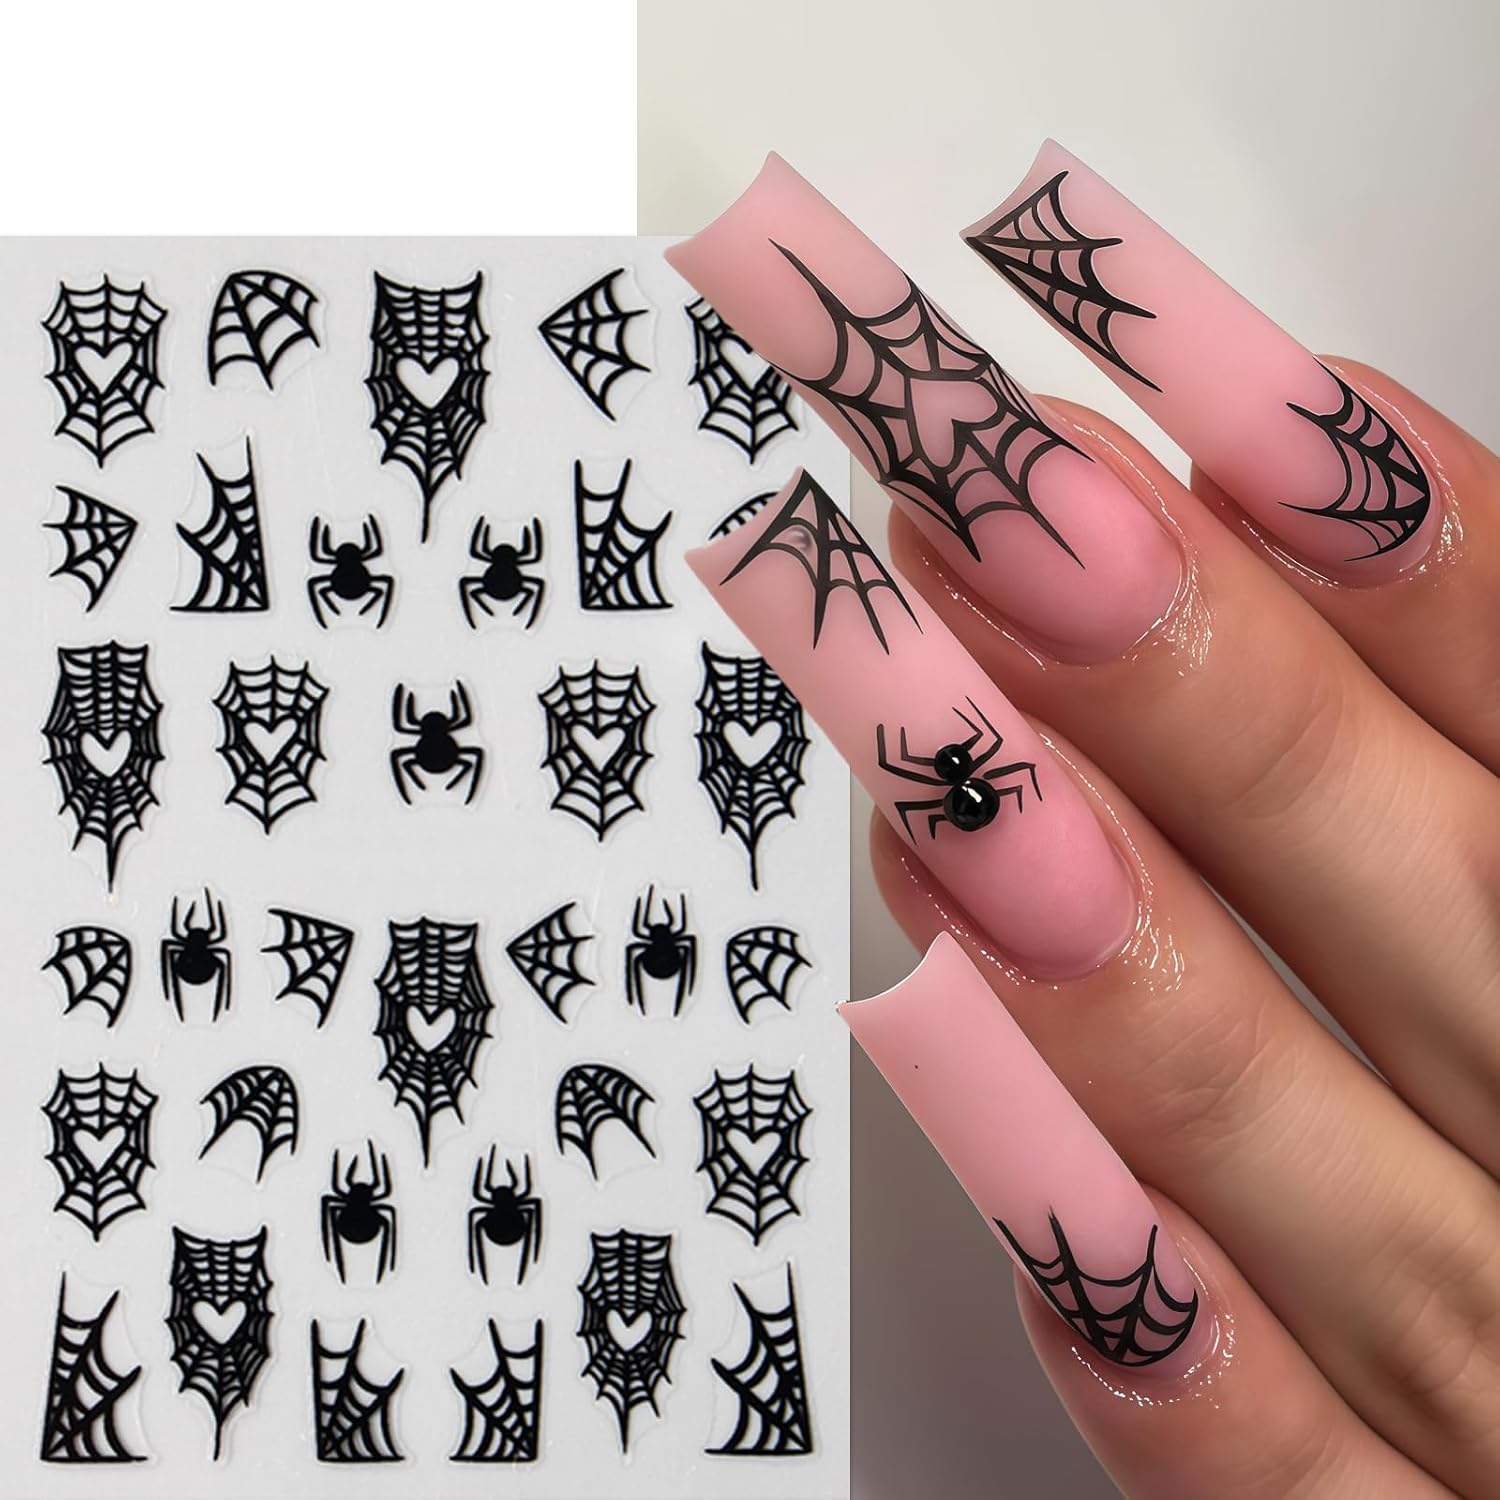
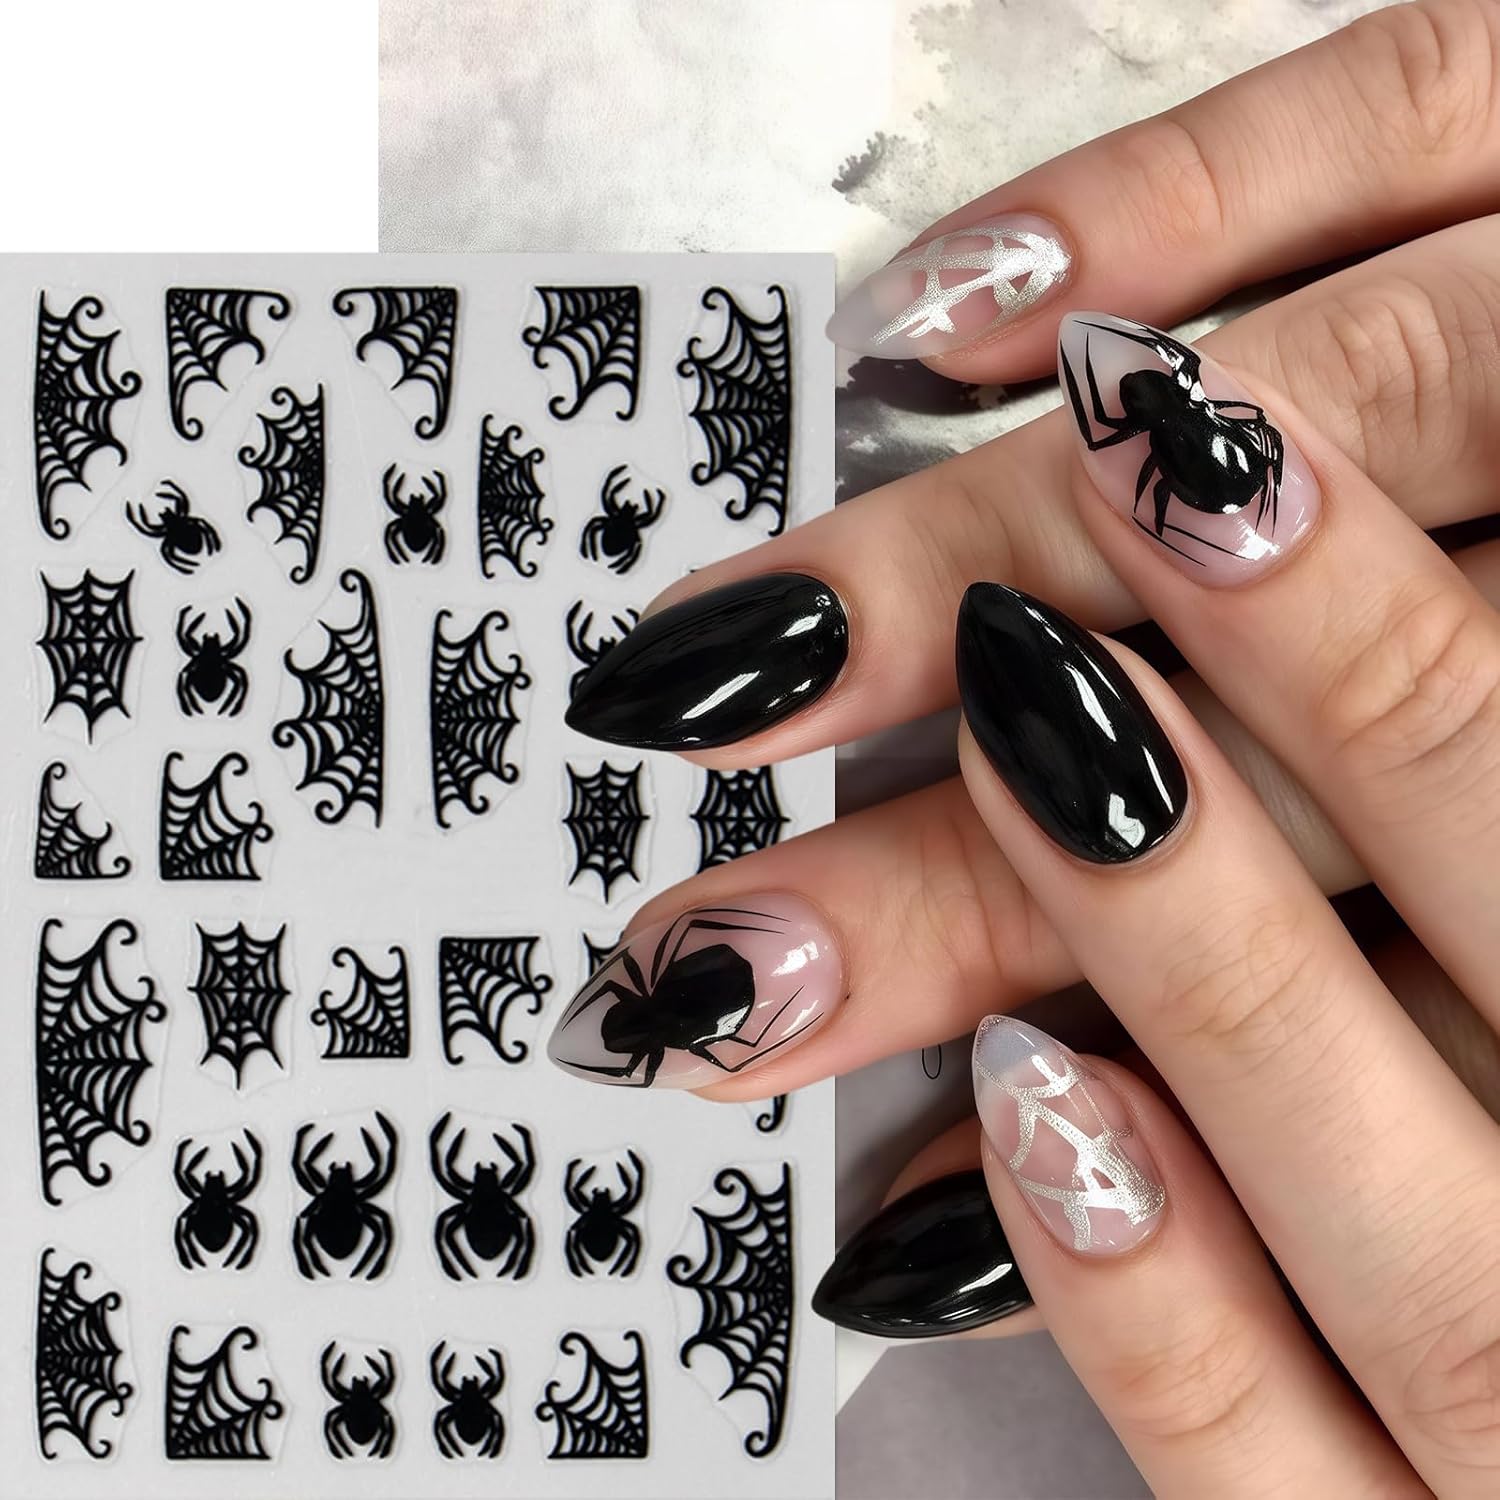
While simply applying a sticker to each nail is a perfectly acceptable way to rock a Halloween manicure, there are countless creative ways to incorporate nail stickers and elevate your designs to the next level. Consider using stickers as accent nails. Instead of applying stickers to all ten nails, choose one or two nails on each hand to feature a sticker design. This can create a more subtle and sophisticated look, especially if you are using bold or intricate stickers. You can pair the sticker accent nails with a solid color polish on the remaining nails, or create a more complex design using glitter or stamping techniques. Layering stickers is another great way to add depth and dimension to your nail art. Start by applying a base layer of polish, and then layer different stickers on top of each other to create a unique and textured design. For example, you could layer a spiderweb sticker over a black polish base, and then add a small spider sticker on top of the web. You can also use different sizes and shapes of stickers to create a more dynamic and visually interesting effect. Combining stickers with other nail art techniques can also yield stunning results. Try using stickers in conjunction with stamping, freehand painting, or glitter to create a mixed-media manicure. For example, you could use a stamping plate to create a background design on your nails, and then add stickers on top to create a focal point. You can also use glitter polish to add a touch of sparkle and glamour to your sticker designs. Experimenting with different color combinations can also dramatically impact the overall look of your manicure. Try using contrasting colors to make the stickers pop, or choose complementary colors to create a more harmonious and cohesive design. For example, you could pair black stickers with orange or purple polish for a classic Halloween look, or use silver stickers with a deep red polish for a more elegant and gothic vibe. Remember to have fun and let your creativity run wild! Nail art is all about self-expression, so don’t be afraid to experiment with different techniques and designs to find what works best for you. With a little imagination, you can transform a simple set of Halloween nail stickers into a truly unique and unforgettable manicure. Or consider using glow in the dark nail stickers for an added spooky effect!
Ensuring Longevity: Tips for Extending the Life of Your Halloween Nail Sticker Manicure
You’ve invested time and effort into creating your perfect Halloween nail sticker manicure, so naturally, you want it to last as long as possible. While nail stickers are generally durable, a few preventative measures can significantly extend the life of your design. Consistent reapplication of top coat is one of the easiest and most effective ways to protect your stickers. Apply a fresh layer of top coat every two to three days to seal the edges of the stickers and prevent them from lifting or chipping. This will also help to maintain the shine and vibrancy of your manicure. Be mindful of your activities. Excessive exposure to water can weaken the adhesive of the stickers, causing them to peel or lift. Wear gloves when washing dishes, gardening, or engaging in other activities that involve prolonged water exposure. Similarly, avoid using harsh chemicals or cleaning products on your hands, as these can also damage the stickers and your natural nails. When removing nail polish, opt for a non-acetone remover. Acetone is a harsh solvent that can dry out your nails and weaken the adhesive of the stickers. A non-acetone remover is gentler on your nails and will help to preserve the integrity of your manicure. Consider the length of your nails. Longer nails are more prone to chipping and breaking, which can also damage the stickers. If you have long nails, keep them trimmed and filed to a manageable length to reduce the risk of breakage. Regularly moisturizing your hands and cuticles can also help to extend the life of your manicure. Hydrated nails are less likely to chip or break, and healthy cuticles will provide a better foundation for the stickers to adhere to. Use a cuticle oil or hand cream at least once a day, especially after washing your hands. Finally, be gentle with your nails. Avoid using them as tools to open packages or scrape off stickers. Treat your nails with care, and they will reward you with a long-lasting and beautiful manicure. If you notice any lifting or chipping, address it promptly. Use a small amount of nail glue to reattach any loose edges, and apply a fresh coat of top coat to seal the repair. By following these simple tips, you can ensure that your Halloween nail sticker manicure stays looking flawless for days to come.
Frequently Asked Questions (FAQ)
How long do Halloween nail stickers typically last?
The longevity of Halloween nail stickers depends on several factors, including the quality of the stickers, the application technique, and your daily activities. Generally, you can expect a well-applied sticker manicure to last anywhere from a few days to a week. However, with proper care and maintenance, some stickers can even last for up to two weeks. To maximize the lifespan of your manicure, be sure to start with clean, dry nails, apply a base coat, and seal the stickers with a generous layer of top coat. Reapplying top coat every few days will also help to protect the stickers and prevent them from lifting or chipping. Avoid exposing your nails to excessive water or harsh chemicals, and be gentle with your nails to prevent breakage. With a little attention to detail, you can enjoy a spooktacular Halloween manicure that lasts well beyond Halloween night.
Are nail stickers safe for my nails?
Yes, generally, nail stickers are considered safe for your nails, especially compared to some other nail enhancement methods like acrylics or gel polish. Stickers don’t involve harsh chemicals or UV light exposure, which can sometimes damage the nail bed. However, there are a few things to keep in mind to ensure the safety of your nails. First, make sure the adhesive used in the stickers is non-toxic and hypoallergenic, especially if you have sensitive skin or allergies. Secondly, avoid forcefully removing the stickers, as this can strip away layers of your natural nail. Instead, gently peel them off or soak your nails in warm water to loosen the adhesive. Finally, give your nails a break between sticker applications to allow them to breathe and recover. Proper nail hygiene is always important, regardless of whether you use stickers or not.
Can I use a regular top coat over nail stickers, or do I need a special one?
You can definitely use a regular top coat over nail stickers, and in most cases, it will work just fine. However, there are a few things to consider when choosing a top coat. Some top coats are thicker or more viscous than others, and this can affect how well they seal the edges of the stickers. A thicker top coat may be more prone to creating bubbles or wrinkles around the stickers, while a thinner top coat may not provide as much protection against chipping. If you want to ensure the best possible results, consider using a top coat that is specifically designed for nail art. These top coats are often formulated to be more flexible and chip-resistant, and they may also contain ingredients that help to bond the stickers to the nail.
Are there any tricks to prevent nail stickers from peeling or lifting?
Yes, there are several tricks you can use to prevent nail stickers from peeling or lifting and extend the life of your manicure. One of the most important tips is to properly prepare your nails before applying the stickers. Make sure your nails are clean, dry, and free of any oils or lotions. Buff the surface of your nails to create a slightly rough texture that the stickers can grip onto. Another trick is to apply a thin layer of base coat before applying the stickers. This will create a barrier between your nails and the adhesive, which can help to prevent damage and promote better adhesion. When applying the stickers, be sure to press them firmly onto the nail, paying particular attention to the edges and corners. Use a cuticle pusher or a silicone tool to smooth out any wrinkles or bubbles. Finally, seal the stickers with a generous layer of top coat. Be sure to wrap the top coat around the free edge of the nail to prevent the stickers from lifting. Reapplying top coat every few days will also help to protect the stickers and keep them looking fresh.
Can I reuse nail stickers?
Generally, nail stickers are not designed to be reused. Once they’ve been applied and removed, the adhesive backing is typically weakened or damaged, making it difficult for them to stick properly the second time around. Also, the sticker itself might be distorted or torn during removal, further compromising its ability to be reused. However, in some cases, if the sticker is carefully removed and the adhesive is still intact, you might be able to get away with reusing it on the same day or the next. This is more likely to work with larger, more durable stickers. But in general, it’s best to consider nail stickers as a one-time-use item to ensure the best results and avoid disappointment.
Are there different types of Halloween nail stickers, such as water decals or vinyl stickers?
Yes, there are several different types of Halloween nail stickers available, each with its own unique characteristics and application methods. The most common types include adhesive stickers, water decals, and vinyl stickers. Adhesive stickers are the simplest and most straightforward to use. They have a self-adhesive backing that you simply peel off and stick onto your nail. Water decals, on the other hand, require you to soak them in water to release the design from the backing paper. Once the design is released, you can carefully slide it onto your nail and press it into place. Vinyl stickers are typically made from a thin, flexible vinyl material and are often used to create more intricate and detailed designs. They can be applied directly to the nail like adhesive stickers, but they may require a bit more finesse to avoid wrinkles or bubbles. Each type of sticker has its own advantages and disadvantages, so it’s important to choose the type that best suits your skill level and preferences.
What are some popular Halloween nail art design ideas using stickers?
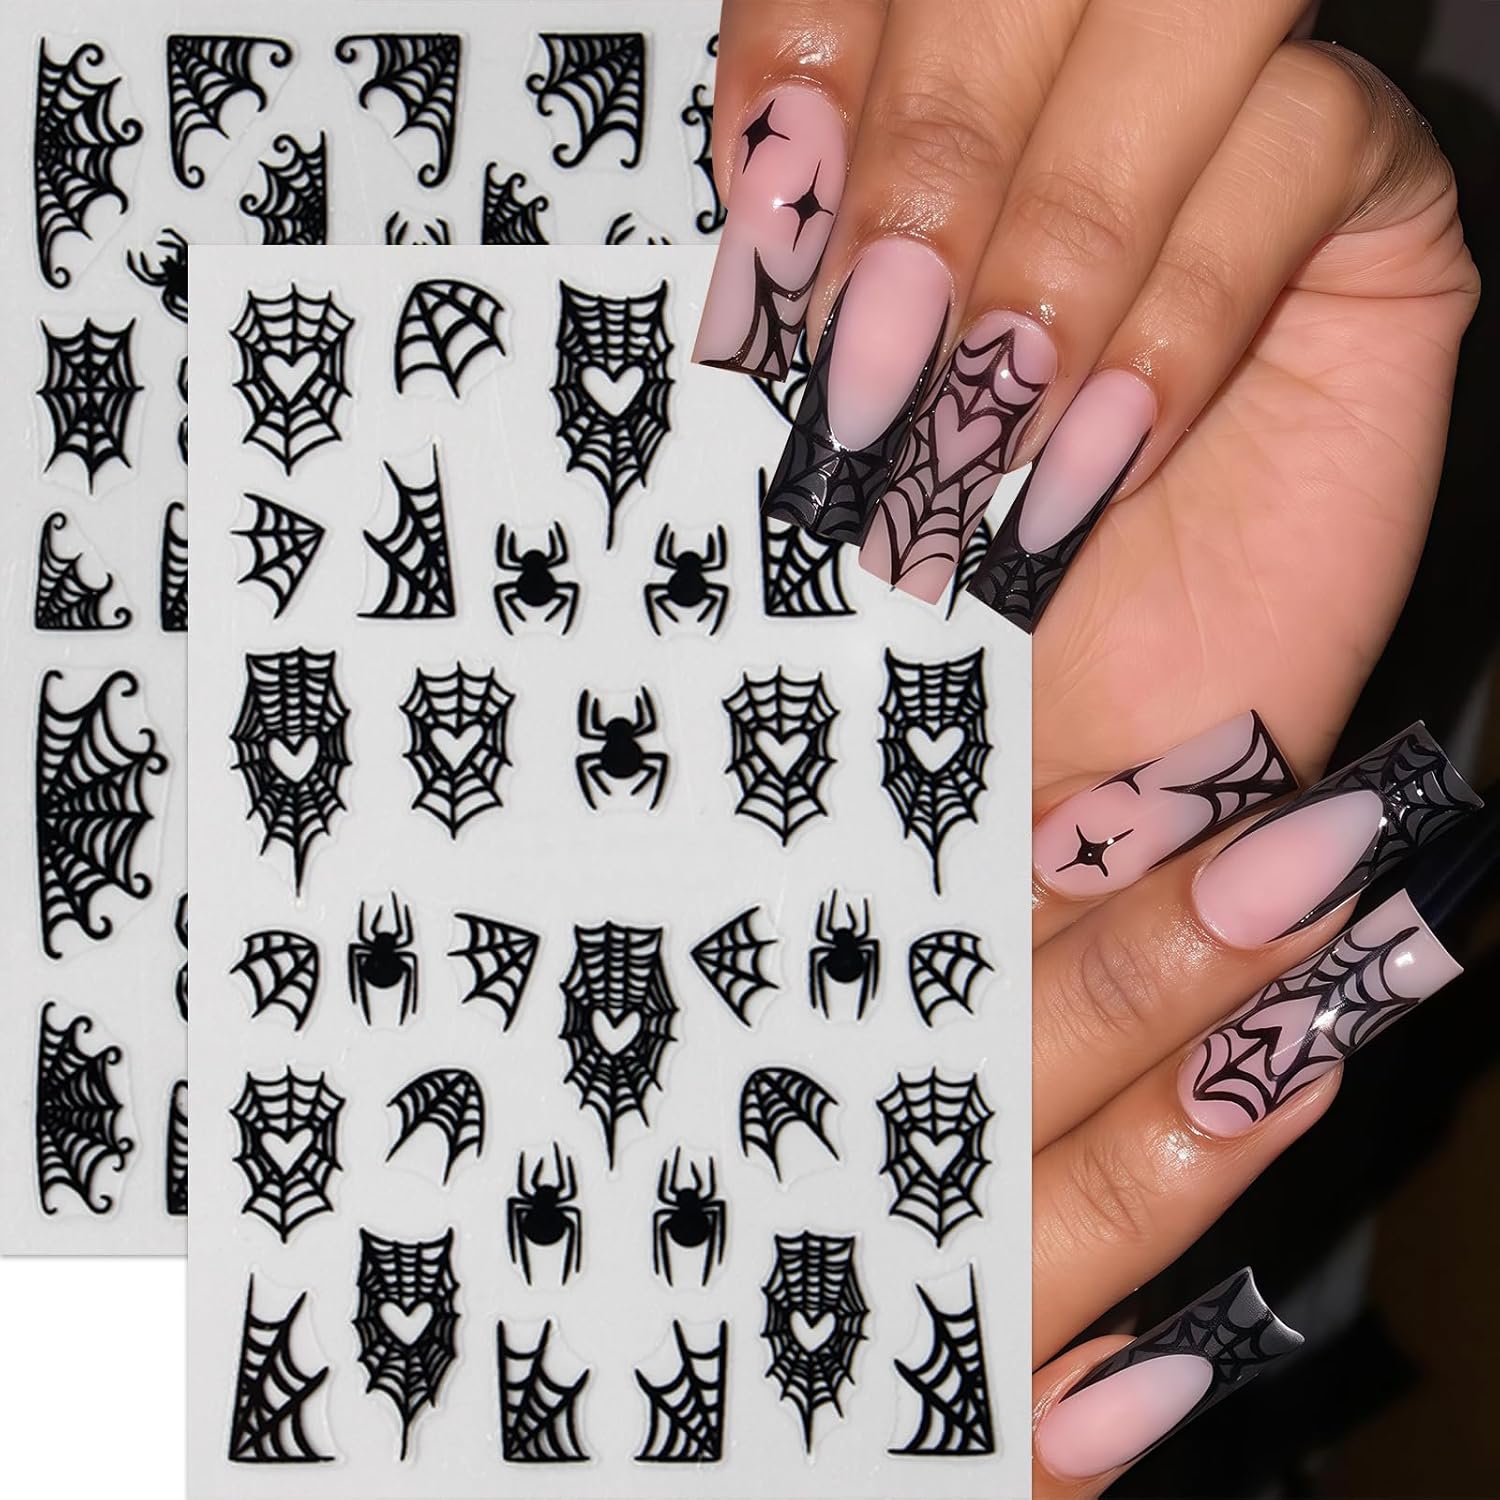
The possibilities for Halloween nail art designs using stickers are virtually endless! Some popular ideas include classic Halloween motifs like pumpkins, ghosts, bats, skulls, and spiderwebs. You can also create more elaborate and intricate designs by layering different stickers on top of each other. For example, you could create a haunted house scene by layering a house sticker over a spooky background, or create a graveyard scene by layering tombstone stickers over a dark polish base. Another popular trend is to use stickers to create negative space designs. This involves applying the stickers to only a portion of your nail, leaving the rest of the nail exposed. This can create a unique and eye-catching effect. You can also use stickers to create accent nails by applying a sticker to only one or two nails per hand. This is a great way to add a touch of Halloween flair without going overboard. Don’t be afraid to experiment and get creative with your designs. The most important thing is to have fun and express your personal style!

Price: $6.99 - $5.79
(as of Sep 07, 2025 04:06:57 UTC – Details)


