Best Decoupage Paper Pack (21 Sheets 6″x8″) Idea Halloween Clip Art Review – Oemiu
Unlocking Creative Potential: A Deep Dive into the 6″x8″ Halloween Decoupage Paper Pack
The crisp autumn air, the vibrant hues of changing leaves, and the undeniable thrill of spooky season – Halloween ignites a unique blend of creativity and nostalgia. For crafters and DIY enthusiasts, this translates into a desire to infuse homes and projects with the charm of ghosts, goblins, and grinning jack-o’-lanterns. One fantastic way to achieve this is through decoupage, and a well-curated paper pack can be the key to unlocking a world of artistic possibilities. We’re going to delve into the specifics of a 21-sheet, 6″x8″ decoupage paper pack with a Halloween theme, exploring its potential applications, assessing its quality, and providing insights into how to maximize its value.
Delving into the Design: Assessing the Halloween Clip Art Aesthetic
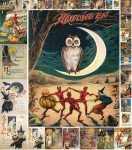
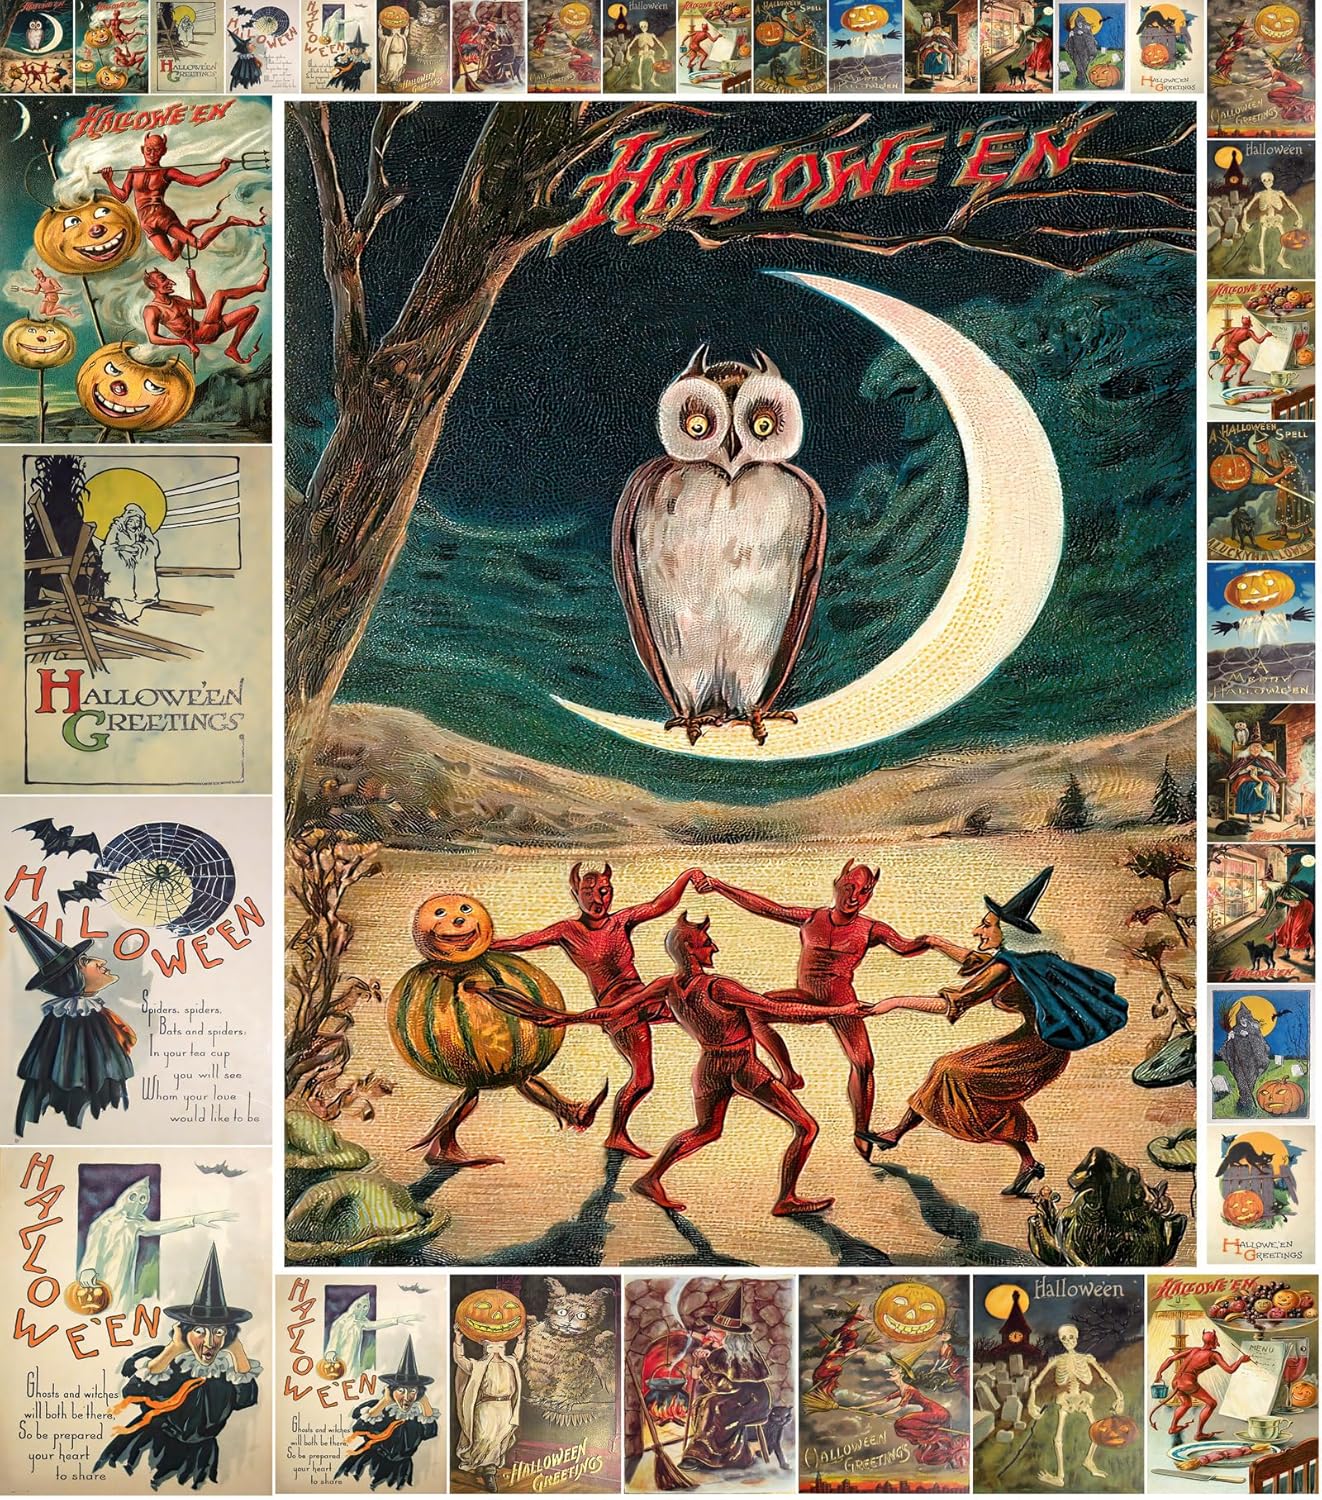
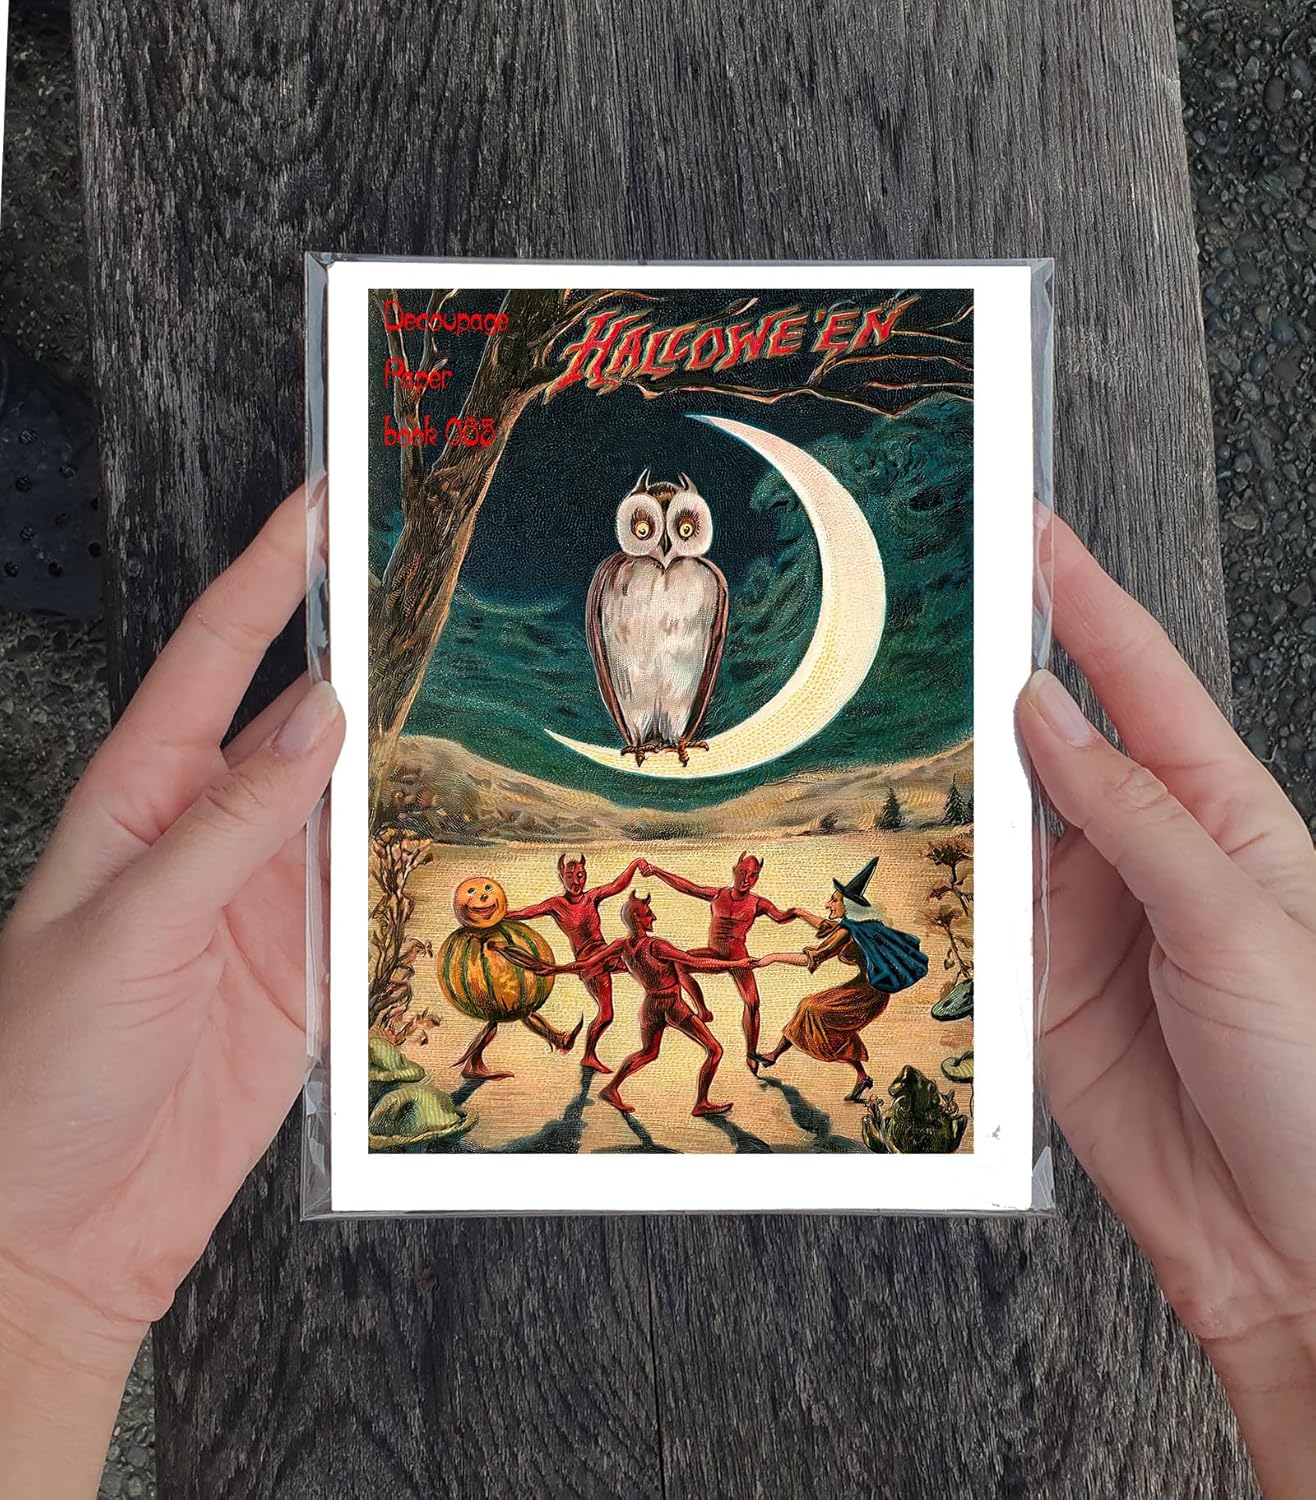
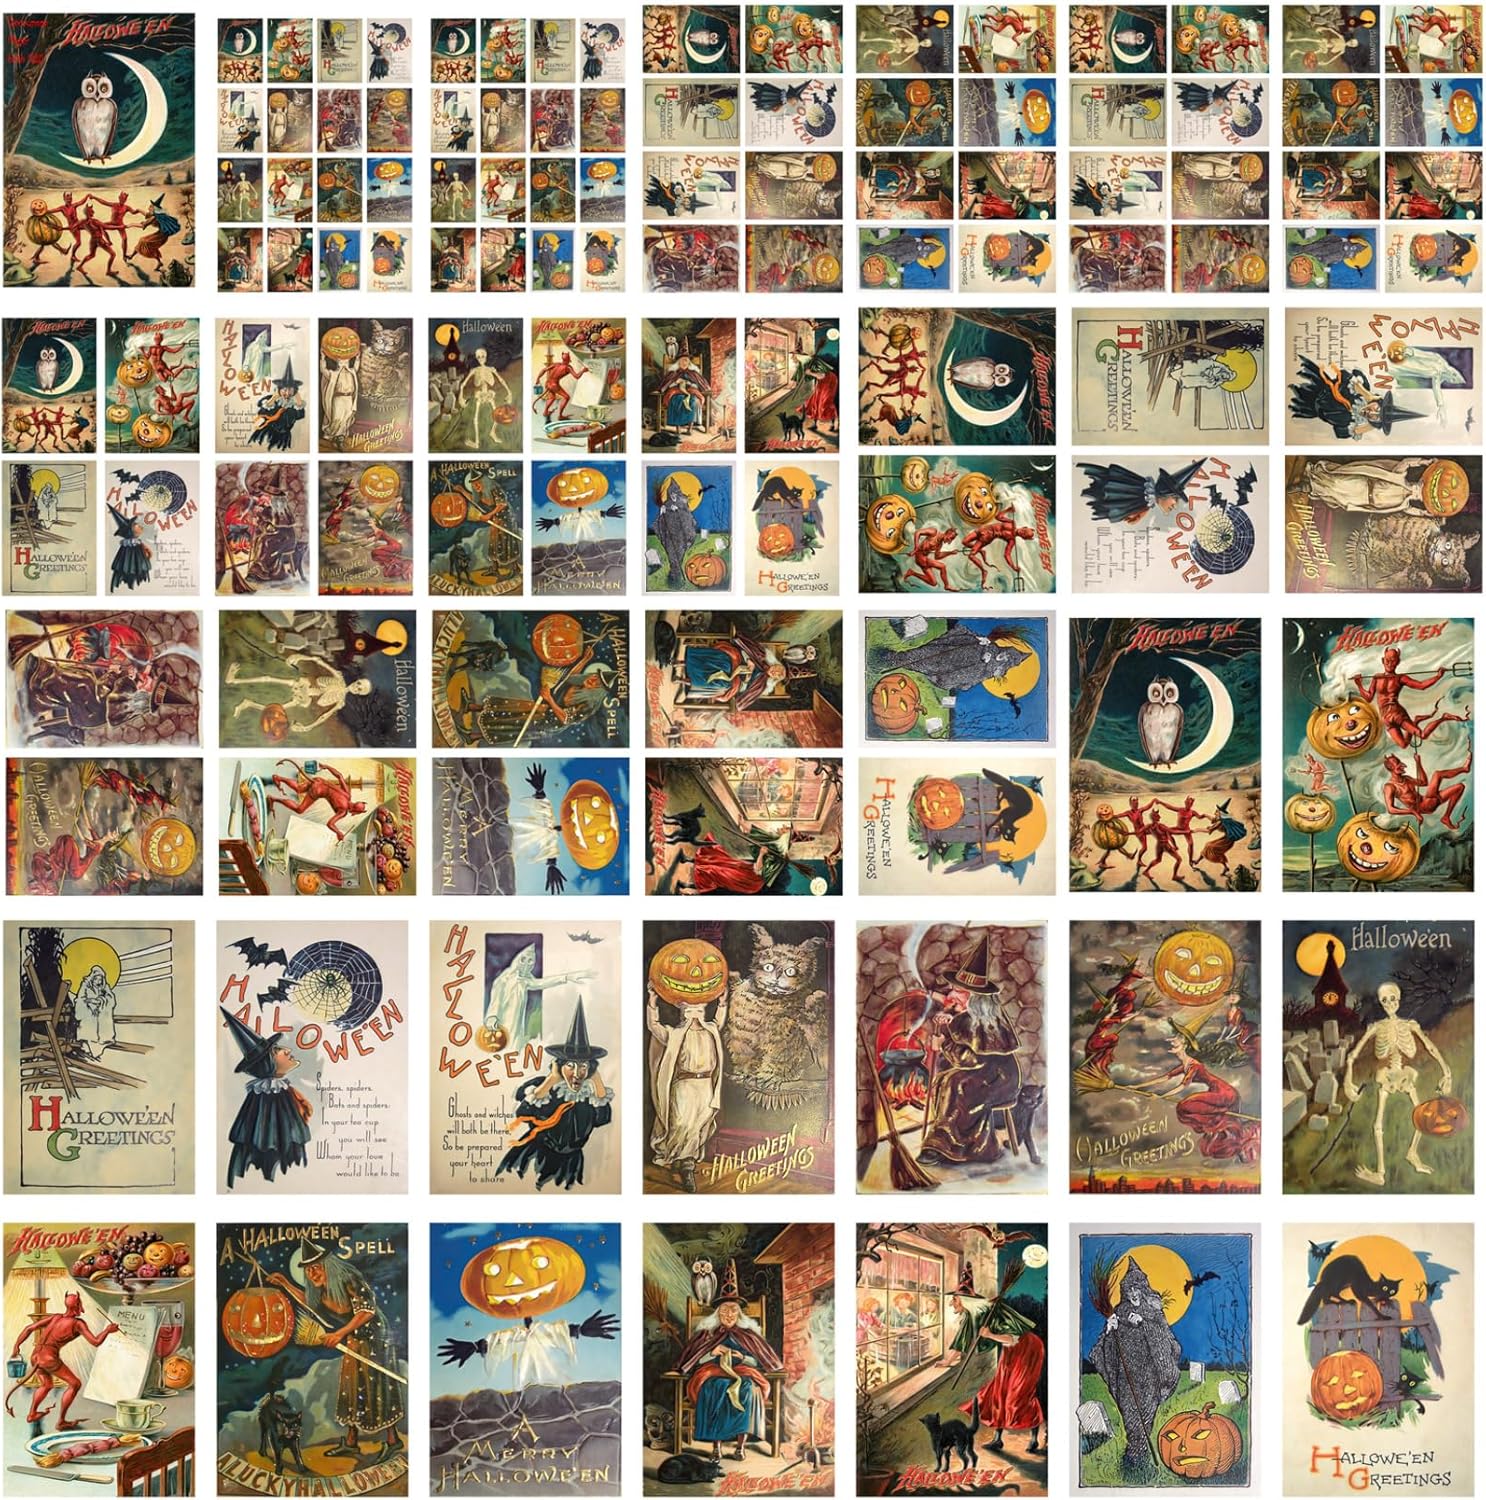
The heart of any decoupage paper pack lies in its design. The 21 sheets within a 6″x8″ Halloween-themed pack ideally feature a diverse range of images, catering to various tastes and projects. Think beyond the typical cartoonish ghosts and consider the potential for vintage-inspired designs, intricate patterns featuring bats and spiders, or even more sophisticated, artistic representations of autumnal themes. The quality of the artwork is paramount; are the images crisp and clear, or do they appear pixelated or blurry? This will directly impact the finished product. Furthermore, the color palette should be carefully considered. Does it lean towards traditional Halloween colors like orange, black, and purple, or does it incorporate more muted, sophisticated tones like browns, creams, and golds? A well-balanced color scheme allows for versatility and ensures that the decoupage project complements the existing decor.
The variety of Halloween clip art within the pack is crucial. Having multiple images of pumpkins, skulls, bats, and black cats in different styles allows for layering and customization. Consider the inclusion of textual elements, such as spooky fonts displaying phrases like “Happy Halloween” or “Trick or Treat.” These elements can add a personal touch to projects and create focal points. A good pack should also include some repeating patterns that can be used to cover larger surfaces or create borders. Furthermore, a few sheets with larger, focal point images will significantly expand the creative options. The design should not be homogenous; it should offer a spectrum of moods, from playfully spooky to elegantly eerie. This variety caters to a wider range of applications and allows crafters to personalize their projects to reflect their individual style. The inclusion of classic vintage Halloween clip art designs can add a touch of timeless charm to any project. The level of detail in each image also plays a role. Intricate details, such as spiderwebs or the texture of a pumpkin, can elevate the overall aesthetic of the decoupage piece.
Material Matters: Paper Quality and its Impact on Decoupage
The aesthetic appeal of the Halloween clip art is only one piece of the puzzle; the quality of the paper itself is equally important. The weight and thickness of the paper will significantly impact its ability to withstand the decoupage process. A heavier paper is generally preferred as it is less likely to tear or wrinkle when saturated with glue. However, overly thick paper can be difficult to work with, particularly when adhering it to curved surfaces. The ideal paper weight strikes a balance between durability and flexibility.
The finish of the paper is another crucial factor. A matte finish is generally recommended for decoupage as it provides a better surface for the glue to adhere to and reduces glare. However, a slightly glossy finish can enhance the vibrancy of the colors, especially in the case of Halloween-themed designs where bold colors are often used. Ultimately, the choice of finish comes down to personal preference and the specific aesthetic goals of the project.
The composition of the paper also plays a role in its longevity. Acid-free paper is essential for preserving the integrity of the images over time. Acid in paper can cause it to yellow and become brittle, which can detract from the beauty of the decoupage project. Acid-free paper ensures that the images remain vibrant and intact for years to come. Finally, the print quality is crucial. High-resolution printing ensures sharp, clear images with vibrant colors. Faded or blurry prints can detract from the overall aesthetic appeal of the decoupage project. A well-printed decoupage paper pack should exhibit excellent color saturation and clarity.
| Paper Characteristic | Impact on Decoupage | Ideal Qualities |
|---|---|---|
| Weight | Durability, ease of application | Medium-weight, prevents tearing but remains flexible |
| Finish | Glue adhesion, glare, color vibrancy | Matte or slightly glossy, depending on aesthetic preference |
| Composition | Longevity, preservation of images | Acid-free, prevents yellowing and brittleness |
| Print Quality | Image clarity, color saturation | High-resolution, sharp and vibrant |
Unleashing Creativity: Project Ideas and Application Techniques
With a 21-sheet, 6″x8″ Halloween decoupage paper pack, the possibilities are virtually endless. These packs are perfectly sized for a wide range of projects, from small decorative items to larger, more ambitious creations. One popular application is decorating wooden craft items, such as picture frames, boxes, and trays. The 6″x8″ size is ideal for covering these items, and the Halloween-themed designs can add a festive touch to any room.
Another creative application is embellishing household items, such as candles, vases, and even furniture. Decoupage can transform ordinary objects into unique, personalized pieces of art. For example, an old glass vase can be transformed into a stunning Halloween centerpiece by decoupaging it with images of pumpkins, bats, and spiders. Similarly, a plain wooden table can be given a spooky makeover by decoupaging it with vintage Halloween clip art images.
Beyond home decor, the paper pack can also be used for crafting personalized gifts. Handmade cards, scrapbook pages, and even small trinket boxes can be elevated with decoupage. Imagine creating a personalized Halloween-themed gift box for a friend or family member, filled with spooky treats and decorated with unique decoupage designs. For application, it is vital to remember that the key to successful decoupage lies in proper preparation and technique. The surface should be clean and smooth, and the paper should be carefully cut and positioned. Multiple layers of sealant are necessary to protect the design and create a durable finish. Experimenting with different glues and sealants is recommended to find the products that work best for your specific project and paper type. Furthermore, consider using specialized decoupage tools, such as brayers and sponges, to ensure a smooth, even application. The right tool can make a significant difference in the final result.
Beyond the Basics: Maximizing the Value of Your Decoupage Paper Pack
To get the most out of your 6″x8″ Halloween decoupage paper pack, consider these tips and techniques:
* **Layering and Collage:** Don’t be afraid to combine different images and patterns to create unique and layered designs. Overlapping images can add depth and dimension to your decoupage project. Experiment with different textures and colors to create visual interest.
* **Distressing Techniques:** To create a vintage or aged look, consider using distressing techniques, such as sanding or staining the edges of the paper. This can add character and charm to your decoupage project, particularly when working with vintage Halloween clip art.
* **Embellishments:** Add extra embellishments, such as glitter, sequins, or ribbon, to further enhance the design. These embellishments can add sparkle and texture to the project, making it even more eye-catching.
* **Combining with Other Mediums:** Decoupage can be combined with other art mediums, such as painting, drawing, or mixed media, to create truly unique and personalized pieces. For example, you could paint a background on a wooden box and then decoupage Halloween-themed images onto it.
* **Scaling and Printing:** If a design is particularly appealing, consider scanning and scaling it to fit larger projects. You can then print the image on a larger sheet of paper and use it for decoupage.
By employing these techniques, you can transform a simple decoupage paper pack into a versatile tool for unleashing your creativity and crafting one-of-a-kind Halloween-themed projects. Remember that patience and experimentation are key to mastering the art of decoupage. Don’t be afraid to try new things and explore different techniques.
Comparing Similar Products: Value and Alternatives in the Market
While the 21-sheet, 6″x8″ Halloween decoupage paper pack offers a convenient and affordable option for crafting, it’s important to consider other products available on the market. This includes comparing pricing, paper quality, design variety, and sheet count. Some alternative options include:
* **Larger Sheet Packs:** These packs typically contain fewer sheets but offer larger individual sheet sizes, which may be suitable for covering larger surfaces.
* **Themed Scrapbook Paper Packs:** While not specifically designed for decoupage, these packs often contain a variety of Halloween-themed papers that can be used for decoupage projects.
* **Individually Sold Decoupage Papers:** These papers offer greater flexibility in terms of design selection but can be more expensive than purchasing a paper pack.
Ultimately, the best choice depends on the specific project requirements and budget. Consider the size of the project, the desired aesthetic, and the amount of paper needed. A small project benefiting from diverse designs benefits from the smaller sheets. A larger project may be more cost-effective with large single-sheet designs that might cost more.
| Product Type | Sheet Count | Sheet Size | Pros | Cons |
|---|---|---|---|---|
| 21-Sheet Decoupage Pack | 21 | 6″x8″ | Affordable, diverse designs, ideal for smaller projects | Limited sheet size |
| Larger Sheet Packs | Varies (usually less than 21) | Larger than 6″x8″ | Suitable for covering larger surfaces | Fewer design options, potentially more expensive |
| Scrapbook Paper Packs | Varies | 12″x12″ (typical) | Wide range of designs, versatile | May not be specifically designed for decoupage |
| Individually Sold Decoupage Papers | 1 | Varies | Maximum design flexibility | Most expensive option |
Frequently Asked Questions
What is decoupage, and why is it popular?
Decoupage is the art of decorating an object by gluing colored paper cutouts onto it in combination with special paint effects, gold leaf and other decorative elements. Commonly, an object like a small box or an item of furniture is covered by cutouts from magazines or from specially manufactured papers. Each layer is sealed with several coats of varnish until the “stuck on” appearance disappears and the result looks like painting or inlay work. It’s popular because it’s a relatively inexpensive way to personalize and decorate ordinary objects, turning them into unique pieces of art. It allows for creative expression and repurposing of materials, making it an accessible craft for people of all skill levels. The versatility of decoupage, combined with the readily available materials, makes it a favorite among crafters looking to add a personal touch to their homes and belongings. The satisfying transformation from plain to personalized is a key aspect of its appeal.
How do I choose the right glue for decoupage?
Selecting the appropriate glue is crucial for a successful decoupage project. The ideal glue should be acid-free to prevent discoloration of the paper over time, dry clear to avoid unsightly residue, and be water-based for easy cleanup. Mod Podge is a popular choice specifically designed for decoupage, offering excellent adhesion and a built-in sealant. White craft glue can also be used but may require dilution with water to prevent wrinkling of the paper. Avoid using solvent-based glues as they can damage the paper and emit harmful fumes. Test the glue on a scrap piece of paper before applying it to the final project to ensure it doesn’t bleed or cause any unwanted effects. The right glue will ensure the paper adheres smoothly, dries invisibly, and protects the design for years to come.
What kind of sealant should I use after decoupaging?
The type of sealant you use after decoupaging will depend on the desired finish and the object you’re decoupaging. Acrylic sealants are a popular choice, offering a durable and water-resistant finish. They come in various sheens, including matte, satin, and gloss, allowing you to customize the look of your project. Polyurethane sealants provide a more durable and heat-resistant finish, making them ideal for decoupaging furniture or items that will be exposed to wear and tear. Epoxy resin can also be used for a glossy, glass-like finish, but it requires more specialized equipment and techniques. Apply multiple thin coats of sealant, allowing each coat to dry completely before applying the next. This will help to prevent streaks and ensure a smooth, even finish.
How can I prevent wrinkles when decoupaging?
Preventing wrinkles during decoupage is a common concern for beginners. One key factor is using thin, lightweight paper. Thicker paper is more prone to wrinkling. Ensure your paper is flat and free of creases before applying it. Use a thin layer of glue and apply it evenly to both the surface and the back of the paper. Start from the center of the paper and gently smooth it outwards using a brayer or a soft cloth. Work slowly and carefully to avoid trapping air bubbles. If wrinkles do occur, you can try gently lifting the paper and smoothing it out again. Applying a thin coat of sealant between layers can also help to reduce wrinkles. With practice and patience, you can minimize wrinkles and achieve a smooth, professional-looking decoupage finish.
How can I create a vintage look with my Halloween clip art decoupage?
What specific techniques could I use?
To achieve a vintage look with your Halloween clip art decoupage, consider using sepia-toned or black-and-white images. You can also distress the paper by gently sanding the edges or crumpling it slightly before applying it. Tea staining the paper can also add a vintage touch. Apply a coat of antique wax or stain after sealing the decoupage to create a worn and aged appearance. Choose fonts and design elements that are reminiscent of vintage Halloween decorations. Combining these techniques can transform your decoupage project into a charming and nostalgic piece of art. The strategic use of aging techniques will make it look like it has been around for decades, embodying the spirit of vintage Halloween.
Where can I find high-quality Halloween-themed decoupage paper besides paper packs?
Beyond paper packs, you can find high-quality Halloween-themed decoupage paper from various sources. Online marketplaces like Etsy often feature independent artists selling unique decoupage papers. Specialty craft stores also carry a wide selection of decoupage papers, including Halloween-themed designs. Websites dedicated to paper crafting and scrapbooking are another great resource for finding high-quality papers. Consider searching for vintage or antique Halloween postcards and ephemera, which can be scanned and printed for decoupage. Printing your own designs onto decoupage paper is also an option, allowing for complete customization. Explore different sources to find the perfect papers for your Halloween decoupage projects.
What are some unique surfaces I can decoupage besides wood?
Decoupage is not limited to wood; many other surfaces can be transformed with this versatile technique. Glass is a popular choice for decoupaging, allowing you to create beautiful vases, jars, and ornaments. Metal surfaces, such as tin cans and trays, can also be decoupaged to add a decorative touch. Ceramic surfaces, like tiles and plates, provide a smooth canvas for decoupage. Fabric can even be decoupaged using fabric glue and sealant. Consider decoupaging unexpected surfaces like pumpkins, gourds, or even eggshells for a truly unique and artistic project. Experiment with different materials to discover the endless possibilities of decoupage.

Price: $12.99
(as of Sep 10, 2025 11:44:53 UTC – Details)


