
Semi Cured Gel Nail Strips | No LED Lamp Review nail stickers Buying Guide – Oemiu
Semi Cured Gel Nail Strips: Achieve Salon-Quality Nails at Home
Have you ever dreamt of effortlessly achieving salon-worthy nails without the time commitment, expense, or potential damage associated with traditional gel manicures? Enter the world of semi cured gel nail strips, a revolutionary approach to DIY nail art that’s taking the beauty industry by storm. These convenient strips offer a compelling alternative, promising chip-resistant, glossy finishes with minimal effort and zero need for an LED lamp. But with a plethora of brands and designs flooding the market, navigating the options can feel overwhelming. This comprehensive guide will walk you through everything you need to know about semi cured gel nail strips, helping you make an informed decision and unlock the secret to flawless nails at your fingertips. We will delve into the application process, explore the pros and cons, compare popular brands, and answer all your burning questions. Get ready to say goodbye to costly salon visits and hello to stunning, long-lasting manicures in the comfort of your own home! Discover what makes these an amazing product to create beautiful easy nail designs at home.
Understanding the Appeal of Semi Cured Gel Nail Stickers
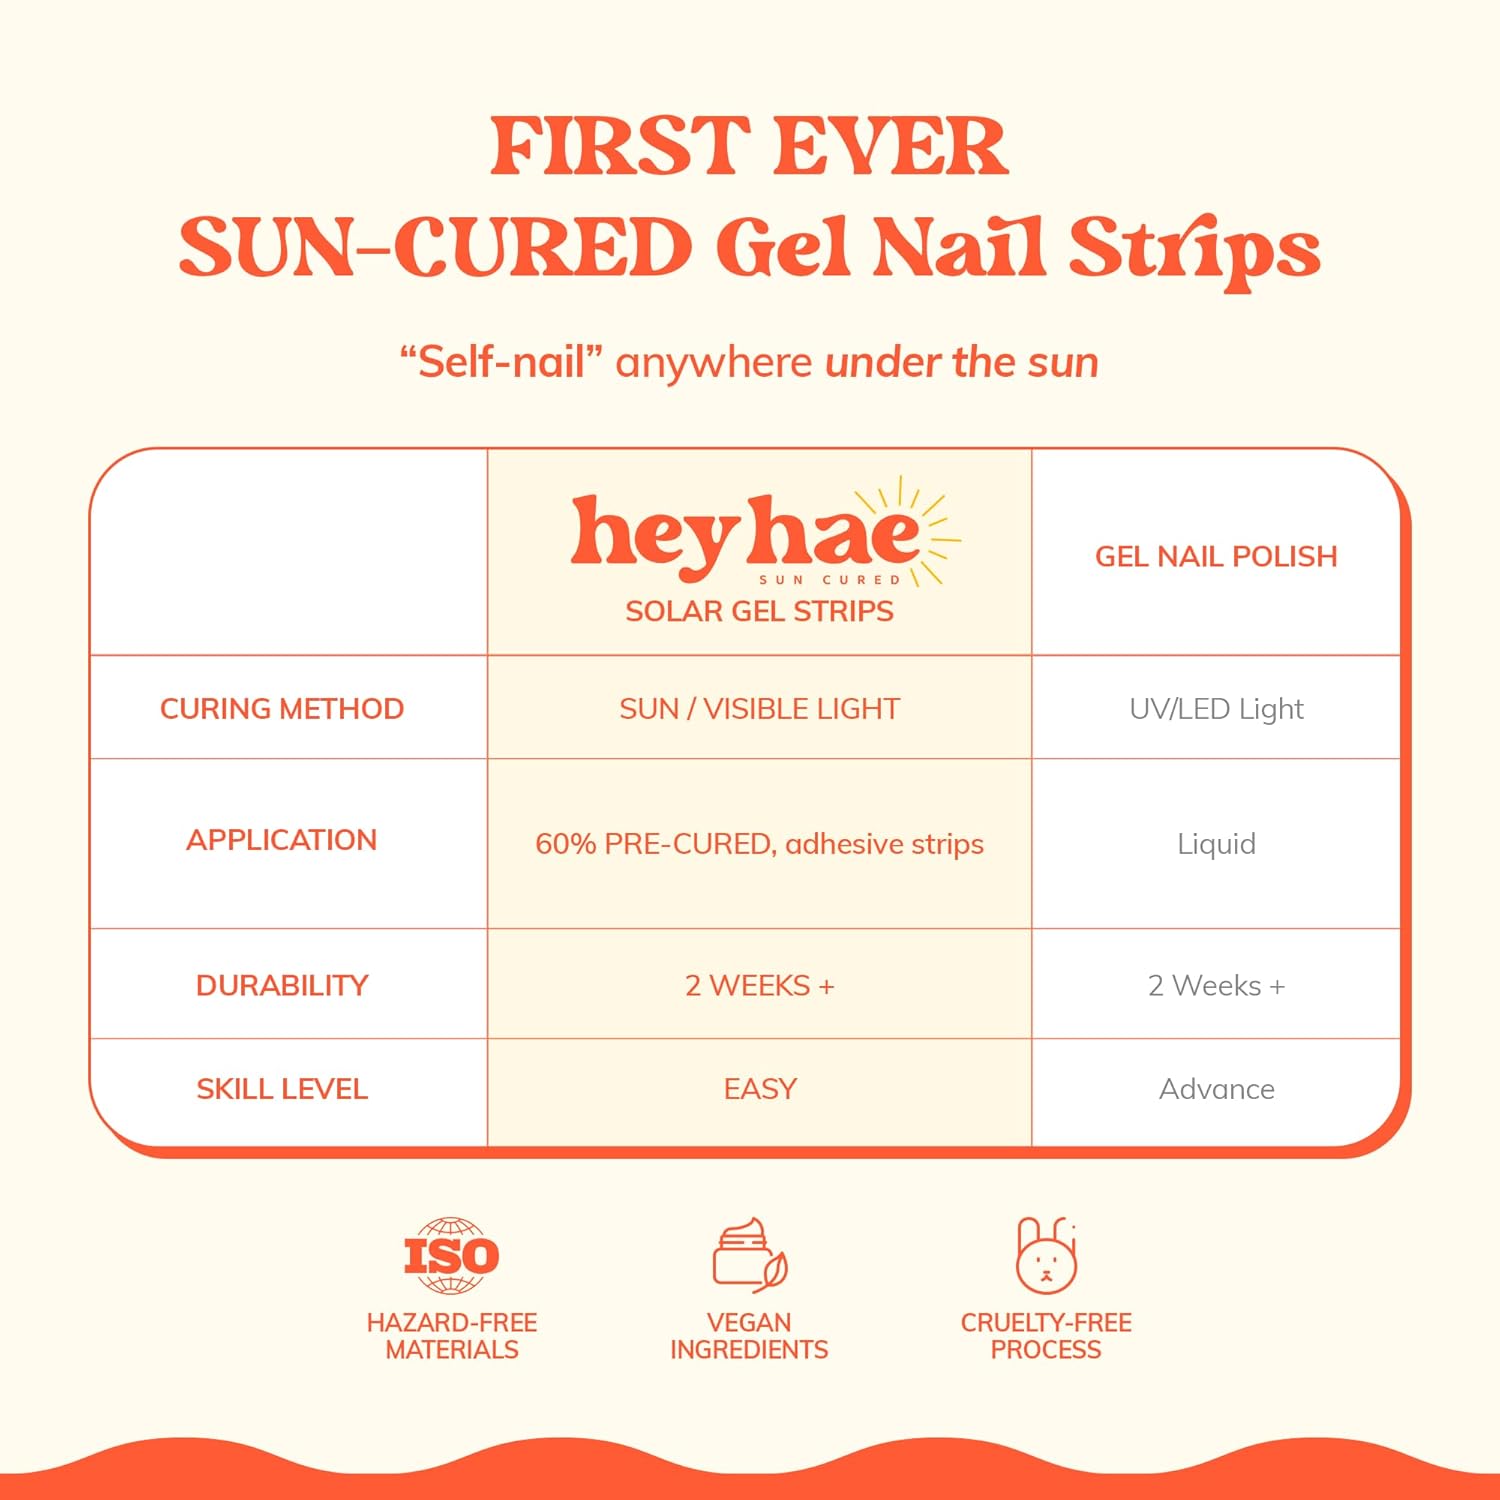
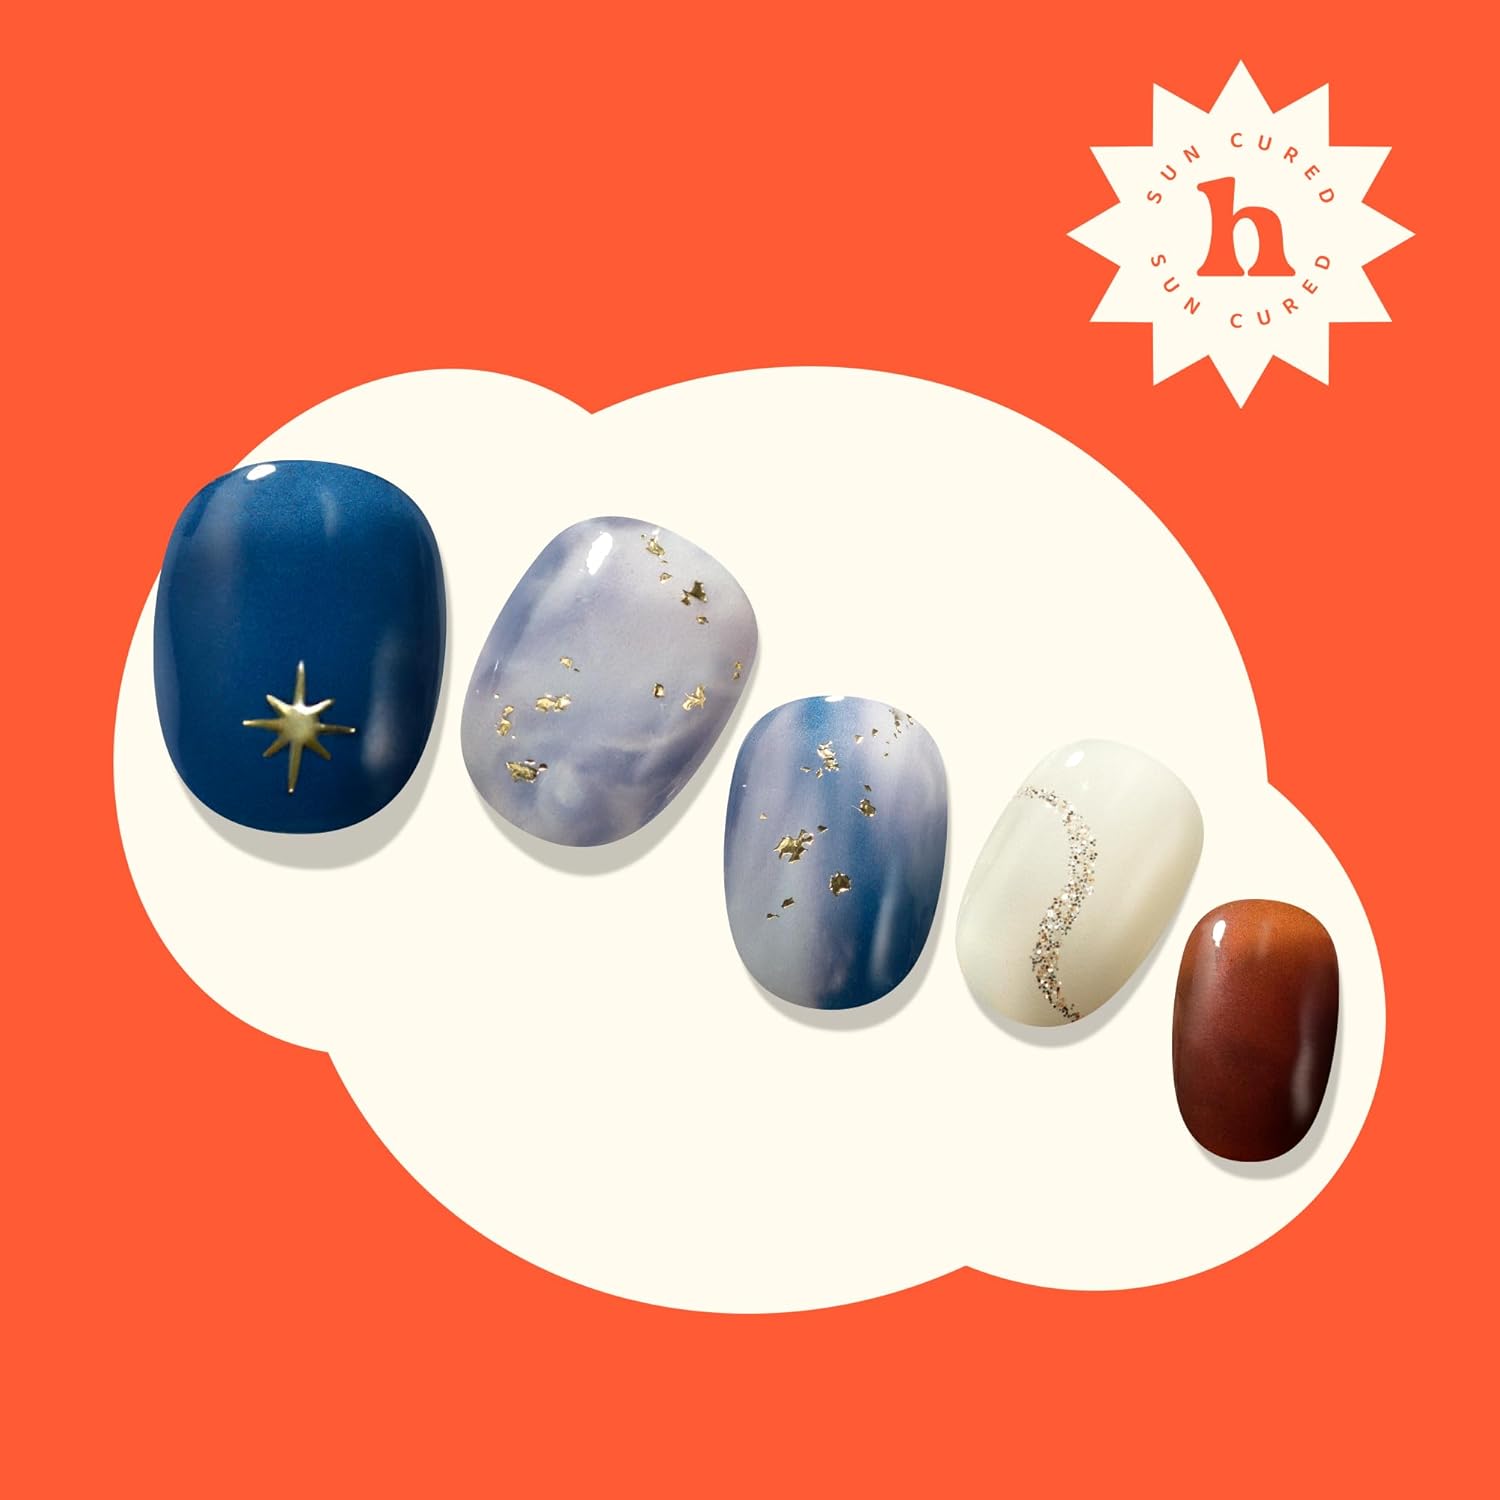
Semi cured gel nail strips bridge the gap between traditional nail polish, which often chips within days, and professional gel manicures, which require specialized equipment and can be time-consuming. These strips are typically made from real liquid gel that’s been partially cured (about 60%) on an adhesive backing. This partial curing process allows the strip to remain flexible and easily adhere to the natural nail. Once applied, the remaining curing process is completed by exposure to natural sunlight or, in some cases, supplemental UV exposure (although the vast majority are designed to cure without a lamp), resulting in a durable, glossy finish that rivals salon-quality gel manicures. The beauty of these strips lies in their ease of use. No more struggling with messy polish application, uneven coats, or lengthy drying times. Simply peel, stick, file, and go! This ease of use makes them particularly appealing to beginners, busy individuals, and anyone who wants to achieve professional-looking nails without the hassle. The wide array of available designs, from classic solids and glitters to intricate patterns and nail art, ensures that there’s a style to suit every taste and occasion. Plus, the removal process is generally gentler on the nails compared to traditional gel polish removal, minimizing the risk of damage and brittleness. Many users appreciate the convenience of carrying a pack of semi cured gel nail strips in their purse for quick touch-ups or impromptu manicures while traveling. The appeal is clear: salon-quality results, effortless application, and a fraction of the cost and time.
The Application Process: A Step-by-Step Guide
Applying semi cured gel nail strips is a relatively straightforward process, but following these steps will help you achieve the best possible results:
1. **Preparation is Key:** Begin by thoroughly cleaning your nails with nail polish remover to remove any existing polish or oils. Gently push back your cuticles using a cuticle pusher or orange wood stick. Lightly buff the surface of your nails with a fine-grit nail file to create a slightly rough surface for better adhesion. This step is crucial for preventing lifting and ensuring long-lasting wear.
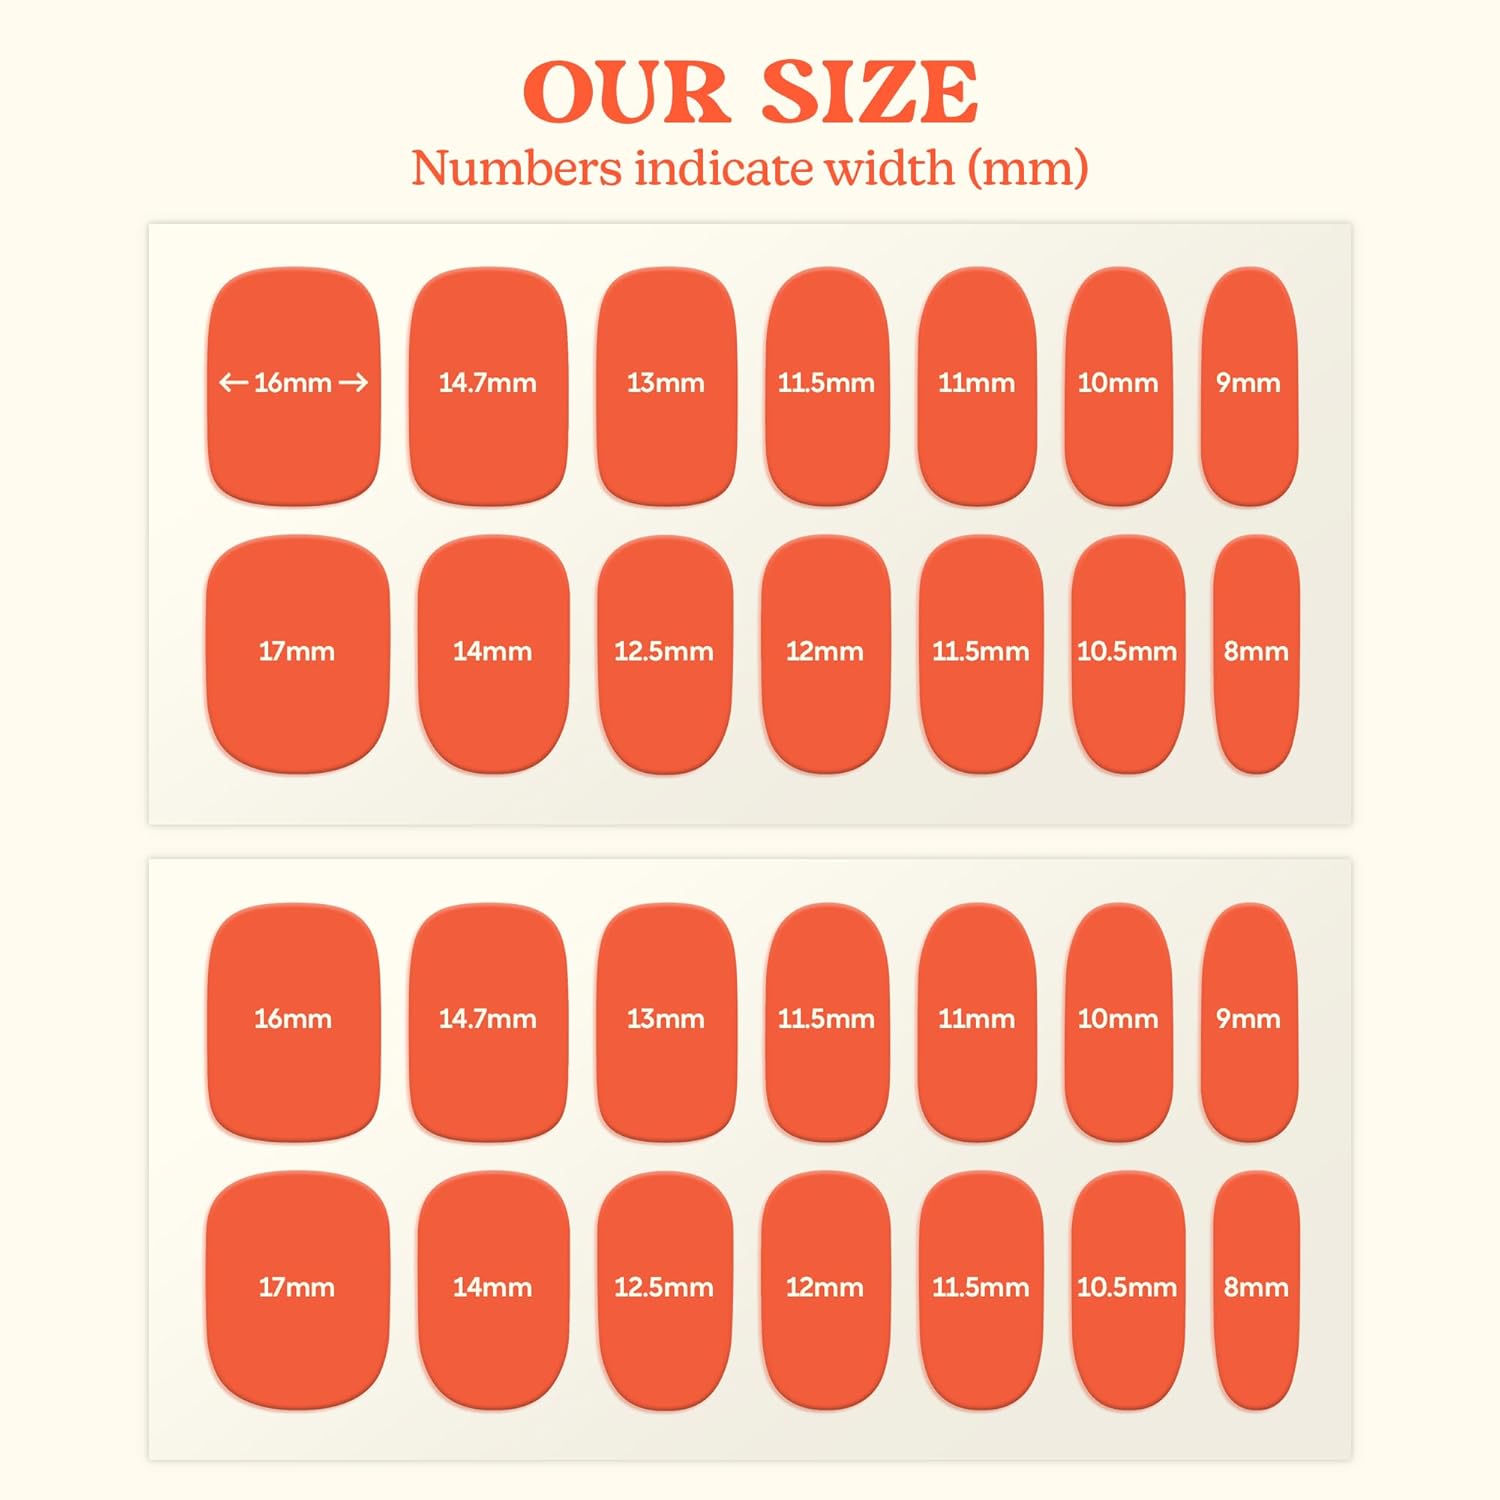
2. **Choosing the Right Size:** Select the strip that best fits each nail. Most sets include a variety of sizes to accommodate different nail widths. If you’re between sizes, it’s better to choose a slightly larger strip and trim it down.
3. **Application:** Carefully peel the strip from the backing, holding it by the silver tab. Align the strip with your cuticle line, leaving a small gap to avoid overlapping the skin. Gently press the strip onto your nail, smoothing out any wrinkles or bubbles as you go. Use a rubber cuticle pusher to help with smoothing.
4. **Trimming and Filing:** Once the strip is securely adhered, trim the excess length using nail clippers or scissors. Then, use a nail file to file away any remaining excess, holding the file at a 90-degree angle to create a clean, smooth edge. Filing downwards only helps prevent lifting and chipping.
5. **Curing (if necessary):** While most strips are designed to cure with natural sunlight, some may benefit from a brief exposure to a UV/LED lamp. Check the manufacturer’s instructions for specific recommendations. Exposing your nails to the sun for a few hours is all that you need to achieve perfect, professional-looking nails.
6. **Top Coat (Optional):** For added shine and durability, you can apply a layer of gel top coat after curing. This is not always necessary, but it can help extend the life of your manicure and provide extra protection against chipping.
7. **Clean Up:** Remove any residue or stickiness using a lint-free wipe soaked in alcohol.
With practice, you’ll become a pro at applying semi cured gel nail stickers, achieving flawless manicures in minutes.
Pros and Cons: Weighing the Benefits and Drawbacks
Like any beauty product, semi cured gel nail strips have their own set of advantages and disadvantages. Understanding these pros and cons will help you determine if they’re the right choice for you:
**Pros:**
* **Ease of Application:** The peel-and-stick application is incredibly user-friendly, even for beginners.
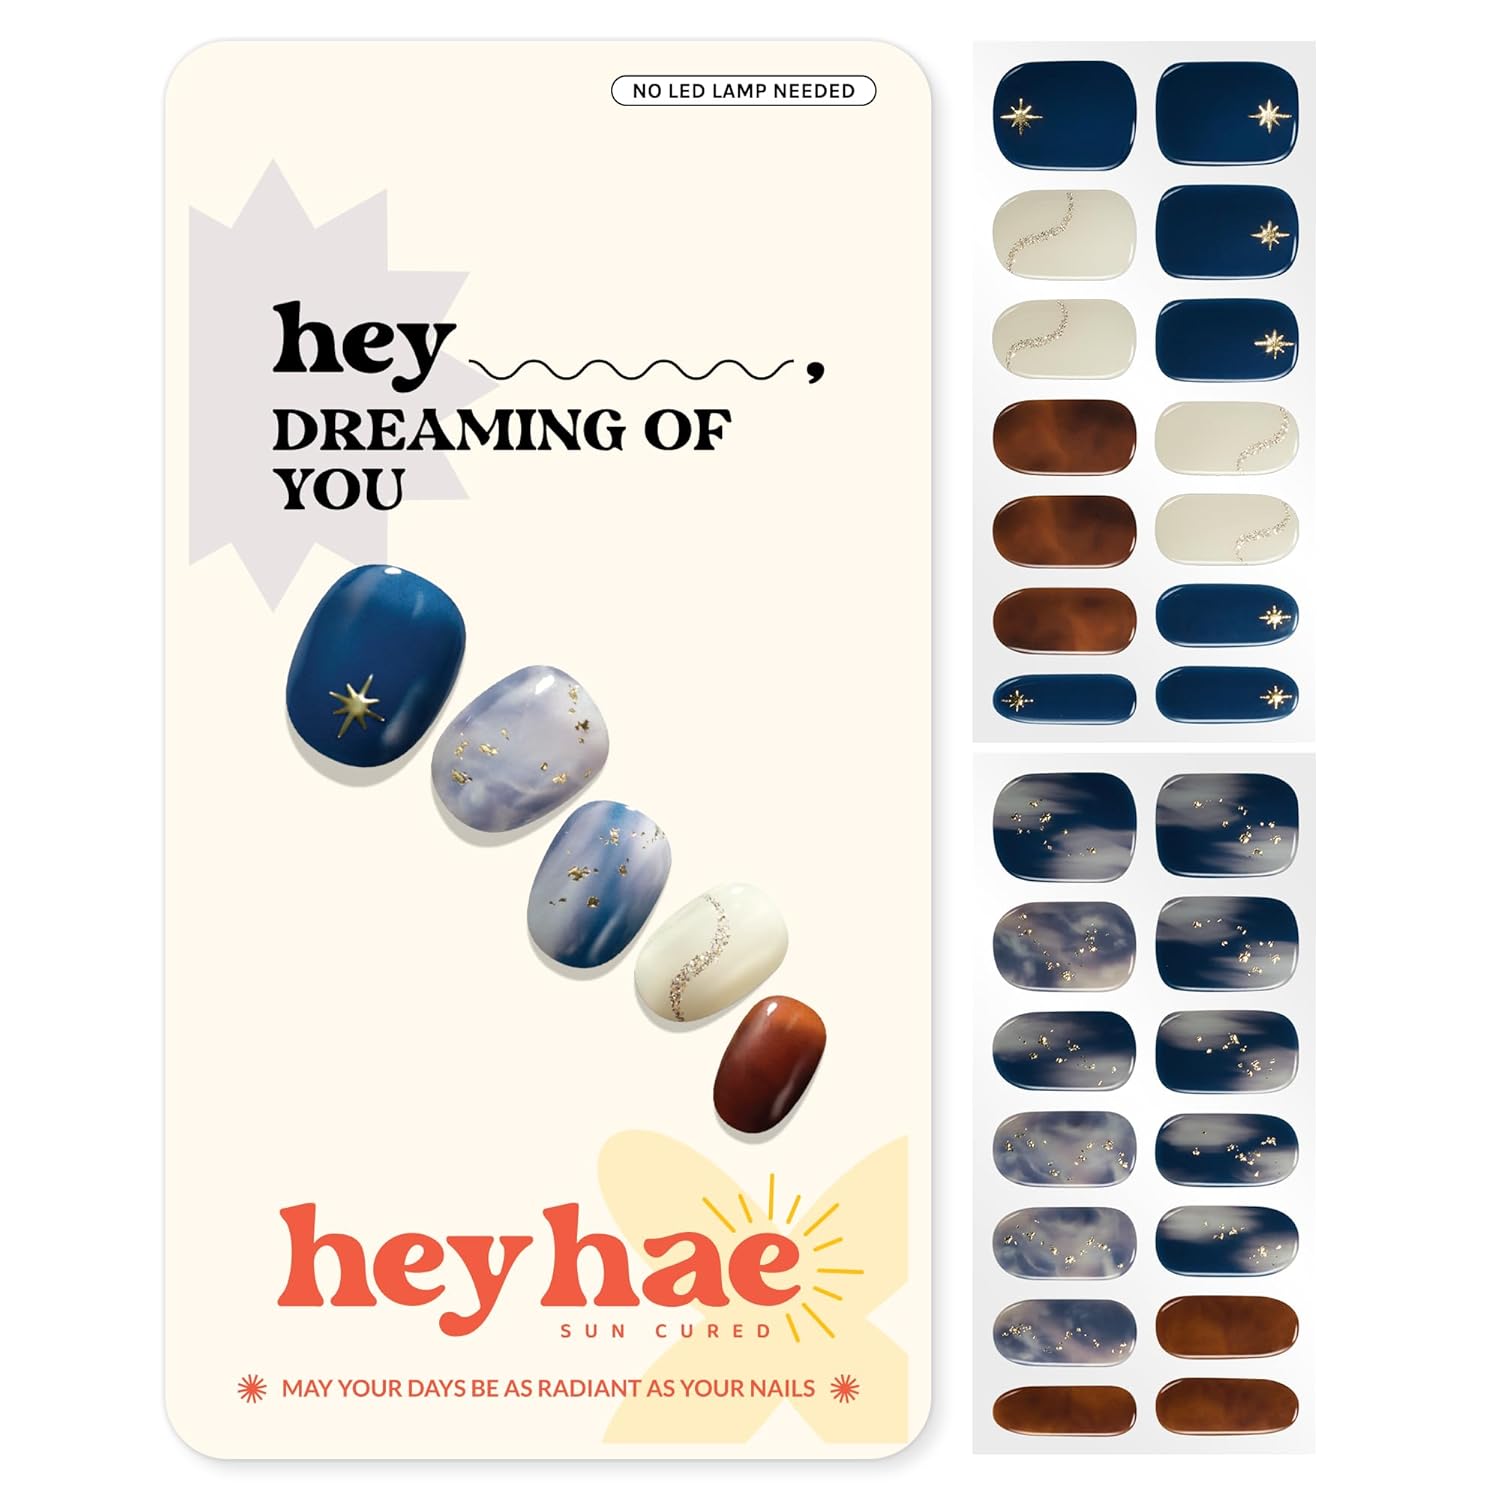
* **No LED Lamp Required:** Most brands are designed to cure with natural sunlight, eliminating the need for specialized equipment.
* **Long-Lasting Results:** Semi cured gel nail strips typically last for 1-2 weeks without chipping or peeling.
* **Wide Variety of Designs:** A vast array of colors, patterns, and nail art options are available to suit every style.
* **Cost-Effective:** Semi cured gel nail strips are significantly more affordable than salon gel manicures.
* **Gentle Removal:** Removal is typically easier and less damaging than traditional gel polish removal.
* **Portable and Convenient:** Perfect for travel or quick touch-ups on the go.
* **Minimal Drying Time:** No waiting for polish to dry – you’re ready to go immediately after application.
* **Custom designs are easy to create:** With a little imagination, you can create unique layered nail designs without having to be a professional nail artist.
**Cons:**
* **Sizing Issues:** Finding the perfect fit for each nail can be challenging, especially if you have uniquely shaped or sized nails.
* **Potential for Lifting:** If not applied properly, the strips can lift at the edges, reducing their longevity.
* **Natural Nail Damage:** Though less damaging than traditional gel, improper removal can still weaken the natural nail.
* **Limited Reusability:** Once applied, the strips are generally not reusable.
* **Quality Variations:** The quality of semi cured gel nail stickers can vary significantly between brands.
* **May not be suitable for very short nails:** Depending on the shape of your nails, using nail stickers might be difficult.
* **Not environmentally friendly:** The single use nature of the product may not be desirable for eco-conscious individuals.
By carefully considering these pros and cons, you can make an informed decision about whether semi cured gel nail strips are a suitable option for your nail care routine.
| Feature | Semi Cured Gel Nail Strips | Traditional Nail Polish | Salon Gel Manicure |
|---|---|---|---|
| Application | Peel and stick | Brush application | Professional application |
| Drying Time | None | Moderate | UV/LED curing |
| Longevity | 1-2 weeks | 2-5 days | 2-3 weeks |
| Cost | Low | Low | High |
| Removal | Easy, gentle | Easy | Requires soaking, potential damage |
| Damage to Nails | Minimal | Minimal | Potential for damage with improper removal |
| Skill Level Required | Beginner-friendly | Moderate | Professional |
| Equipment Required | None (usually) | None | UV/LED lamp, specialized tools |
Choosing the Right Brand: A Comparison
The market for semi cured gel nail strips is saturated with numerous brands, each vying for your attention. Distinguishing between the good, the bad, and the downright ugly can be a daunting task. While personal preferences will inevitably play a role, here’s a comparison of some popular brands to help you narrow down your options:
* **Ohora:** Ohora is one of the most well-known brands in the semi cured gel nail strip market. They offer a wide range of stylish designs, from minimalist solids to intricate nail art. Ohora strips are known for their high-quality gel formula and long-lasting wear.
* **Pros:** Extensive design selection, high-quality gel, long-lasting, relatively easy removal.
* **Cons:** Can be slightly more expensive than other brands.
* **Dashing Diva:** Dashing Diva offers a wide array of press-on nails and semi cured gel strips with options for everyone. They are widely available at drug stores and come in all different styles.
* **Pros:** Affordable, readily available, good design selection, easy application.
* **Cons:** Wear time may be shorter compared to premium brands, some designs may look less sophisticated.
* **Incoco:** Incoco is the original brand of nail polish applique and offers high-quality designs.
* **Pros:** Known for high-quality designs, long lasting, and easy to use.
* **Cons:** Limited selection of nail stickers and can be expensive.
* **Gelish:** Gelish is a professional brand, know for high-quality designs.
* **Pros:** High-quality product, long lasting, durable.
* **Cons:** Expensive, not as many design choices.
Ultimately, the best brand for you will depend on your individual preferences, budget, and desired level of quality. Reading reviews and experimenting with different brands is the best way to find your perfect match.
| Brand | Price Range (per set) | Design Variety | Longevity | Ease of Application | Notable Features |
|---|---|---|---|---|---|
| Ohora | $12-$20 | Extensive | 1-2 weeks | Easy | High-quality gel, wide design selection |
| Dashing Diva | $8-$15 | Good | 1 week | Easy | Affordable, readily available |
| Incoco | $7 – $15 | Limited | 1 week | Easy | Made of real nail polish |
| Gelish | $15 – $25 | Limited | 1-2 weeks | Easy | Professional high-quality brand. |
Tips and Tricks for Long-Lasting Manicures
To maximize the lifespan and beauty of your semi cured gel nail strip manicure, consider these helpful tips and tricks:
* **Proper Nail Preparation is Non-Negotiable:** As mentioned earlier, thorough nail preparation is paramount. Don’t skip the cuticle pushing and gentle buffing steps.
* **Avoid Water Immersion Immediately After Application:** Give the strips at least a few hours to fully adhere before exposing them to prolonged water immersion, such as washing dishes or taking a long bath.
* **Wear Gloves When Doing Household Chores:** Harsh chemicals and abrasive cleaners can damage the strips and shorten their lifespan. Protect your manicure by wearing gloves when doing housework.
* **Apply a Gel Top Coat for Extra Protection:** A layer of gel top coat can provide added shine, durability, and protection against chipping. Reapply every few days to maintain the manicure’s luster.
* **Avoid Picking or Peeling:** Resist the urge to pick or peel at the strips, as this can damage your natural nails.
* **Moisturize Regularly:** Keep your hands and cuticles moisturized to prevent dryness and brittleness, which can affect the longevity of your manicure.
* **Proper Removal is Crucial:** When it’s time to remove the strips, follow the manufacturer’s instructions carefully. Avoid harsh pulling or scraping, which can damage your nails. Soak your nails in warm water and gently peel off the strips.
* **Use a Cuticle Oil:** Apply cuticle oil regularly to keep your cuticles hydrated and healthy. Healthy cuticles contribute to a healthier and longer-lasting manicure.
* **Experiment with Designs:** Don’t be afraid to get creative with your nail art. You can layer different strips, add nail stickers, or use nail art pens to create unique and personalized designs.
* **Watch Out for Fake Products:** Ensure you are buying authentic semi cured gel nail design products from reputable retailers. Buying from unauthorized sellers may result in lower quality or counterfeit products.
By implementing these tips, you can significantly extend the life of your semi cured gel nail strip manicure and enjoy beautiful, salon-worthy nails for longer.
Removal: Protecting Your Natural Nails
Proper removal is just as important as proper application when it comes to maintaining the health of your natural nails. Incorrect removal can lead to weakened, brittle, and damaged nails. Here’s a step-by-step guide to safely and effectively remove semi cured gel nail strips:
1. **Soaking:** The key to gentle removal is soaking. Soak your nails in warm, soapy water for 10-15 minutes. This will help loosen the adhesive and make the strips easier to peel off. You can also add a few drops of cuticle oil to the water for added hydration.
2. **Gentle Lifting:** After soaking, gently lift the edges of the strips with a cuticle pusher or orange wood stick. Avoid forcing the strips off, as this can damage your nails.
3. **Peeling (Carefully):** Slowly and carefully peel the strips away from your nails, working from the edges towards the center. If you encounter resistance, soak your nails for a few more minutes.
4. **Removing Residue:** Once the strips are removed, you may have some adhesive residue left on your nails. You can remove this residue with nail polish remover or alcohol. Gently rub the residue with a cotton pad until it’s gone.
5. **Hydration is Essential:** After removal, your nails may feel dry and dehydrated. Apply a generous amount of cuticle oil and hand cream to restore moisture and prevent brittleness.
6. **Take a Break:** If you frequently use nail enhancements, consider taking occasional breaks to allow your natural nails to recover and strengthen.
By following these steps, you can remove semi cured gel nail strips without damaging your natural nails, keeping them healthy and strong for future manicures.
Frequently Asked Questions
What are semi cured gel nail strips, and how do they work?
Semi cured gel nail strips are a type of nail enhancement that combines the ease of traditional nail stickers with the durability and finish of gel manicures. They are made from real liquid gel that has been partially cured (typically around 60%) on an adhesive backing. This partial curing allows the strip to remain flexible and easily adhere to the natural nail. The remaining curing process is completed by exposure to natural sunlight or, in some cases, a UV/LED lamp. Think of them as nail polish that’s already applied and ready to go! Once applied and fully cured, the strips create a hard, glossy finish that is resistant to chipping and peeling. They offer a convenient and affordable alternative to salon gel manicures, allowing you to achieve professional-looking results at home without the need for specialized skills or equipment. The application is straightforward: clean the nails, select the right size sticker, apply, and cure. The process is incredibly easy to learn and apply.
How long do semi cured gel nail strips typically last?
The lifespan of semi cured gel nail strips can vary depending on several factors, including the brand, the quality of the gel, the application technique, and your daily activities. However, on average, you can expect them to last for 1-2 weeks without significant chipping or peeling. Some high-quality brands and meticulous application can extend their lifespan even further. To maximize the longevity of your manicure, it’s important to properly prepare your nails before application, avoid prolonged water immersion, wear gloves when doing household chores, and apply a gel top coat for added protection. Additionally, avoid picking or peeling at the strips, as this can weaken the adhesion and shorten their lifespan. Regular moisturizing and cuticle care can also contribute to a longer-lasting manicure. While 1-2 weeks is the typical lifespan, some users have reported experiencing up to 3 weeks of wear with minimal chipping.
Are semi cured gel nail strips damaging to natural nails?
Compared to traditional gel manicures, semi cured gel nail strips are generally considered to be less damaging to natural nails. This is primarily because the removal process is typically easier and gentler, minimizing the risk of thinning, weakening, and peeling. However, improper removal can still cause damage, so it’s crucial to follow the manufacturer’s instructions carefully and avoid harsh pulling or scraping. Over-buffing the nail before application can also lead to thinning and weakening. To further protect your natural nails, consider taking occasional breaks between manicures to allow them to recover and strengthen. Regular moisturizing and cuticle care are also essential for maintaining healthy and resilient nails. While the risk of damage is lower compared to traditional gel, it’s still important to exercise caution and prioritize proper application and removal techniques.
How do I remove semi cured gel nail strips without damaging my nails?
Removing semi cured gel nail strips without damaging your nails requires patience and a gentle approach. Start by soaking your nails in warm, soapy water for 10-15 minutes to loosen the adhesive. You can add a few drops of cuticle oil to the water for added hydration. After soaking, gently lift the edges of the strips with a cuticle pusher or orange wood stick. Avoid forcing the strips off, as this can damage your nails. Slowly and carefully peel the strips away from your nails, working from the edges towards the center. If you encounter resistance, soak your nails for a few more minutes. Once the strips are removed, you may have some adhesive residue left on your nails. You can remove this residue with nail polish remover or alcohol. Finally, apply a generous amount of cuticle oil and hand cream to restore moisture and prevent brittleness. Avoid using harsh chemicals or abrasive tools, as these can further damage your nails.
Can I reuse semi cured gel nail strips?
Unfortunately, semi cured gel nail strips are generally not reusable. Once they have been applied and fully cured, the adhesive backing loses its stickiness, and the strip conforms to the shape of your nail. Attempting to reapply a used strip will likely result in poor adhesion, lifting, and a shorter lifespan. Additionally, reusing strips can increase the risk of bacterial contamination and fungal infections. While it may be tempting to reuse a strip that is still in good condition, it’s best to discard it after a single use to maintain hygiene and ensure optimal results. This single-use nature is something to consider for those looking for environmentally friendly beauty options.
Are semi cured gel nail strips safe to use during pregnancy?
The safety of using semi cured gel nail strips during pregnancy is a common concern. While there is no definitive research specifically addressing this issue, most experts agree that they are likely safe to use in moderation. The main concern with traditional gel manicures is the potential exposure to UV radiation from the curing lamps, as well as the chemicals present in the gel polish. Semi cured gel nail strips, however, typically cure with natural sunlight, eliminating the need for UV lamps. Additionally, the amount of chemicals absorbed through the nails is generally considered to be minimal. However, if you have any concerns, it’s always best to consult with your doctor or a qualified healthcare professional before using any nail enhancement products during pregnancy. You might also want to consider brands that are known for using non-toxic and hypoallergenic ingredients.
What are the ingredients in semi cured gel nail strips?
The specific ingredients in semi cured gel nail strips can vary depending on the brand and formulation. However, they typically consist of a combination of gel polymers, resins, photoinitiators, pigments, and adhesives. Gel polymers and resins provide the structure and durability of the strip, while photoinitiators trigger the curing process when exposed to UV or natural light. Pigments provide the color and opacity, and adhesives ensure that the strip adheres to the natural nail. Some brands may also include additional ingredients such as vitamins, minerals, or moisturizing agents to promote nail health. It’s always a good idea to review the ingredient list before using any nail enhancement product, especially if you have sensitive skin or allergies. Look for brands that are transparent about their ingredients and avoid products that contain known allergens or irritants. For more details, you can typically find a complete list of ingredients on the product packaging or the manufacturer’s website.

Price: $13.99
(as of Sep 09, 2025 01:55:52 UTC – Details)


