10 Pcs Rough Nail File 100/180 Grit, Review nail shapes Buying Guide – Oemiu
Unveiling the Power of the 10 Pcs Rough Nail File 100/180 Grit: Your Path to Perfect Nails
Achieving salon-quality nails at home doesn’t require a magic wand, just the right tools. Among the essential implements in any nail care arsenal, a good nail file stands out. Today, we’re diving deep into a specific contender: the 10 Pcs Rough Nail File set featuring a 100/180 grit combination. This seemingly simple tool is capable of shaping, smoothing, and refining your nails to perfection. However, not all nail files are created equal, and understanding the nuances of grit, material, and technique is crucial for achieving the desired results without damaging your precious nails. This comprehensive guide will explore the ins and outs of this particular nail file set, providing you with the knowledge to make an informed purchase and master the art of at-home manicures. We’ll cover everything from understanding grit, shaping techniques (including the trendy coffin nail shape), and maintenance, to comparing this file with other options on the market, empowering you to confidently create beautiful and healthy nails.
Decoding the 100/180 Grit: Understanding the Language of Nail Files
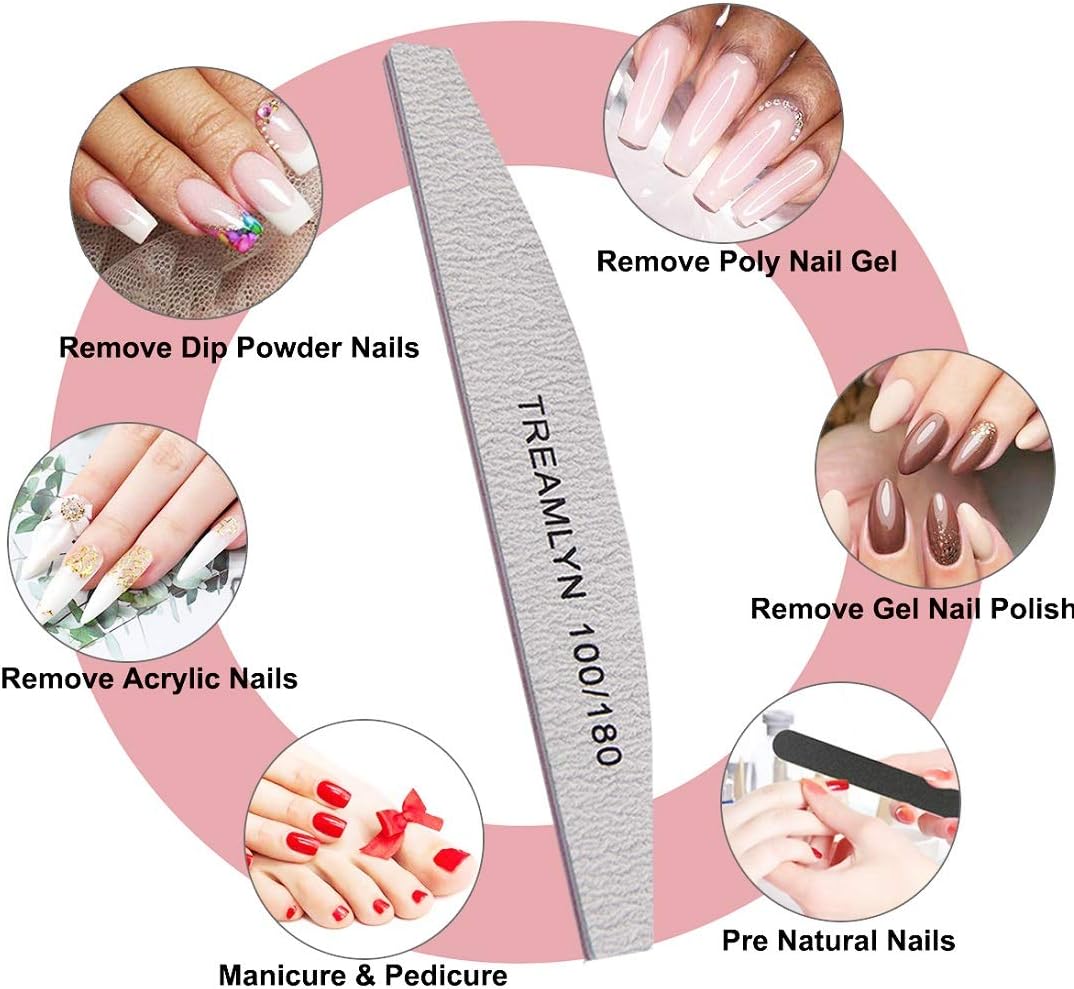
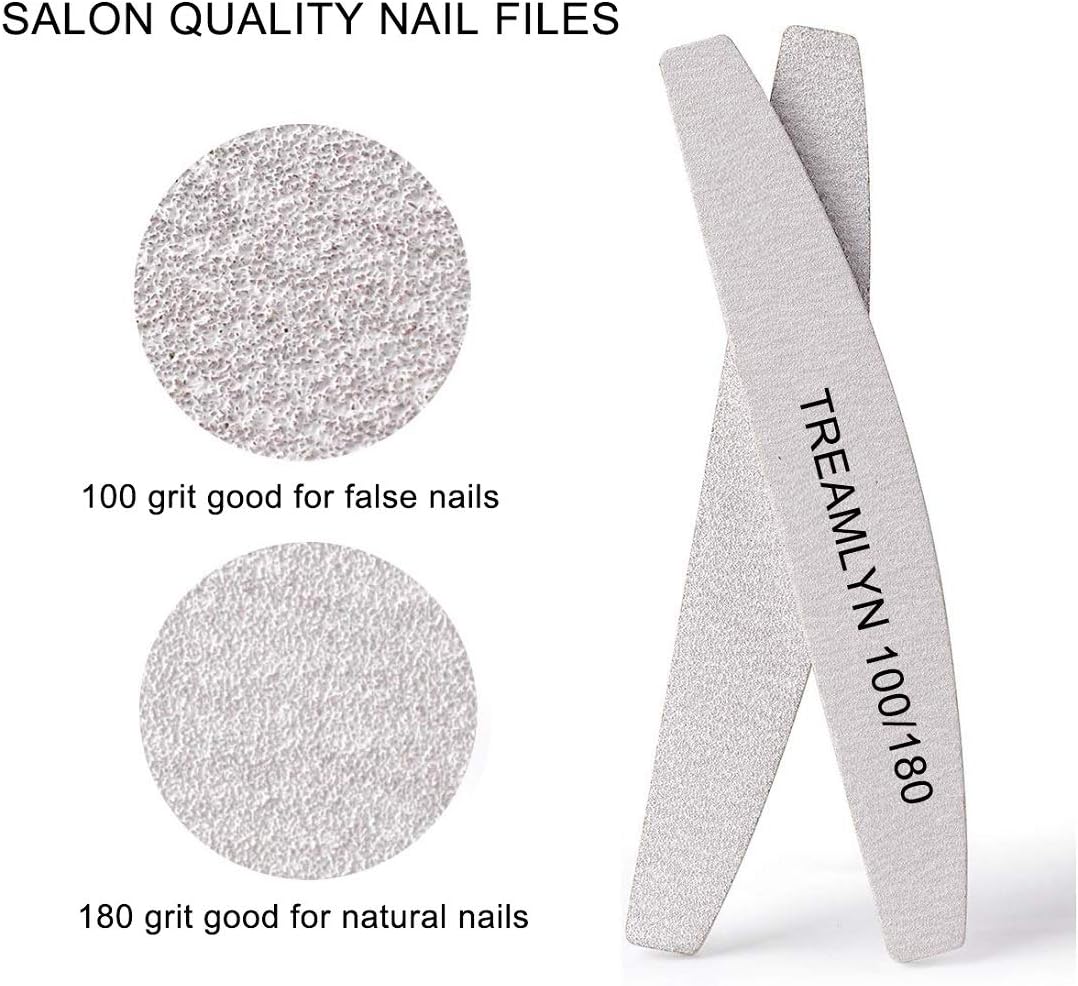
Grit numbers on nail files aren’t just random figures; they represent the coarseness of the abrasive surface. A lower number signifies a coarser file, ideal for quickly shortening and shaping nails. Conversely, a higher number indicates a finer grit, perfect for smoothing rough edges and refining the shape. The 100/180 grit combination found in this particular file set provides a versatile solution for a range of nail care needs. The 100-grit side is your workhorse, designed to efficiently file down length and establish the basic shape. It’s particularly useful for artificial nails, thick natural nails, or when you need to remove a significant amount of length quickly. Imagine you’ve just removed a set of acrylics, and your natural nails are left long and uneven – the 100-grit side is your go-to for bringing them back to a manageable length and a uniform shape. However, caution is key! The coarse nature of this grit means it can easily damage the nail if used aggressively or on thin, brittle nails.
The 180-grit side is your refining tool. After using the 100-grit side to establish the primary shape (perhaps a stylish stiletto nail shape), switch to the 180-grit side to smooth out any rough edges and refine the overall form. This grit is gentler and more forgiving, making it suitable for shaping natural nails and preventing splitting or peeling. It also works well for smoothing the nail surface before applying polish, ensuring a flawless finish. Think of it as sanding wood – the 100-grit is like the initial rough sanding, while the 180-grit is the fine sanding that prepares the surface for painting. For individuals with naturally thin or weak nails, the 180-grit side can even be used for all shaping purposes, minimizing the risk of damage. Using both grits in sequence allows you to achieve professional-looking results with a single tool, saving time and effort.
A Closer Look: Features and Benefits of the 10 Pcs Rough Nail File Set
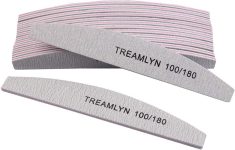
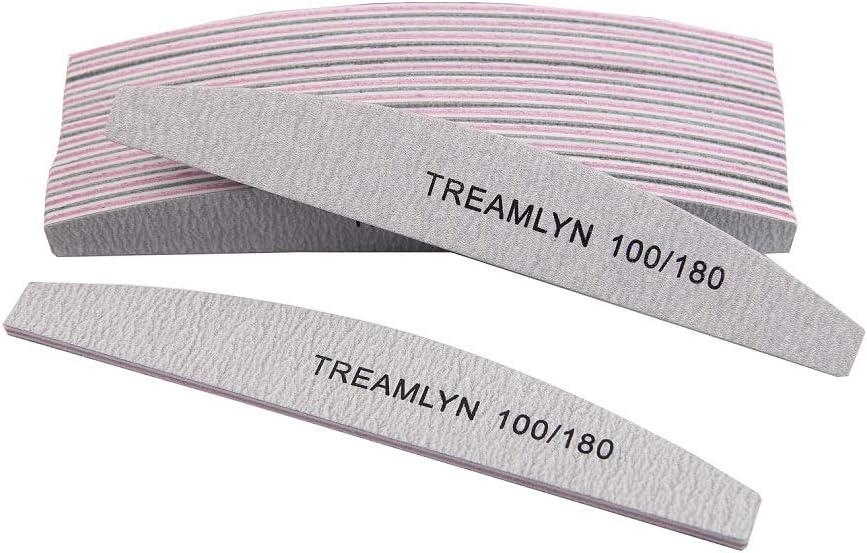
The appeal of the 10 Pcs Rough Nail File 100/180 Grit set extends beyond just the grit combination. Several features contribute to its overall value and usability. The fact that it comes in a pack of ten is a significant advantage, providing you with multiple files for different uses or to keep on hand in various locations – your home, your purse, your travel bag. This bulk purchase also translates to excellent value for money, making it a cost-effective solution for regular nail care. Beyond quantity, the quality of the materials used in the file is also important.
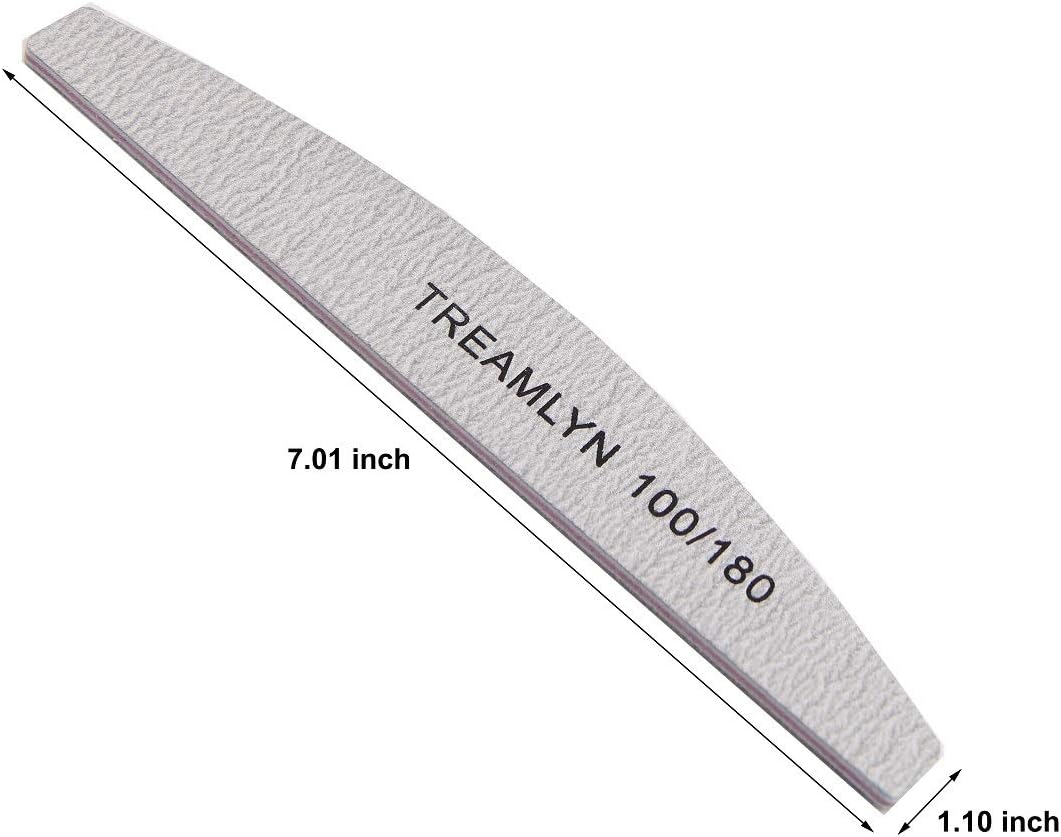
Typically, these files are constructed with a strong core, often made of plastic or wood, which provides durability and prevents bending or breaking during use. The abrasive surface is then bonded to this core, ensuring a long-lasting and effective filing experience. The ergonomic design is another crucial aspect. A comfortable grip allows for greater control and precision, reducing the risk of accidentally filing too much or causing discomfort. The shape of the file also plays a role – a straight file is generally preferred for shaping the sides of the nail, while a curved file can be useful for rounding the edges. The size of the file should also be considered; a longer file provides more surface area for filing, while a shorter file may be easier to maneuver. The combination of all these features contributes to a user-friendly and effective nail filing experience.
Here’s a summary of key features and benefits:
- Double-Sided Grit: 100 grit for shaping and shortening, 180 grit for smoothing and refining.
- Bulk Pack: 10 files provide excellent value and convenience.
- Durable Construction: Resists bending and breaking for long-lasting use.
- Ergonomic Design: Comfortable grip for precise control.
- Versatile Use: Suitable for natural, acrylic, and gel nails.
Shaping Your Nails: A Guide to Popular Styles
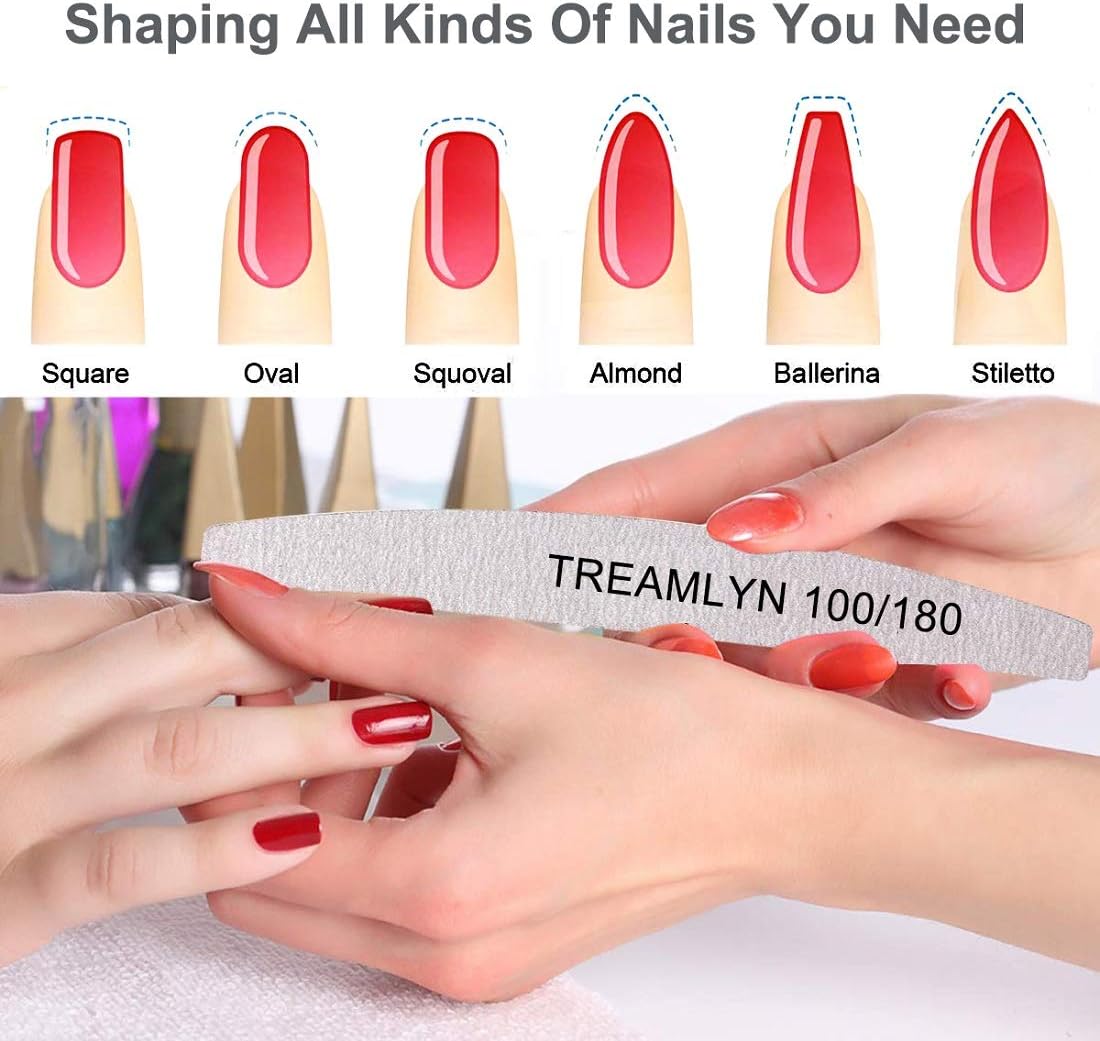
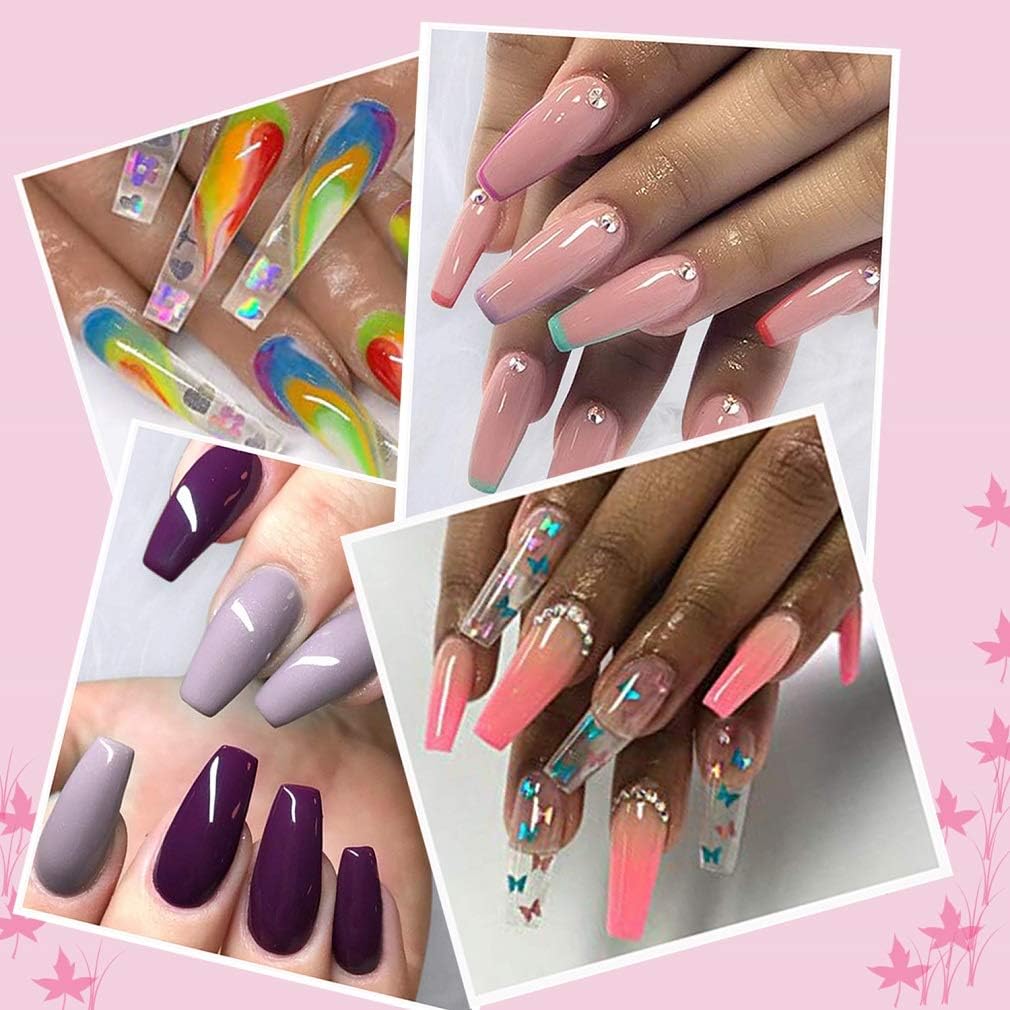
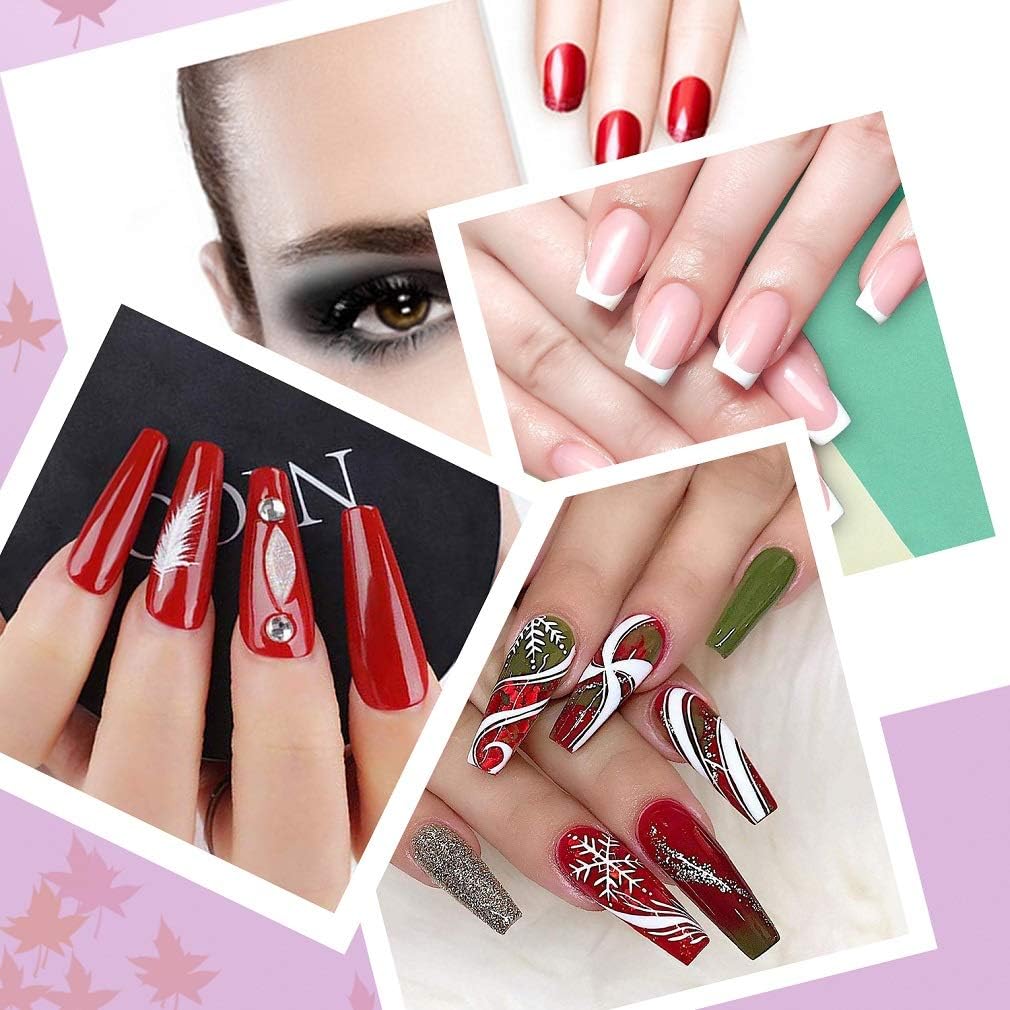
The shape of your nails is a reflection of your personal style, and the right shape can enhance the overall appearance of your hands. With the 10 Pcs Rough Nail File 100/180 Grit, you can achieve a variety of popular nail shapes, from classic to trendy. However, it’s crucial to choose a shape that complements your finger length and nail bed shape. For example, longer nails tend to suit pointed shapes like the almond or stiletto, while shorter nails may look better with a rounded or square shape.
The square nail shape is a classic choice, characterized by straight edges and a blunt tip. It’s a strong and practical shape that works well for shorter nails and is less prone to breakage. To achieve this shape, use the 100-grit side of the file to create straight, even sides, then file straight across the tip to create a sharp, square edge. Slightly softening the corners with the 180-grit side will prevent snagging and make the shape more comfortable. The round nail shape is another classic, featuring soft, rounded edges that mimic the natural curve of the fingertip. This shape is ideal for individuals with shorter nails or wider fingers, as it creates a slimming effect. To achieve a round shape, file the sides of the nail in a gentle, curved motion, rounding the tip to match the natural curve of your finger. The oval nail shape is a more elongated version of the round shape, creating a more elegant and sophisticated look. It’s similar to the round shape, but the curve is more pronounced, creating a slightly pointed tip.
Moving into more modern styles, we have the almond nail shape, which is tapered on the sides and rounded at the tip, resembling an almond. This shape elongates the fingers and adds a touch of glamour. To achieve an almond shape, file the sides of the nail at an angle, gradually narrowing towards the tip. Round the tip to create a soft, almond-like curve. For a more dramatic look, consider the stiletto nail shape. This shape is long and pointed, creating a bold and eye-catching statement. It’s best suited for strong, healthy nails or acrylic enhancements. To achieve a stiletto shape, file the sides of the nail at a sharp angle, creating a long, pointed tip. Be careful not to file too much, as this can weaken the nail and lead to breakage. Then there’s the ballerina, sometimes called the coffin nail shape, which is another popular option. This shape is long and tapered, but the tip is squared off, resembling a ballerina’s pointe shoe or a coffin. This shape is best suited for strong, long nails or acrylic enhancements. To achieve a coffin shape, file the sides of the nail at an angle, creating a tapered shape. File straight across the tip to create a squared-off edge. Finally, the squoval nail shape combines the best of both worlds, featuring the straight edges of a square nail with the soft, rounded corners of an oval nail. This shape is versatile and flattering, working well for a variety of nail lengths and finger shapes. To achieve a squoval shape, file the sides of the nail straight, then round the corners slightly with the 180-grit side.
Maintaining Your Nail Files: Ensuring Longevity and Hygiene
Proper maintenance is crucial for extending the life of your nail files and ensuring optimal hygiene. Over time, nail files can become clogged with nail dust and debris, reducing their effectiveness and creating a breeding ground for bacteria. Regular cleaning is essential for preventing these issues and keeping your nails healthy. After each use, gently tap the file against a hard surface to remove loose nail dust. You can also use a clean, dry brush to dislodge any stubborn particles. For a more thorough cleaning, wash the file with warm, soapy water. Use a mild soap and a soft brush to scrub away any remaining debris. Rinse the file thoroughly and allow it to air dry completely before storing it. Avoid using harsh chemicals or abrasive cleaners, as these can damage the abrasive surface of the file.
In addition to regular cleaning, proper storage is also important. Store your nail files in a dry, clean place, away from direct sunlight and extreme temperatures. This will prevent them from becoming warped or damaged. You can also store them in a protective case or pouch to prevent them from being scratched or dented. Regularly inspect your nail files for signs of wear and tear. If the abrasive surface becomes worn down or damaged, it’s time to replace the file. Using a worn-out file can damage your nails and lead to uneven shaping. Replacing your nail files regularly will ensure that you always have a sharp and effective tool for achieving perfect nails. Hygiene is paramount when it comes to nail care. Sharing nail files can spread bacteria and fungi, leading to nail infections. It’s best to have your own set of nail files and to avoid sharing them with others. If you use nail files in a professional setting, such as a salon, it’s essential to properly disinfect them between clients. This can be done by soaking the files in a disinfectant solution or sterilizing them in an autoclave.
Comparing 10 Pcs Rough Nail File 100/180 Grit to Alternatives
While the 10 Pcs Rough Nail File 100/180 Grit set offers a versatile and cost-effective solution for nail care, it’s important to consider other options available on the market. Different types of nail files cater to different needs and preferences, and understanding the pros and cons of each can help you make the best choice for your individual needs.
Glass nail files, for example, are known for their gentle and precise filing action. They create a smooth, even edge and are less likely to cause splitting or peeling. However, they are generally more expensive than traditional emery boards and can be fragile. Metal nail files are another option, offering durability and longevity. They are often used in professional settings and can be sterilized for hygiene purposes. However, metal files can be too harsh for delicate nails and may cause damage if used improperly. Buffing blocks are designed to smooth and shine the nail surface, creating a healthy and polished look. They typically feature multiple grits, ranging from coarse to fine, allowing you to gradually refine the nail surface. Buffing blocks are ideal for individuals who want to enhance the natural beauty of their nails without using polish.
Emery boards are the most common type of nail file, offering a balance of affordability and effectiveness. They are made from cardboard or paper and coated with an abrasive material. Emery boards are available in a variety of grits, allowing you to choose the right level of coarseness for your needs. While they are not as durable as glass or metal files, emery boards are a cost-effective option for everyday nail care. Electric nail files, also known as e-files, are power tools that use rotating bits to shape and smooth the nails. They are commonly used in professional settings for acrylic and gel nail enhancements. Electric nail files can be very efficient and precise, but they require training and skill to use safely. Using the wrong bit or applying too much pressure can damage the natural nail. Each type of nail file has its own unique advantages and disadvantages. The best choice for you will depend on your individual needs, preferences, and budget. Consider the type of nails you have, the shaping techniques you prefer (for example, creating a perfect edge for an arrowhead nail shape), and the level of control and precision you require.
| File Type | Pros | Cons | Price Range |
|---|---|---|---|
| 10 Pcs Rough Nail File 100/180 Grit | Affordable, versatile, good for shaping and smoothing | Can be too coarse for delicate nails, may wear down quickly | $5 – $15 |
| Glass Nail File | Gentle, precise, long-lasting | More expensive, can be fragile | $10 – $30 |
| Metal Nail File | Durable, sterilizable | Can be too harsh, may damage nails | $5 – $20 |
| Buffing Block | Smooths and shines, enhances natural beauty | Does not shorten or shape nails | $3 – $10 |
Frequently Asked Questions (FAQ)
What is the difference between 100 grit and 180 grit?
The grit number on a nail file indicates the coarseness of the abrasive surface. The lower the number, the coarser the file. A 100-grit file is significantly coarser than a 180-grit file. The 100-grit side is designed for quickly removing length and shaping artificial nails or thick natural nails. It’s like using a rough sandpaper to remove a lot of material quickly. Due to its coarseness, it should be used with caution and avoided on thin or brittle natural nails, as it can easily cause damage, splitting, or peeling. The 180-grit side is much finer and gentler. It’s used for refining the shape, smoothing rough edges, and preparing the nail surface for polish. It’s suitable for natural nails and is less likely to cause damage. Think of it as using fine sandpaper to smooth a surface. Using both grits in sequence provides a comprehensive solution for nail shaping and smoothing.
How do I clean and disinfect my nail files?
Maintaining clean and disinfected nail files is crucial for preventing the spread of bacteria and fungi. After each use, gently tap the file to remove loose nail dust. For a more thorough cleaning, wash the file with warm, soapy water. Use a mild soap and a soft brush to scrub away any remaining debris. Rinse thoroughly and allow to air dry completely. To disinfect your nail files, you can soak them in a disinfectant solution specifically designed for nail tools. Follow the manufacturer’s instructions for dilution and soaking time. You can also use a sterilizer, if available, to kill any remaining bacteria or fungi. Always ensure that the file is completely dry before storing it to prevent the growth of mold or mildew. Never share your nail files with others to minimize the risk of infection.
Can I use these files on acrylic nails?
Yes, the 10 Pcs Rough Nail File 100/180 Grit is suitable for use on acrylic nails. The 100-grit side is particularly useful for shaping and shortening acrylics, as it’s coarse enough to remove the material quickly and efficiently. However, it’s important to use a light touch and avoid applying too much pressure, as this can damage the acrylic. The 180-grit side can then be used to refine the shape and smooth out any rough edges. When working with acrylics, it’s essential to use proper techniques to avoid damaging the natural nail underneath. If you’re unsure about how to file acrylics properly, it’s best to consult with a professional nail technician.
How often should I replace my nail files?
The lifespan of a nail file depends on several factors, including the frequency of use, the type of nails you’re filing, and the quality of the file itself. As a general rule, you should replace your nail files when they become worn down or damaged. Signs of wear and tear include a dull or uneven abrasive surface, peeling or cracking, and a loss of effectiveness. Using a worn-out nail file can damage your nails and lead to uneven shaping. If you use your nail files frequently, you may need to replace them every few weeks or months. If you only use them occasionally, they may last longer. Regularly inspect your nail files for signs of wear and tear and replace them as needed.
What are some tips for filing my nails correctly?
Filing your nails correctly is essential for achieving a smooth, even shape and preventing damage. Start by choosing the right grit for your nails and the desired shaping technique. Hold the file at a 45-degree angle to your nail and file in one direction, from the side towards the center. Avoid sawing back and forth, as this can weaken the nail and cause splitting. Use light, even strokes and avoid applying too much pressure. Regularly rotate the file to ensure even wear and prevent uneven shaping. After shaping your nails, use the finer grit side of the file to smooth out any rough edges and refine the overall shape. Finish by applying a cuticle oil or moisturizer to keep your nails hydrated and healthy.
Are these files suitable for thick toenails?
Yes, the 10 Pcs Rough Nail File 100/180 Grit can be used on thick toenails. The 100-grit side is particularly helpful for reducing the thickness of toenails and shaping them to a more manageable length. However, because toenails are typically thicker and harder than fingernails, you may need to apply more pressure when filing. Be careful not to file too much at once, as this can damage the nail bed. Using the 180-grit side can then help smooth any sharp edges. If you have extremely thick or difficult-to-manage toenails, it’s best to consult with a podiatrist or nail care professional.
How do I prevent my nails from splitting when filing?
Nail splitting during filing can be frustrating and can often lead to unhealthy looking nails. Several factors can contribute to nail splitting, including dry nails, improper filing techniques, and the use of harsh or abrasive files. To prevent nail splitting, start by keeping your nails hydrated. Apply a cuticle oil or moisturizer regularly to keep them from becoming dry and brittle. Avoid using harsh soaps or detergents that can strip your nails of their natural oils. When filing your nails, use a fine-grit file and file in one direction only. Avoid sawing back and forth, as this can weaken the nail and cause splitting. File gently and avoid applying too much pressure. If you notice any signs of splitting, stop filing immediately and apply a nail strengthener or repair treatment. Consider trying a glass nail file as they are known for their ability to create a smooth, clean edge that prevents splitting.
Price: $3.99
(as of Sep 09, 2025 02:21:10 UTC – Details)


